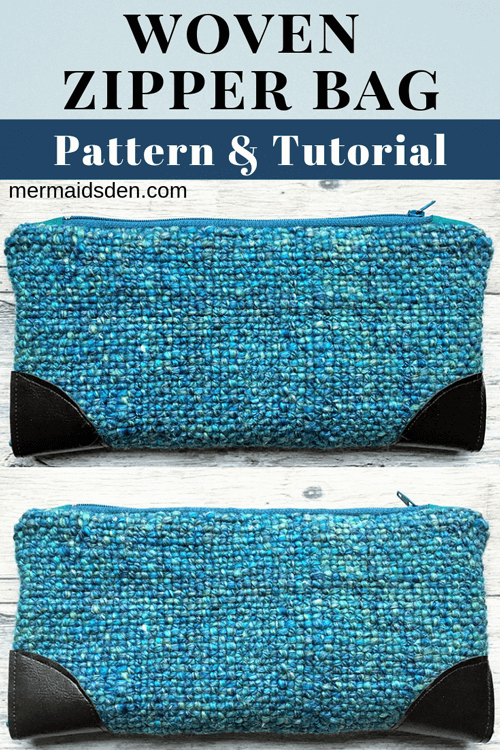
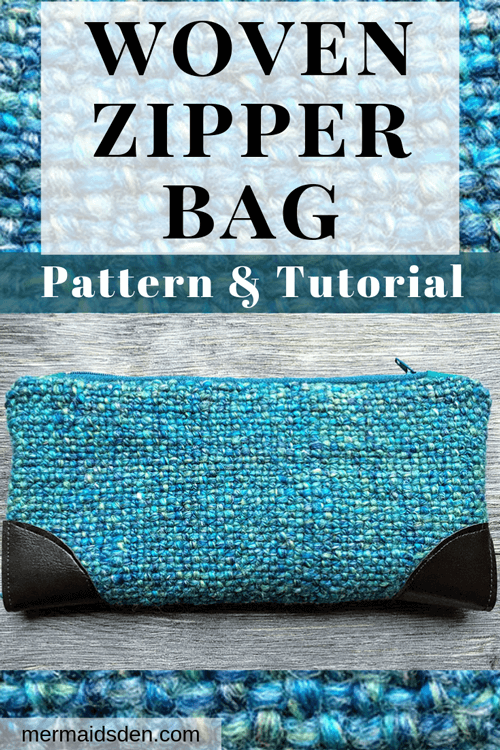
Easy Woven Zipper Bag from Handspun Yarn
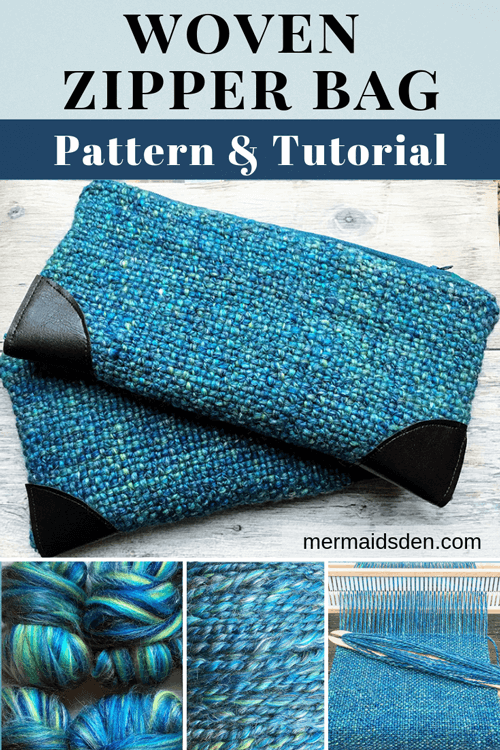
In this post, I’ll show you how to make an easy zipper bag out of handwoven fabric. You could also use regular fabric, but if you’re looking for sewing projects that use handwoven fabric, this one’s for you. When I started weaving, I knew I wanted to be able to incorporate my handwoven fabric into my sewing projects. This is a simple sewing project to get started with. Handwoven fabric is a little trickier to work with than store-bought fabric, but it’s worth it to be able to create your own unique fabric.
Disclosure: This post contains affiliate links, which means I may receive a percentage if you make a purchase using these links. This won’t cost anything extra to you. See my privacy policy for more details.
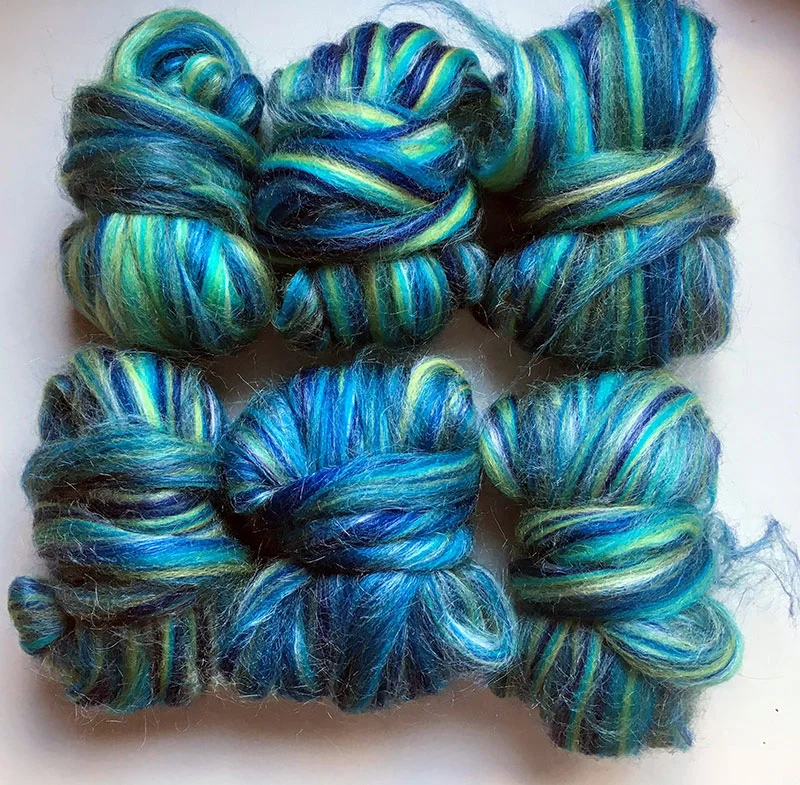
Spinning and Weaving
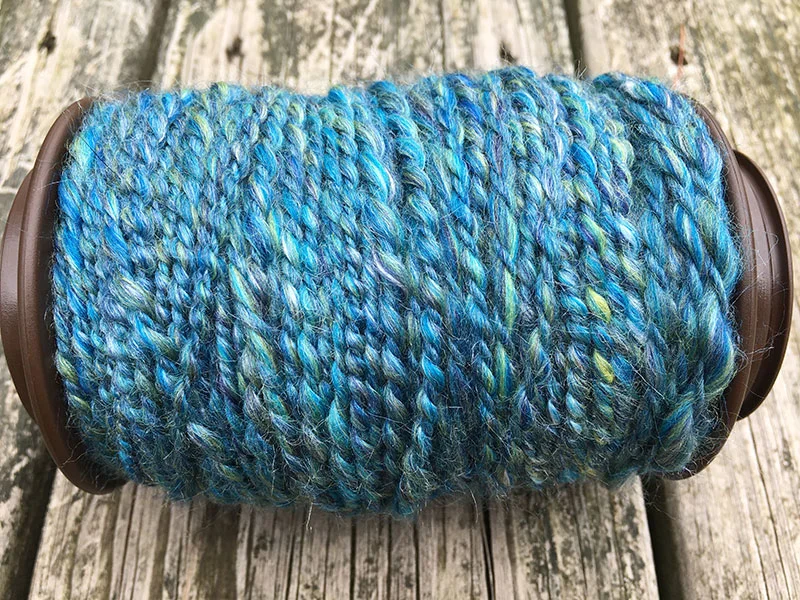
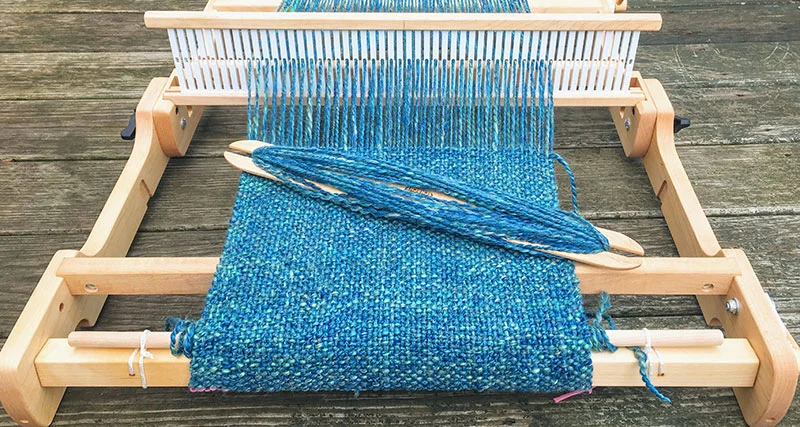
In addition to weaving the fabric for this project on my Schacht Flip loom, I also spun the yarn on my Schacht Ladybug. I used this wonderful Merino and silk fiber in shades of blue and green. Here are a few shots of the progression from fiber to yarn to fabric.
Cutting Handwoven Fabric
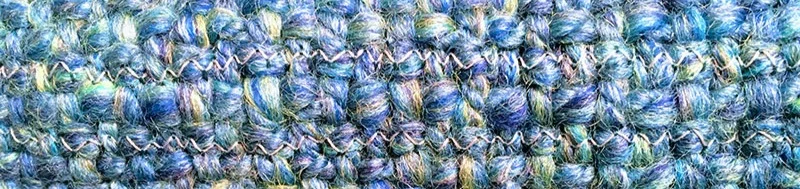
I wove one long strip of cloth for these bags, so once I was done, I had to cut them down to the right size. I experimented with a few different ways to do this, but the best way I found was to use a zigzag stitch on my sewing machine to create two rows of stitching along alternating weft picks. Leave one weft yarn untouched in the middle—sandwich it with zigzag stitching along the top and bottom. Then cut down the middle of your zigzag sandwich.
It’s a little difficult to see this below because I used gray thread, but there are two parallel rows of zigzag stitch, with a space between.
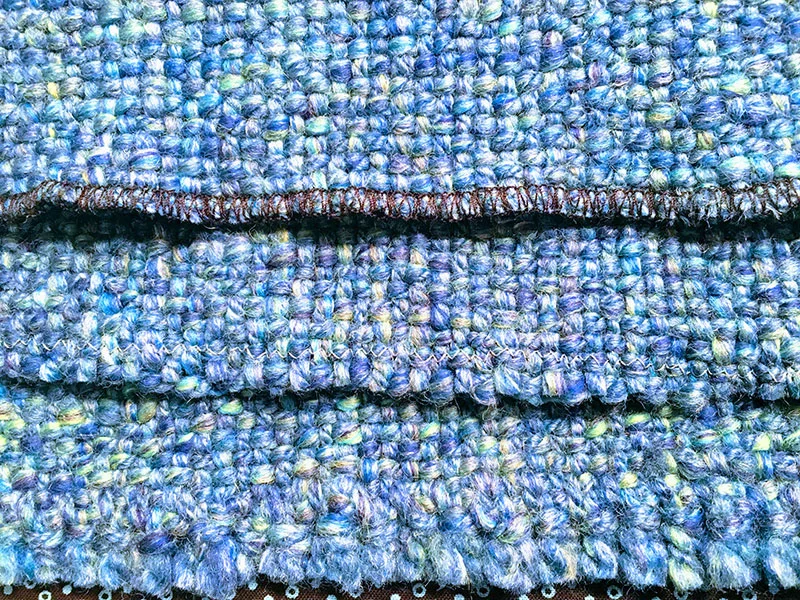
Below, you can see the other methods I tried for edge-finishing my handwoven fabric. On top, I serged it, but it seemed to stretch the fabric a bit. You might be able to play with the differential feed to keep it flatter, but not everyone has a serger, so I was happy that the sewing machine seemed to do the best job.
In the middle is the zigzagged piece after I cut it. I didn’t do anything to the edge—I just left it as is. It can’t unravel above the zigzag stitch. This one had the least distortion and held together best for the duration of the sewing project.
On the bottom, I hem-stitched the edge while it was on the loom with the same yarn I wove with, but the edge ended up thicker and wider than the regular woven fabric. I ended up zigzagging this one and cutting the hem-stitched part off because it was too lumpy to work with.
As I was working with it, I noticed that the woven fabric seemed to stretch a little bit while I was sewing it, and I think it might have helped to stay stitch or baste all of the edges to try to prevent this. I’ll try that next time.
Materials Needed
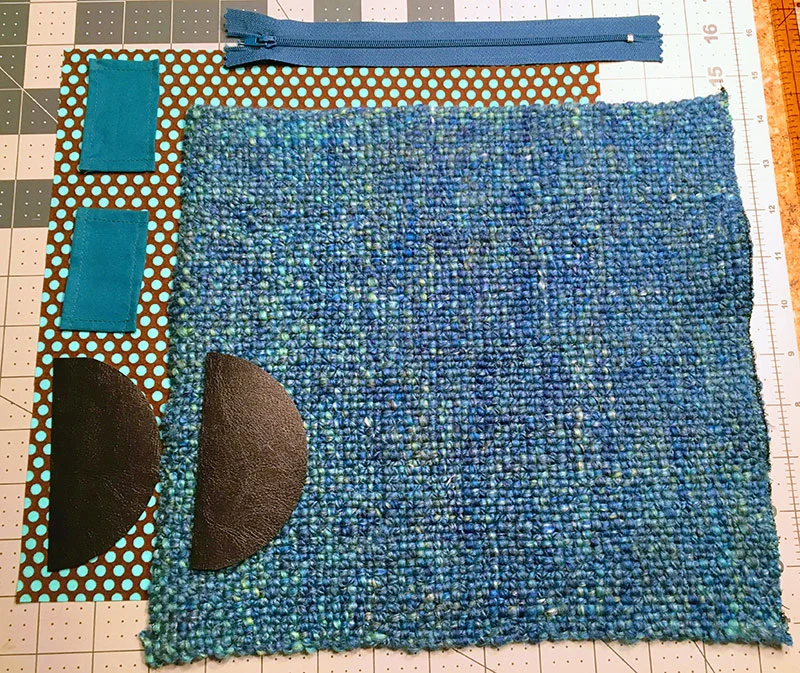
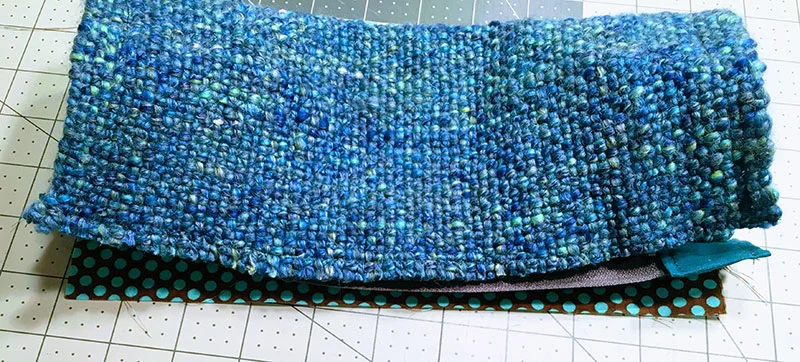
Here are all of the pieces you need for this project:
10” x 11” piece of woven fabric for the outside of the bag
10” x 11” cotton fabric (I used a fat quarter) for the inside of the bag
2” x 3” pieces of fabric for zipper tabs (cut 2)
4” circle of vinyl or leather for patches. Cut it in the middle to have two half circles. I used a circle die for this, but you could just trace the bottom of a can or jar. You could also use the pdf template for the largest circle from this post on making ornaments
- 9” zipper. I bought this collection of zippers, which as been useful for many projects.
The final bag is approximately 5” x 11”—it’s a good size for pencils, pens, markers, or just as a catch-all bag for small odds and ends.
Making Zipper Tabs
I have a post on how to make a similar zipper bag with a patchwork pocket, which has a more detailed description of how to make zipper tabs.
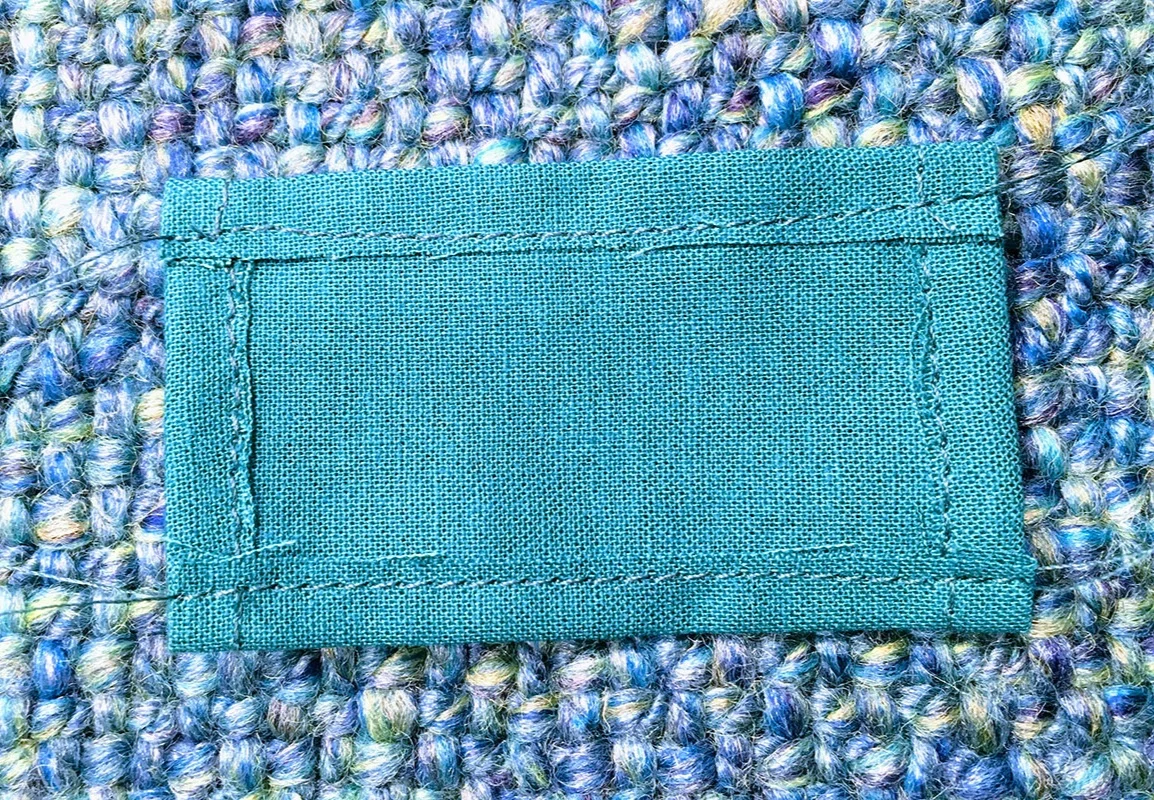
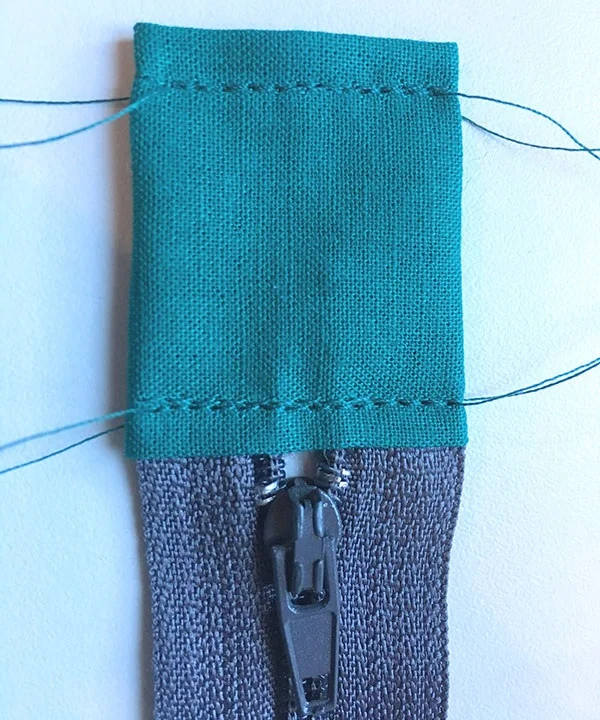
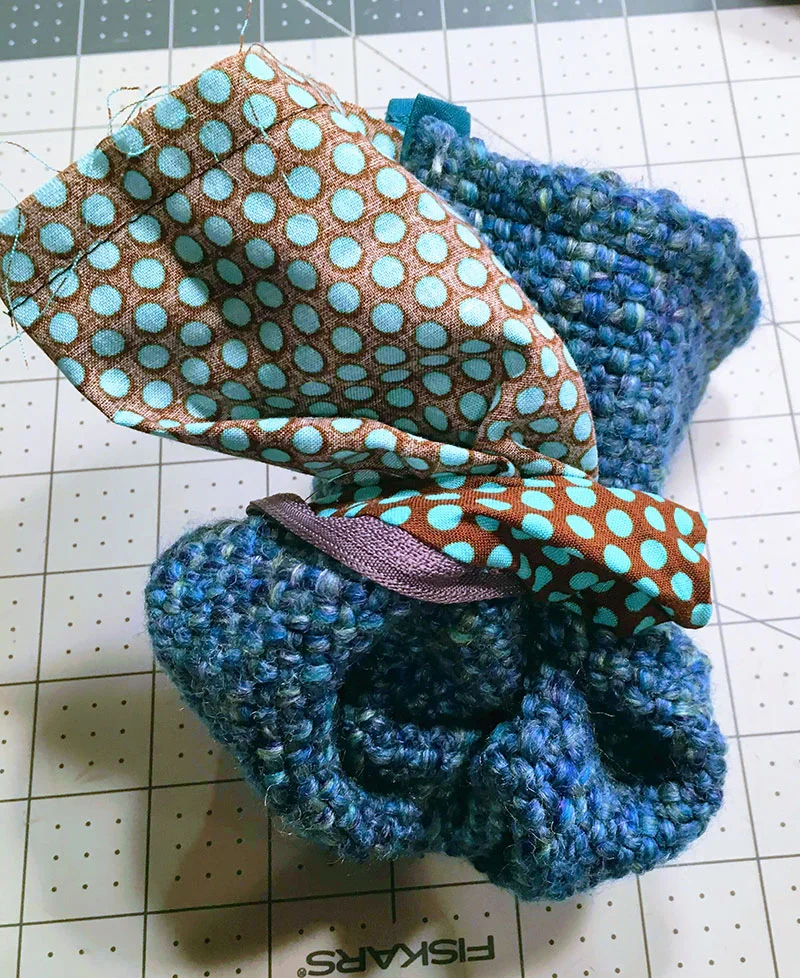
Fold in all four sides and sew a 1/4” seam, so that you have a little hemmed rectangle that looks like the one below.
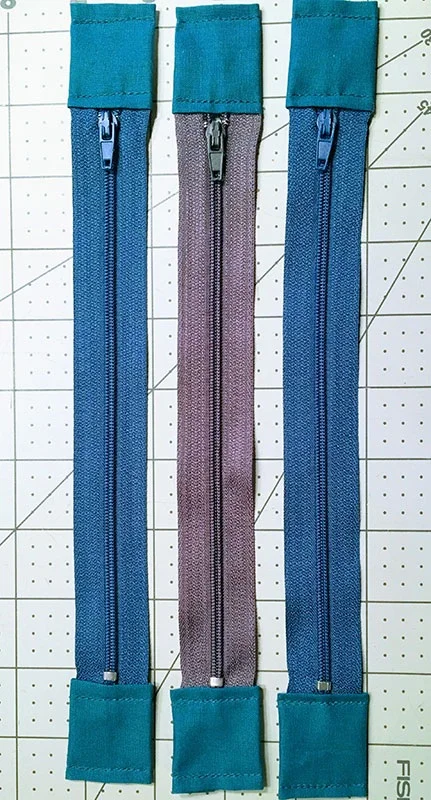
Then fold the rectangle lengthwise around the ends of the zipper, folding the ends to the back. Sew the tab to the zipper along the previous lines of stitching. Your zippers should look like the ones on the right once you’re done. The tabs add a little length to the zipper and also just look nice.
Adding the Vinyl Patches
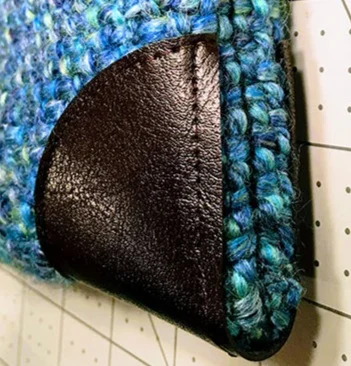
I experimented with this a bit, and I found that it was best to set the patches in about 1/2” from the edges. Center them in the middle of your fabric. I put everything on my cutting mat for this, so I can use the ruler grid markings to match up the center of the half-circle to the center of my fabric.
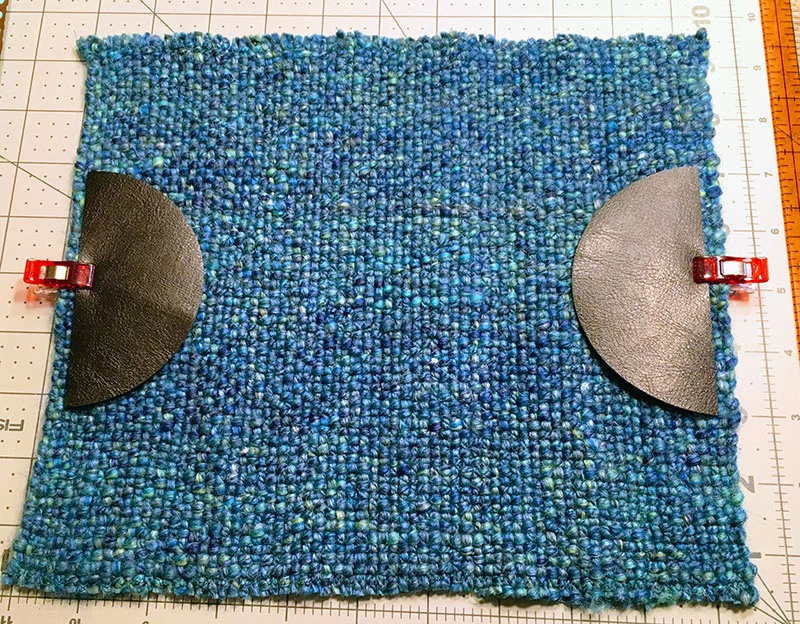
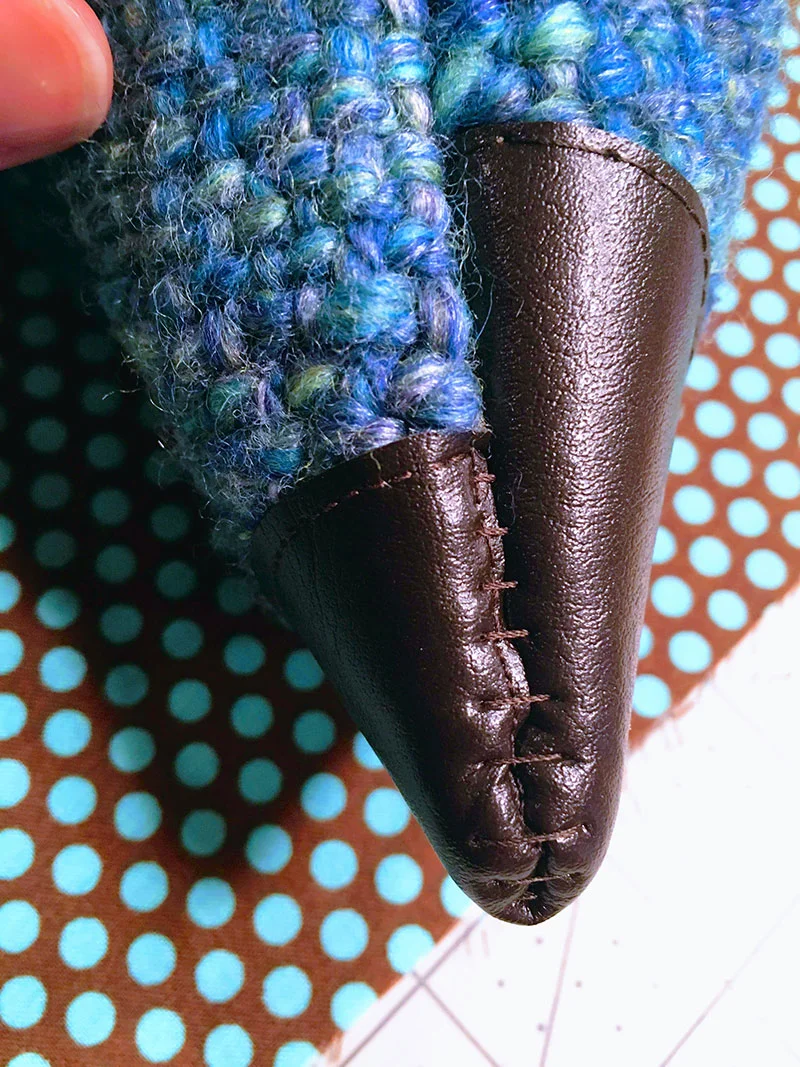
I sewed one bag where I kept the patches flush with the edge of the woven fabric, but after sewing the side seam, they were bulky and didn’t look quite right. The stitching pulled and looked like it might catch on things. I decided it would be better if the vinyl patches weren’t caught in the side seam.
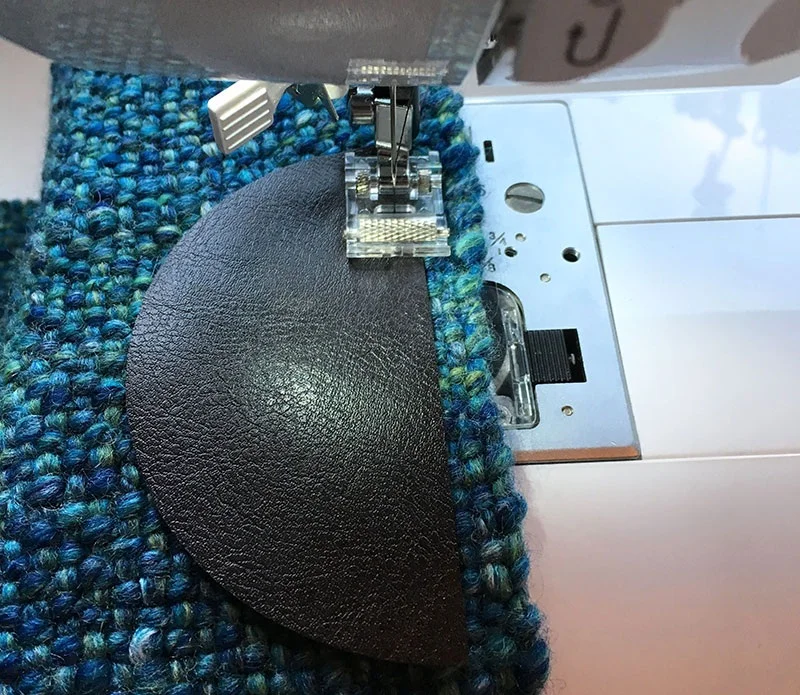
As you can see in the picture on the left above, I also had trouble getting the patch matched up on each side properly, so I ended up using a roller foot to sew them on, which allowed everything to feed more evenly while sewing (see below). The problem that I had with the patch is that the vinyl “drags” on the normal presser foot and then it feeds more slowly than the fabric, un-centering the two. With the roller foot, I was able to keep the patch and fabric matched up together, as you can see above on the right.
Inserting the Zipper
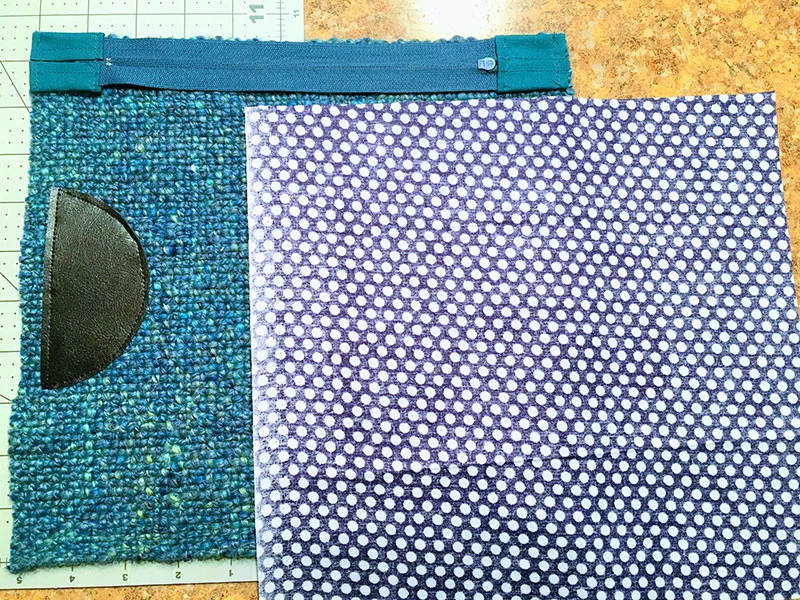
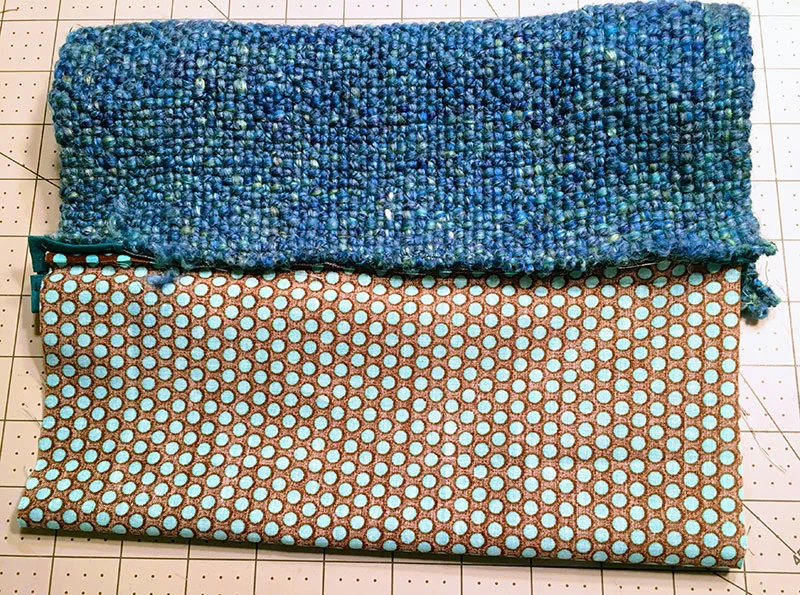
Now you'll attach the lining and outside of the bag to the zipper. Take your woven fabric and lay it face up. Now take your zipper and lay it face down on the woven fabric. Take your lining and lay it face down on the zipper. I've staggered the pieces below to show you the correct order, but you'll line up all of the edges. Basically, you're sandwiching the zipper between the body and lining pieces. Sew all three pieces together along the top edge with a 1/4" seam.
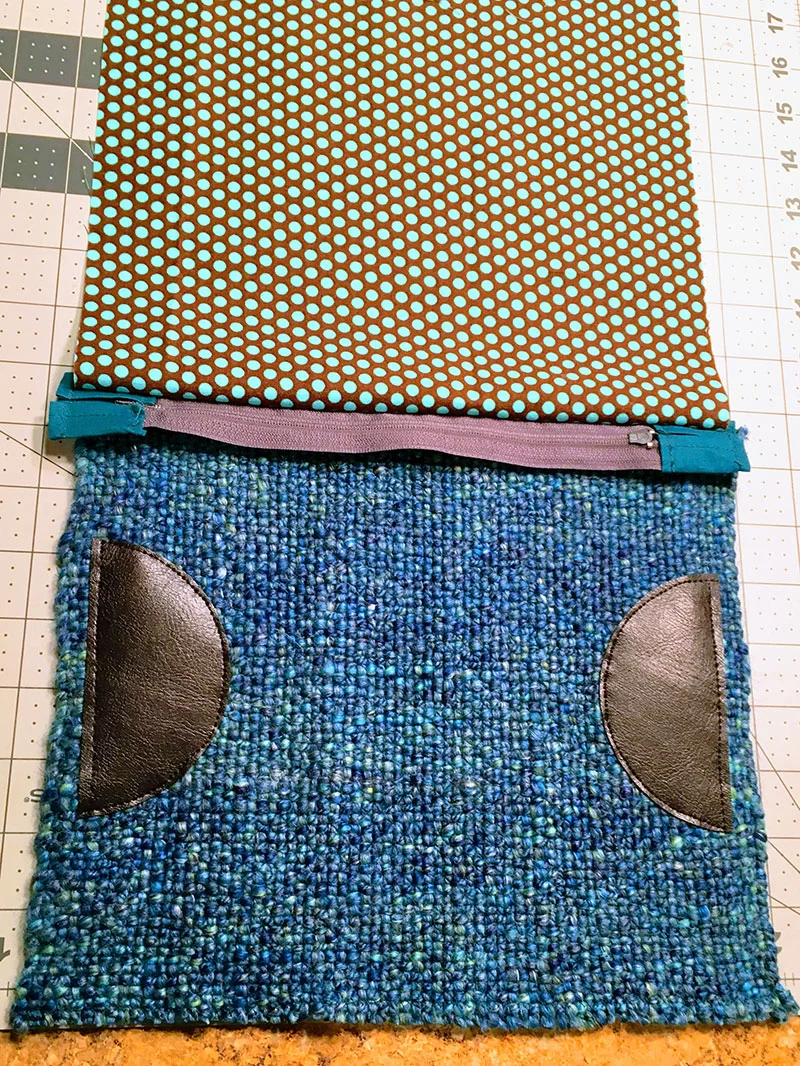
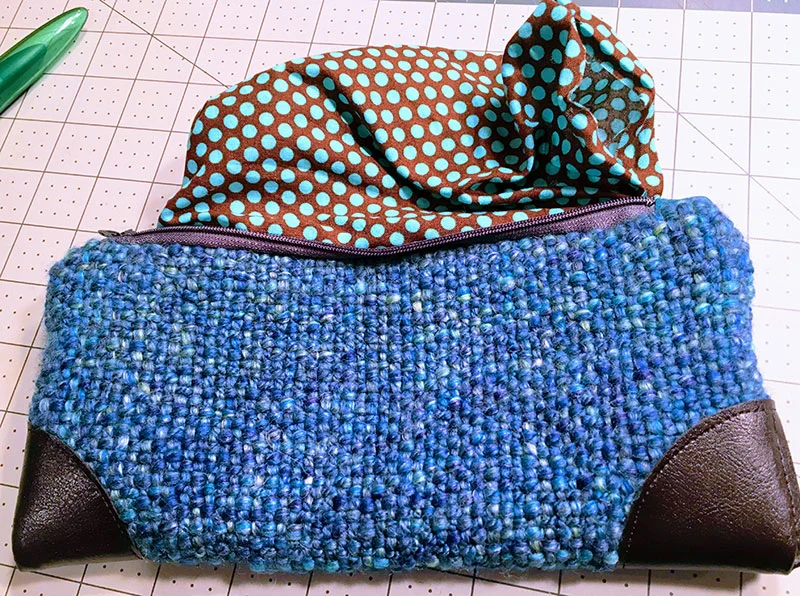
Fold the body and lining away from the zipper. It should look like this. (You might have noticed that the lining fabric changed. I made a few of these bags, so some of the shots are from different ones.)
Now you want to sandwich the other side of the zipper between the body and the lining. Fold the lining up so that the right sides are together and the right side is up against the underside of the zipper. Fold the woven fabric right sides together so that the right side is against the top of the zipper. Sew across all three with a 1/4” seam again.
Before you start the next step, open the zipper. Open the bag out so that the zipper is in the middle with the woven fabric and lining on opposite sides.
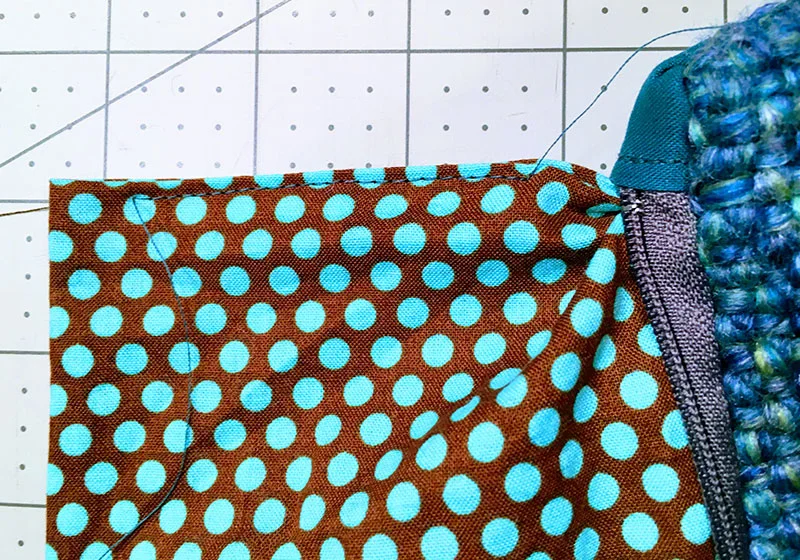
Fold your zipper tab like so and pin or clip it in place, so it won’t move.
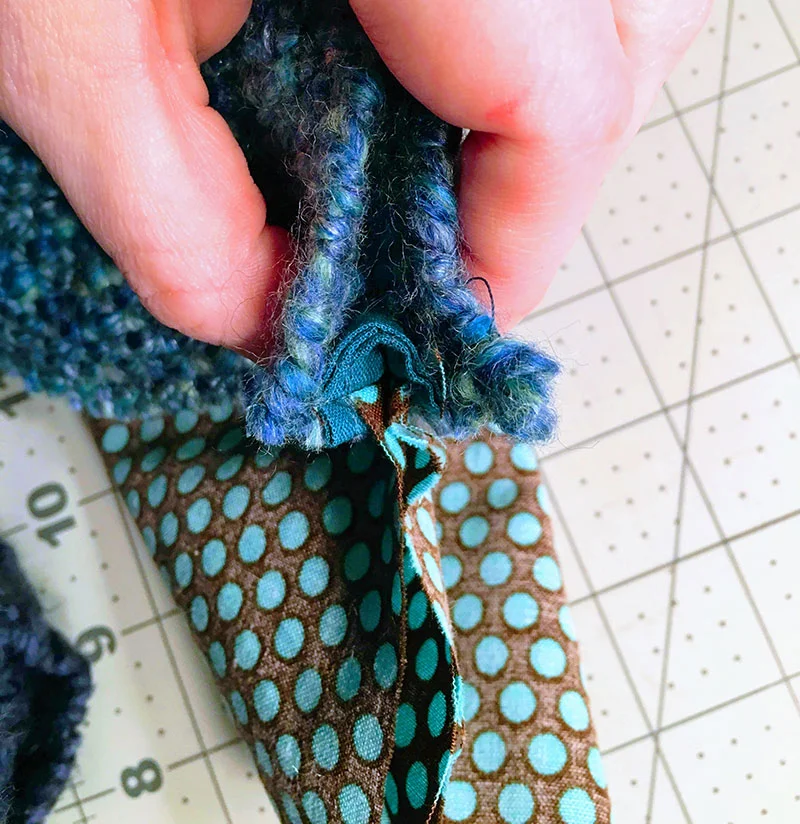
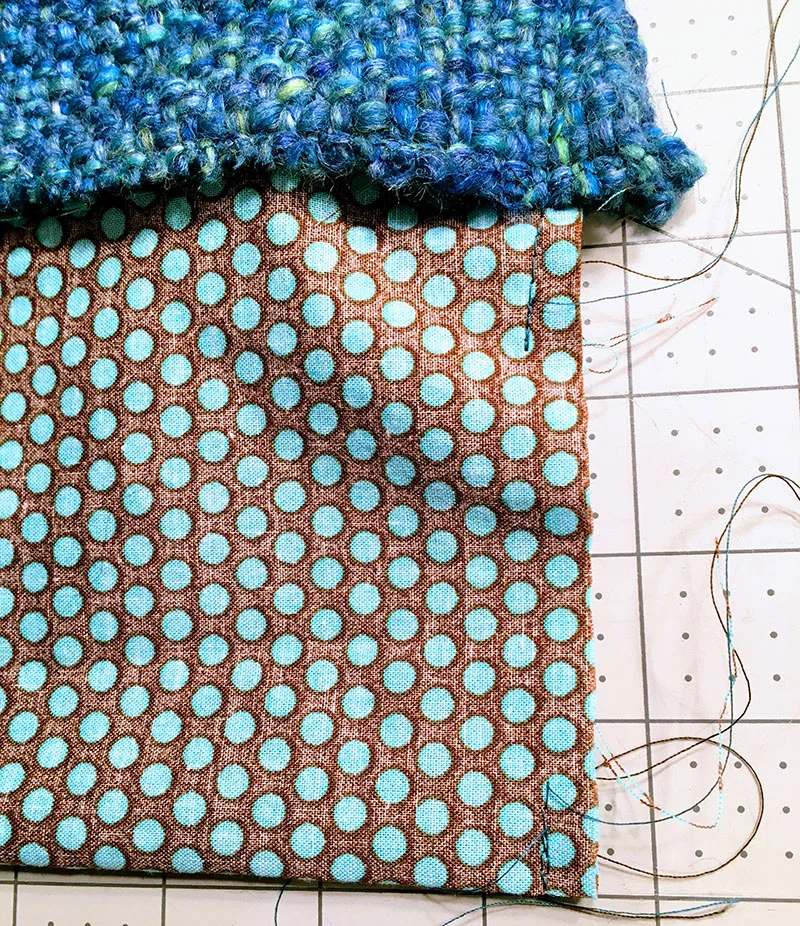
Sew up each side of the bag. Leave an opening along one side of the lining to turn the bag. See the right side of the bag in the photo below. I left approximately 2 1/2” open along the middle of the lining.
It's finally time to turn your bag! It takes a bit of finesse, but you should be able to push everything through the hole in the lining and then through the open zipper.
To finish it up, pull out the lining and press the raw edges into the opening so that it's even with the rest of the lining.
Stitch the opening closed with coordinating thread. Since it's on the inside of the bag, the stitching won't be very noticeable. You could also do an invisible ladder stitch by hand if you don't want any stitching to show at all.
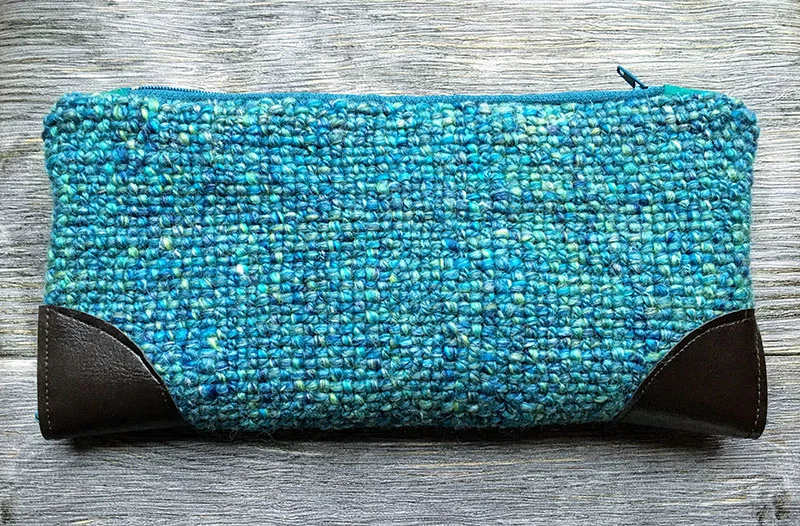
The Final Bag
Enjoy your finished zipper bag!
Want More Weaving Projects?
Check out my Weaving board on Pinterest: