Using Aluminum Cans to Make Jewelry
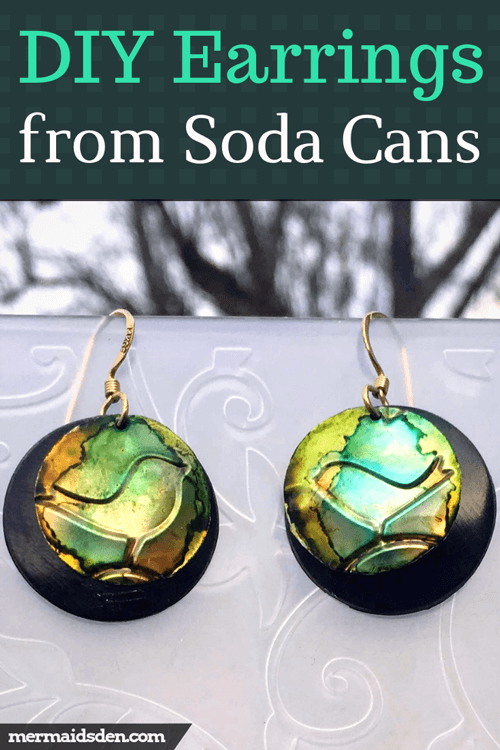
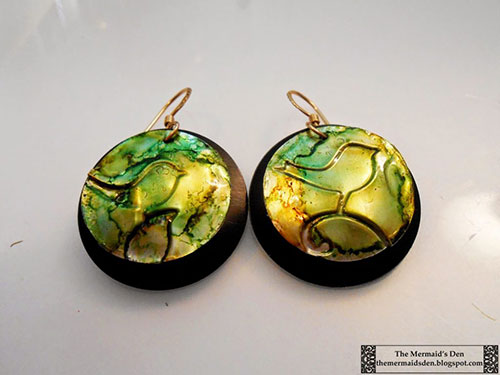
In my previous post, I discussed how to cut up aluminum cans to use in jewelry and showed some examples of what I've done as well as what others have done with similar materials. In this post, I'll show how to punch out discs for jewelry, emboss them, dap them, and turn them into earrings like this:
Free Tutorial: Using Aluminum Cans to Make Jewelry
Disclosure: This post contains affiliate links, which means I may receive a percentage if you make a purchase using these links. I only link to things I like and use!
Materials used:
- Disc cutter
- Hammer
- Cut lube
- Metal shears
- Files
- Big Shot Embossing Machine
- Floral embossing folder
- Birds embossing folder
- Wood dapping block
- Hole punch pliers
- Ranger alcohol inks
- Alcohol ink applicator
- Sheets of colored aluminum from Bead Landing (can't find a link for these online, but I got them at Michaels)
- Glossy accents
or Resin
First, you'll need to punch out some discs. You can also draw a circle on your metal sheets and cut out a circle using your metal shears. I find that it's difficult to get a consistently symmetrical circle with this method, but it works well enough if you don't want to buy a disc cutter. If you have a jeweler's saw, you can also use that.
This is the disc cutter that I have:
Free Tutorial: Using Aluminum Cans to Make Jewelry
There are a bunch of similar economy models along the lines of this one. It cuts discs from 1/2" to 1" in size, and these models typically cost anywhere from $30-$50. While I'm glad I got this one initially to try it out, I'm already wishing I'd gotten a better quality disc cutter. The problem with this model of disc cutter is that they don't cut cleanly and you end up doing a lot of work to finish the discs and make them wearable.
These discs will give you an idea of what the initial cut looks like. Sometimes they're not quite so ragged round the edges, but most of the time, you will have to do some clean-up afterward.
Free Tutorial: Using Aluminum Cans to Make Jewelry
I recommend Melissa Muir's review of disc cutters at the Beading Gem. She covers all the major types of disc cutters. I think I will try to upgrade to a Pepe or Swanstrom model in the near future.
One other common problem: I've seen a lot of people complaining that their punches get stuck in the disc cutter. This video at Rio Grande shows that you should use some kind of lubrication every time you punch out a disc to keep your punches from getting stuck in the disc cutter. My disc cutter didn't come with instructions, so it took me a little while to figure this out. The disc cutter becomes virtually unusable if you don't do this. Cut lube seems to work pretty well, though it will leave little white flakes all over your discs and work surface.
Free Tutorial: Using Aluminum Cans to Make Jewelry
Coat the punch you want to use with cut lube, insert your metal sheet into the disc cutter, and make sure the flat side of the punch is facing down toward the metal. This is where the economy models fall flat. You now have to hold the metal in place while you hammer it. Inevitably it takes two or three blows to cut through the metal, and it is very difficult to hold the metal precisely in place while hammering it. The more expensive disc cutters will hold the metal in place for you, leading to much cleaner cuts.
Free Tutorial: Using Aluminum Cans to Make Jewelry
Free Tutorial: Using Aluminum Cans to Make Jewelry
I've also cut out some aluminum sheet metal in black. It's a thicker gauge than the aluminum cans, so it works well as a backdrop to the thinner metal of the cans.
Free Tutorial: Using Aluminum Cans to Make Jewelry
I had to spend some time trimming the extra metal off the edges with metal shears and filing and sanding the edges to smooth them out. Then I used hole punch pliers on all of the discs.
Free Tutorial: Using Aluminum Cans to Make Jewelry
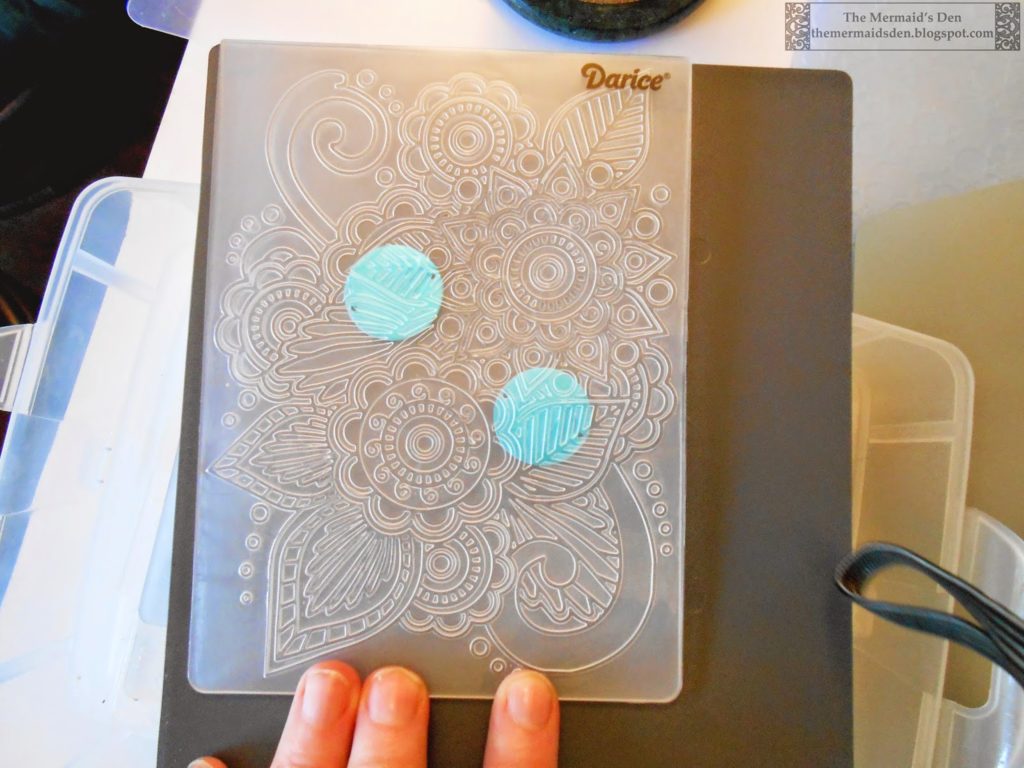
Next they go in an embossing folder and into my embossing tool. I have the Epic Six, but I think most embossing tools can emboss metals. I got mine from Fire Mountain Gems (but it's no longer available through them), and their instructions indicate that you can use 26 gauge and thinner metals, but I've used up to 24 gauge with no issues (yet). The embossing folder gets sandwiched between the embossing pad and cutting mat and run through the machine. If you use polymer clay, it'll remind you of a pasta machine for metal.
Free Tutorial: Using Aluminum Cans to Make Jewelry
Free Tutorial: Using Aluminum Cans to Make Jewelry
Free Tutorial: Using Aluminum Cans to Make Jewelry
Free Tutorial: Using Aluminum Cans to Make Jewelry
This is what it looks like after going through the embossing machine:
Free Tutorial: Using Aluminum Cans to Make Jewelry
Here are a bunch of pieces I embossed:
Free Tutorial: Using Aluminum Cans to Make Jewelry
Next I used a dapping block to create a domed effect on the discs.
Free Tutorial: Using Aluminum Cans to Make Jewelry
Here's a comparison between undapped and dapped pieces:
Free Tutorial: Using Aluminum Cans to Make Jewelry
And all of the pieces once they've been dapped.
Free Tutorial: Using Aluminum Cans to Make Jewelry
To add a bit of color, I applied alcohol inks to the embossed and domed discs:
Free Tutorial: Using Aluminum Cans to Make Jewelry
I then applied a layer of Glossy Accents to seal them. You can also use resin for this.
Free Tutorial: Using Aluminum Cans to Make Jewelry
Here are some examples of other earrings I've made using this same method:
Free Tutorial: Using Aluminum Cans to Make Jewelry
Free Tutorial: Using Aluminum Cans to Make Jewelry
Check out Other Cool Projects on my Repurposed Metal Crafts Board
Using Aluminum Cans to Make Jewelry


