Resin Bracelet Tutorial: Han Solo in Carbonite
In this free tutorial, I'll walk you through the process of using Star Wars ice cube molds and resin to create a Han Solo in Carbonite bracelet. You can easily make your own geeky bracelet with custom components to wear to all the new Star Wars movies. This project involves using resin, a hand drill, and some basic jewelry-making skills. You can also make your own toggle clasp with leftover resin from the bracelet components.
Disclosure: This post contains affiliate links, which means I may receive a percentage if you make a purchase using these links. I only link to things I like and use!
Materials used in the Han Solo in Carbonite Bracelet:
- Easy cast resin
- Mold release
- Han Solo in Carbonite Silicone Ice Tray
- Resin jewelry mold for clasp, part I
- Resin jewelry mold for clasp, part II
- Jacquard Pearl EX Set (Series 1)
- Black ink
- Plastic Medicine Cups
- Craft sticks
- Jewelry files
- Mini hand drill
- Needle tool
- Beads of your choice (I used hematite)
- Fireline thread
Preparing
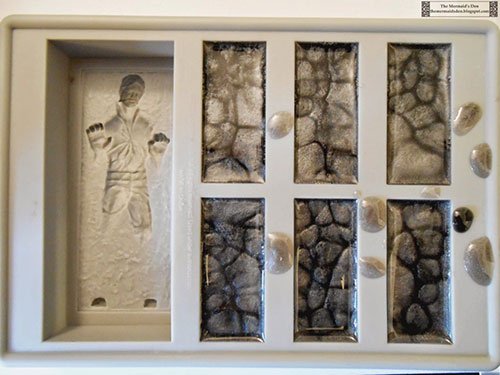
I started by spraying the mold release into the mold and allowing it to dry. Then I measured out the two parts of resin into the medicine cup, stirred them together with the wooden craft stick (you can't clean the resin off or reuse the stir stick, so use something disposable), and added the pearl ex mica powder. I used two shades of silver and a bronze color. 30 ml was enough resin to fill all six molds almost to the top.
They weren't quite full, though, so I mixed another 15 ml of resin, into which I added the black ink. Initially, I thought the resin had set enough that there would be a layer of black, but instead it sank in, making a cool pattern.
Han Solo in Carbonite Resin Bracelet
Removing
This is what they looked like after being removed from the mold three days later.
Han Solo in Carbonite Resin Bracelet
Finishing
The edges were kind of sharp, so I filed down the back and side of each piece. I used metal jewelry/nail files in water to avoid inhaling the dust.
Han Solo in Carbonite Resin Bracelet
Drilling Holes
Then I used a hand drill to drill two holes in each piece. Measure carefully to make sure the holes are evenly spaced and equivalent on each piece. I marked the spots with sharpie on each component. You can use a needle tool or bead reamer to clean up the holes after you drill.
Han Solo in Carbonite Resin Bracelet
Han Solo in Carbonite Resin Bracelet
I tested stringing the pieces to see if they lined up right.
Han Solo in Carbonite Resin Bracelet
Finishing the Bracelet
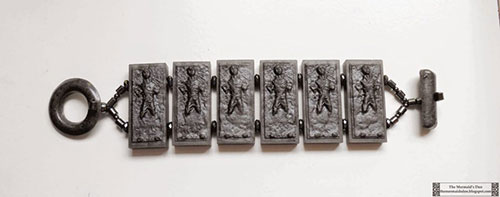
Then I strung them with Fireline thread and hematite spacers. I also made a resin loop and toggle clasp to match.
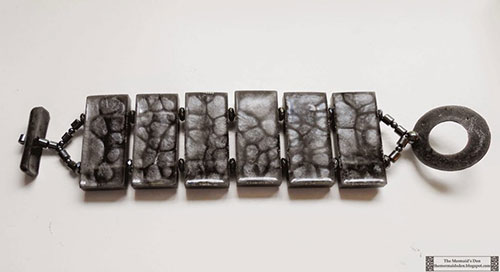
It can be worn in reverse, too.
Han Solo in Carbonite Resin Bracelet


