Polymer Clay Tile Box Tutorial

Polymer Clay Tile Box Tutorial
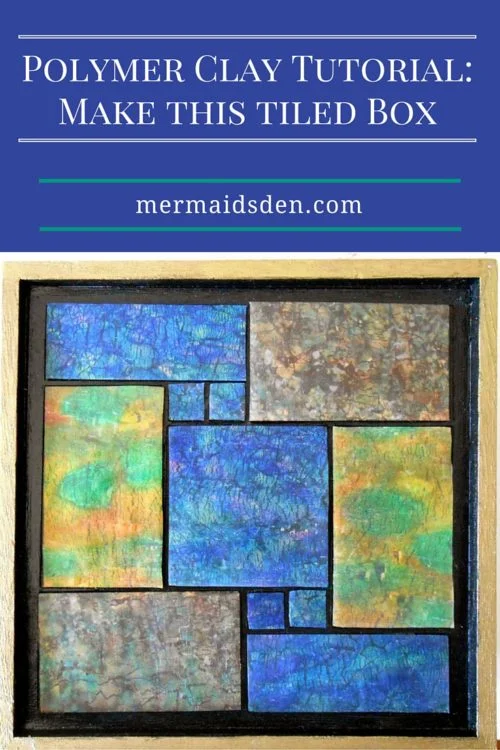
In this tutorial, I'll walk you through the process of creating beautiful foiled, alcohol ink polymer clay tiles to add to a wooden box.
Disclosure: This post contains affiliate links, which means I may receive a percentage if you make a purchase using these links. I only link to things I like and use!
First, I found a free stained glass pattern that I liked, and I used my Cricut Explore One Cutting Machine to cut out the design.
The box wasn't quite squared off, so that's why there are gaps around the edge.

Polymer Clay Tile Box Tutorial
I used gold foil on black polymer clay
with different colored alcohol inks.

Polymer Clay Tile Box Tutorial
I covered it with translucent polymer clay and used the cut-outs from the black frame as stencils.

Polymer Clay Tile Box Tutorial
Here they are after baking:

Polymer Clay Tile Box Tutorial
And after a little more treatment with the heat gun, which makes the translucent clay clearer.

Polymer Clay Tile Box Tutorial
I painted the background black so that any gaps wouldn't be noticeable, and then I glued in the tiles.

Polymer Clay Tile Box Tutorial
Here's the finished box:

Polymer Clay Tile Box Tutorial