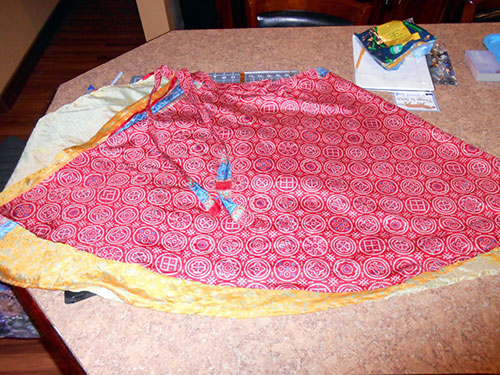
Convert a Wrap Skirt into a Regular Skirt Part 1
In this post, I'll show you how to convert a wrap skirt to a normal skirt by sewing up the side and adding a zipper, so you can wear it with confidence! See Part 2 of this series here, where you'll learn how to add an elastic waistband. I have a love-hate relationship with wrap skirts. They look nice when I buy them, but then I never want to wear them for fear that they'll fall off.
Disclosure: This post contains affiliate links, which means I may receive a percentage if you make a purchase using these links. I only link to things I like and use!
Materials needed:
- Wrap skirt
- Invisble Zipper
(I like this assortment)
- Invisible zipper foot
- Regular zipper foot
- 2 hook and eye clasps
- Thread, needles
Preparing to Convert a Wrap Skirt
I found this wrap skirt at a thrift store, and it was already just about the right size for my waist. If you find a larger wrap skirt, cut it down to the size you need to comfortably fit around your waist and hem the edges. Make sure to cut it on the bias, so that it flares out.
This skirt has a red top layer and a yellow bottom layer. Sew these two layers together on either side of the skirt opening. Do not sew up the middle just yet. Your skirt should be one long piece of fabric with an opening down the side.
Next, I sewed up the button hole that the skirt tie goes through, just to strengthen the waistband. Use a wide zigzag stitch and a short stitch width for this.
Adding the Zipper
Now start pinning the invisible zipper to one side of your skirt. I used this tutorial from By Hand London to add my invisible zipper. Start your zipper underneath the waist band ties.
The zipper has been added at this point, but the rest of the seam is still open.
Iron it so that the fabric is as flat as you can get it over the zipper. Many wrap skirts are made from silk, which can be tricky to sew.
Turn it inside out and sew up the rest of the side seam, starting underneath the zipper.
Cut the waistband ties, fold them over twice, and sew it up, so that there are no raw edges to unravel.
Add a couple of hook and eye clasps to hold the top of the skirt closed. I didn't discover this tutorial until after I'd sewed my hook and eyes on, but you can do it properly. As you can see, my skirt's waistband was a little uneven to begin with, and it does not match up perfectly.
The Finished Skirt
This is what the final project looks like:


