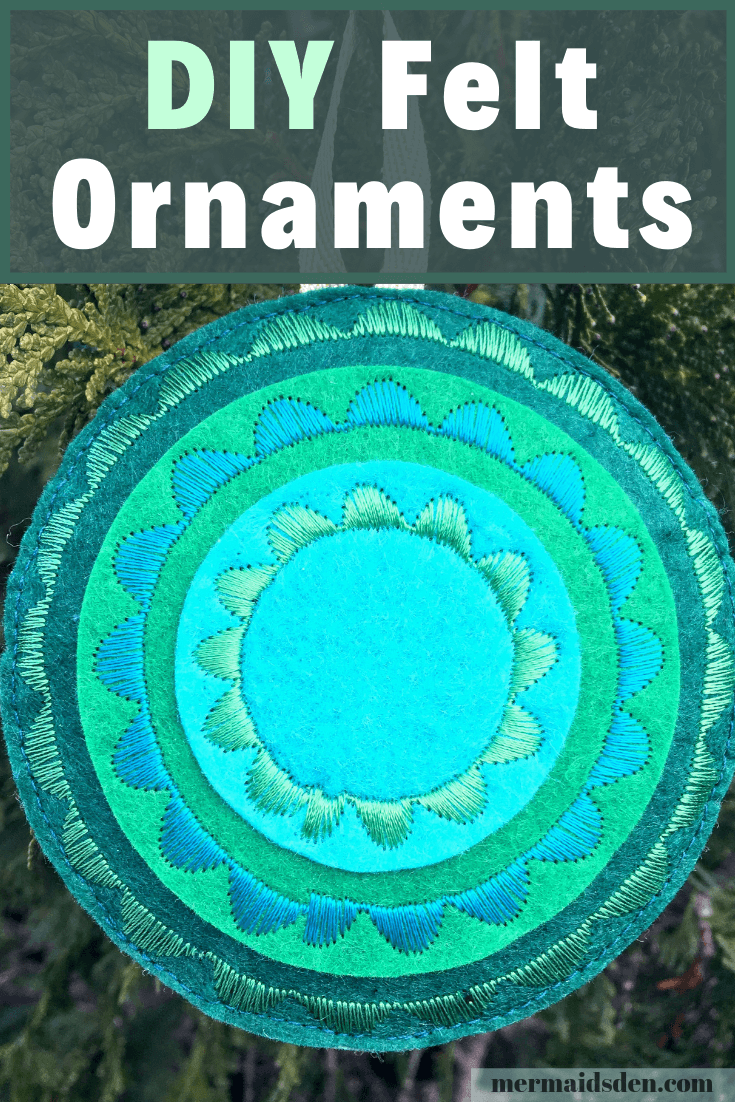
Easy Embroidered Felt Ornaments

In this post, I’ll show you how to make some super easy embroidered ornaments. I used some of the fancy stitches on my sewing machine and some pretty rayon and metallic threads to embroider these felt ornaments. This post contains a free pdf pattern and a full tutorial for making these ornaments.
Disclosure: This post contains affiliate links, which means I may receive a percentage if you make a purchase using these links. This won’t cost anything extra to you. See my privacy policy for more details.
Cut Out Your Pieces
I created a free pdf pattern template for these circles. They’re 2” wide, 3” wide, and 4” wide. To make things easier, I used my Sizzix Big Shot and circle dies to cut out the pieces. You certainly don’t need a die cutter, though. You will need one small circle, one medium circle, and two large circles.
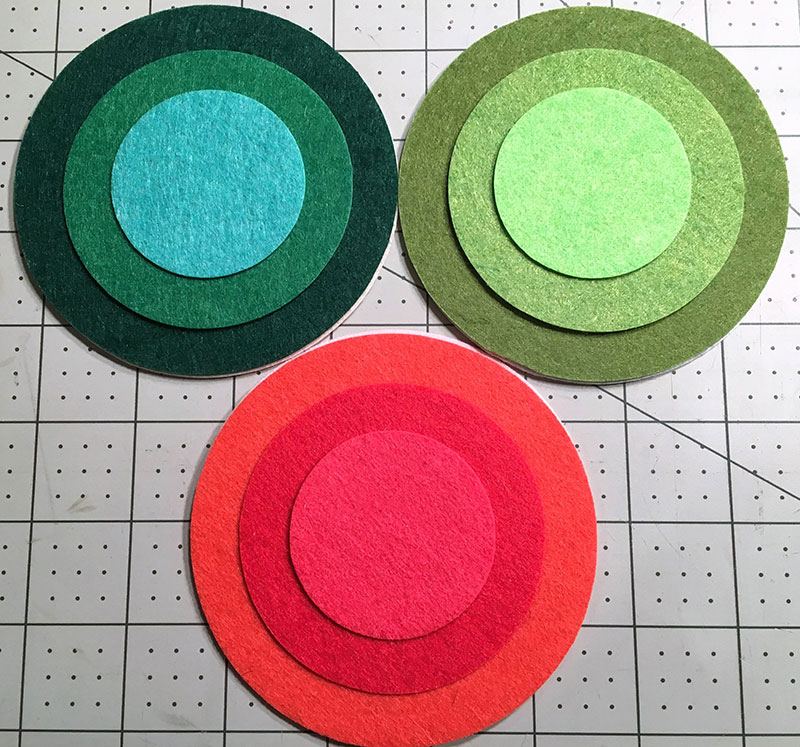
I used some wool blend felt in various colors for these ornaments.

Embroidering Your Pieces
In an earlier post, I made a stitch book with all of the fancy stitches on my sewing machine. I chose some of my favorites for these ornaments. I found that the round filled stitches worked well for these, but most sewing machines have a wide variety of decorative stitches that you could use.
You might want to cut out a couple of practice pieces to get a sense for what it feels like to sew around the circles. You have to turn it more quickly than when you’re sewing a straight seam, but with a little practice, it’s not that hard.
The difficult part is making the starting and ending stitches line up. Most of the time, you won’t be able to get the beginning and end to match up exactly, but if you sew your ornament so that this overlapped point is at the bottom, it’s not that noticeable. For each ornament, I used Sulky rayon and metallic threads that I got at Joann Fabrics.

I used double-sided sewing tape to hold the pieces together while I was working. I like this better than pins because it keeps everything nice and flat, plus you can sew over the tape without any problems.

Tape your middle piece right onto the bottom piece. I didn’t measure it in order to center it—I just eyeballed it. You may also want to lower your stitch tension as you add more pieces. This will allow the stitches a little more breathing room so that they don’t get too tight.

I sewed around the middle circle using the same decorative stitch as before.

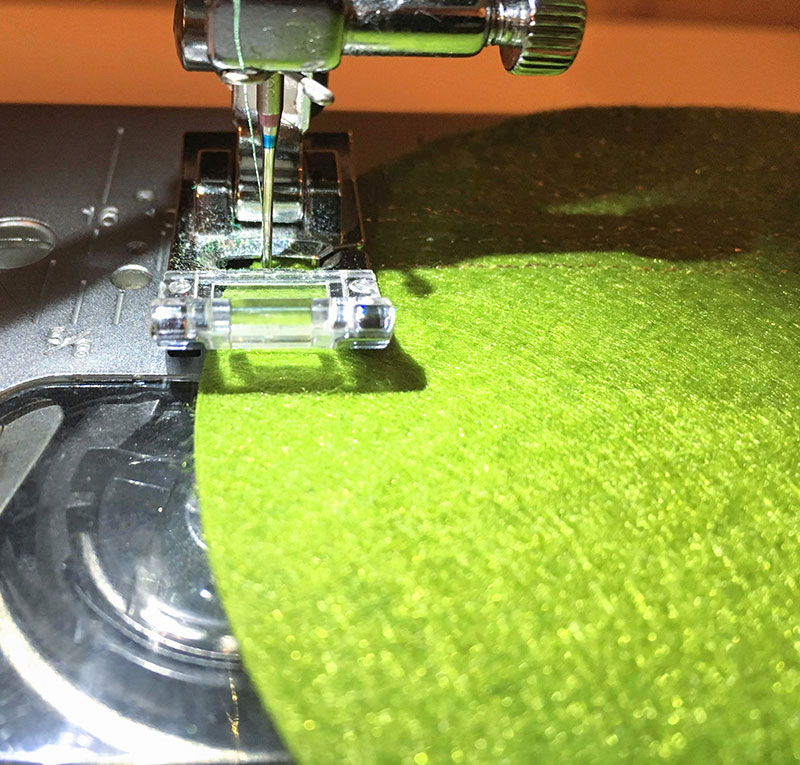
Then add your smallest circle and repeat. To keep the stitches close to the edge of the circle, I kept the edge of the circle lined up with the edge of the clear window on my presser foot.

Here’s what it looks like after stitching. The patterned stitches seem to get smaller and more dense just because I had to turn the circles more quickly as they got smaller. I didn’t change any of the settings on my machine between circles.

A Simpler Version with Only Straight Lines
But what if you don’t like sewing in a circle? It can be a little difficult to master that skill, especially for a beginner. If you need an easier idea for decorating your circles, how about straight lines? If you use a pretty metallic or variegated thread, this can still look really nice! Start out with the largest circle and sew back and forth. Your lines don’t have to be perfectly even or spaced exactly the same. I think it gives it some nice texture and interest to have the lines wander a bit. You could even use a decorative stitch here instead of a straight stitch.

Once you get to the end of your fabric, stop sewing and leave the needle in the fabric. If you don’t have a needle-down button, use the hand wheel to lower the needle into the fabric.
Then lift your presser foot and rotate the circle, using the needle as a pivot point, so that your stitches are at a 90 degree angle to the presser foot. You can see the rows of stitching behind the presser foot here. Sew one stitch with the hand wheel. Leave your needle in the fabric again. Raise the presser foot and rotate the circle back around.
Now you can sew another row of stitches. As you get to the end of each line, rotate, sew one stitch, and keep going, stepping up and over each time.

Keep going like this until you’ve filled the whole circle.

Add two more layers of circles as before.

Adding Ribbon and Backing
Take the second large circle that you cut for each ornament. Add a small loop of ribbon so you can hang the ornament. I used a 4” length of ribbon here. I used surgical tape to hold the ribbon in place. It’s fine to sew right through this tape and to leave it inside the ornament.

Now put the plain backing circle behind the embroidered front circles. Find some regular thread that matches the background color of the biggest circle.

Then stitch around the circle, sewing the back to the front. To sew close to the edge, I moved my needle to the right as far as it would go, and I lined up the edge of the circle with the clear window on my presser foot. If you want to stuff your ornament, leave an opening of about 1 1/2” at the bottom of the ornament.

Stuffing the Ornaments
Earlier this year, I got a Singer hand crank pinker, and I’ve been saving all of my fabric scraps from pinking. I stuffed the ornament with these fabric scraps, but you could also use polyfill or anything else that you have on hand. Once you’ve filled your ornament, push the filling toward the center, so that you have a flat area to sew, and then sew up the opening. Then mush the stuffing around with your hands to redistribute it.

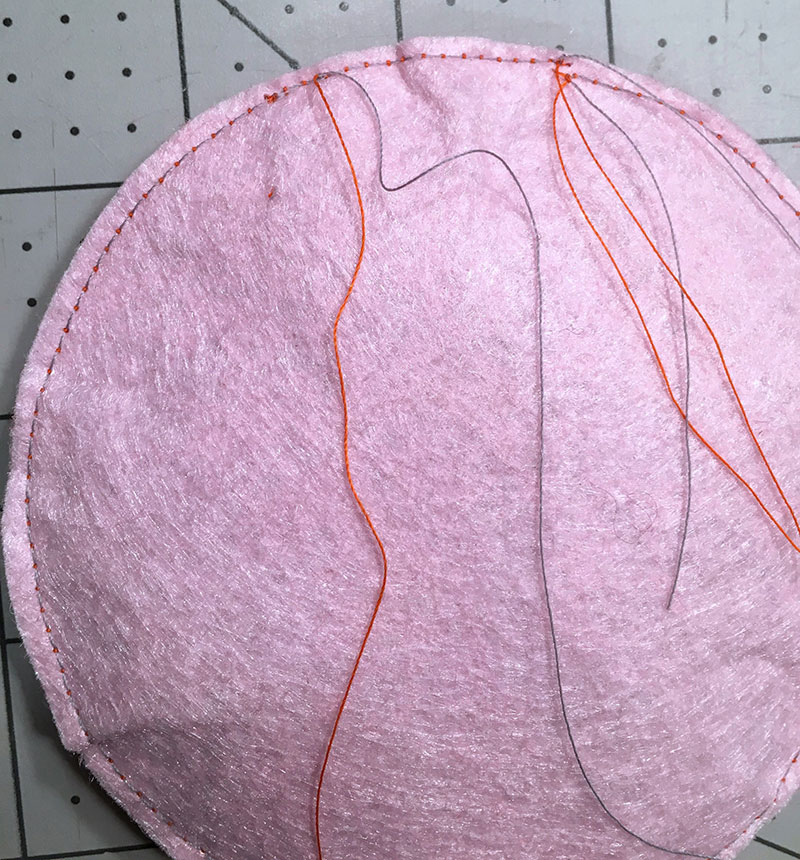
Pull all thread tails to the back of the ornament by pulling up on the thread at the back of the ornament and then pulling through the loop from the front thread (see the orange loop on the left? Pull that through and you’ll have the thread from the front moved to the back). Tie them into knots, but don’t trim them. If you trim them, the little thread tails might poke out over the edge of your ornament.

Instead, thread them through a needle, and sew up through the body of the ornament. I’m doing two at a time here, but you can do one at a time if you have trouble getting both threads through the needle at once.

Then trim your thread tails and let them disappear inside the ornament. Do this for all of the remaining thread tails.
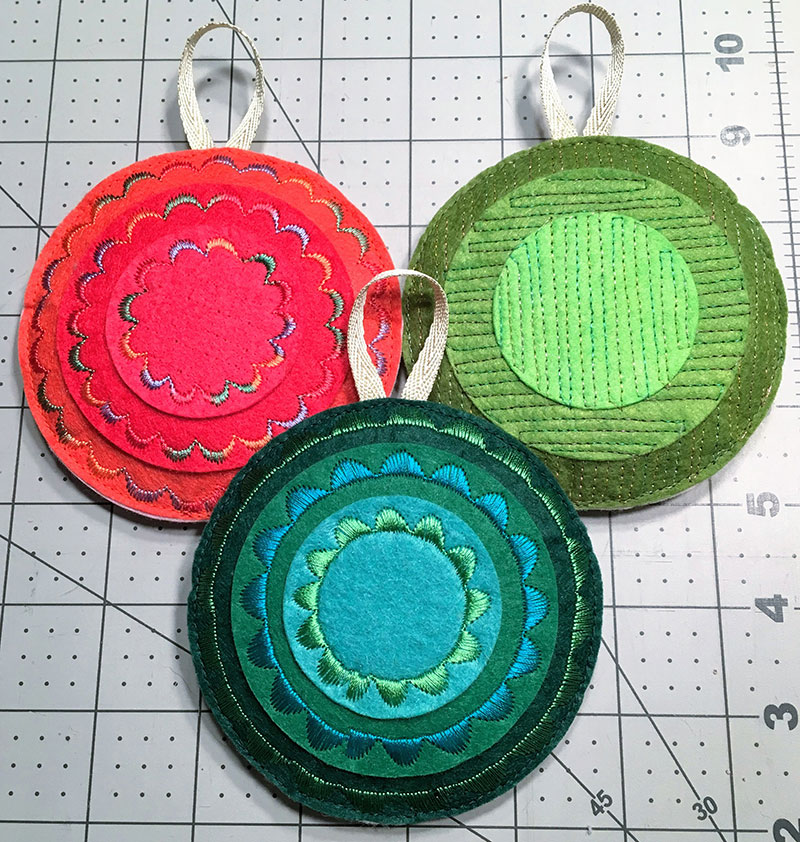
The Finished Ornaments
Now enjoy your finished ornaments!
Want More Ornaments?
See my Pinterest board on Sewing Ornaments:
And see this cute tree ornament from All Free Sewing.