How to Make a Stitch Sample Book for Your Sewing Machine
Do you have a bunch of fancy stitches on your sewing machine that you've never even used? Making a stitch sample book is a great way to test out those fancy stitches and learn what your sewing machine is capable of. You can also experiment with fancy threads and different kinds of sewing machine needles before using them in other projects. Creating a stitch sample book is a great way to test out a bunch of techniques and ideas.
Disclosure: This post contains affiliate links, which means I may receive a percentage if you make a purchase using these links. This won’t cost anything extra to you. I only link to things I like and use, and the proceeds help me to run this blog. Thank you for supporting me!
Materials used:
- Madeira Rayon Thread Sampler-18 Spools
(use this with the embroidery needles noted below. You can also use a regular sewing machine needle, but watch it carefully for snagging. This thread is a little thicker than the average polyester thread you probably use.)
- Gutermann 26 Spool Thread Box
(you can also find this at Joann Fabrics--use one of those 50% off coupons to get it super cheap! This is 100% polyester, so just use a regular sewing machine needle.)
- Sulky Rayon Thread Variegated (use this with embroidery needles as well.)
- Sulky Metallic Thread (use this with the metallic needles noted below. Metallic needles have larger, Teflon coated eyes to help protect thinner, more delicate metallic threads.)
- Coats & Clark Dual Duty XP Variegated thread (this is polyester, so just use a regular sewing machine needle)
- Schmetz Metallic Needles - Size 80/12
- Schmetz Machine Embroidery Needles 75/11 and 90/14
- Felt Squares 4x4", 44 pack
- Regular sized sheets of felt (I used 8)
- Stiff felt for cover and back: I found this at Joann Fabrics.
- Singer monogrammer
(you'll need to have a vintage slant shank Singer sewing machine to use this with)
Spool Pins
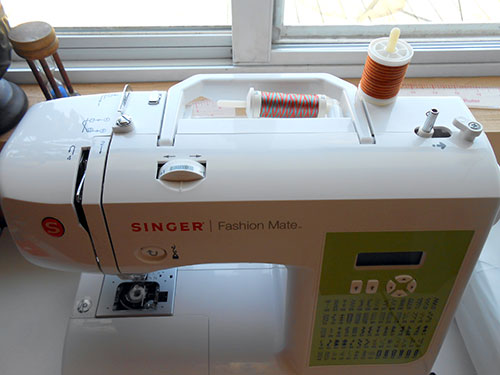
As I covered in a previous post, most modern sewing machines have two options for holding your thread: the vertical spool pin and the horizontal spool pin (see below).
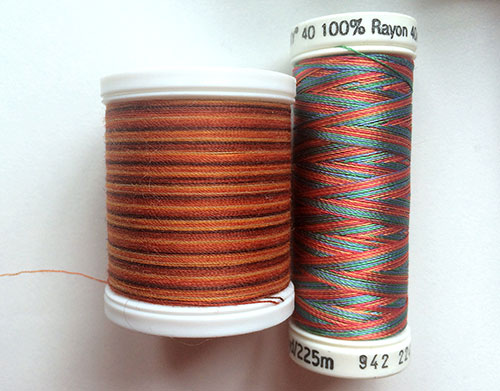
Most of the time, you'd want to use stacked thread (left) on your vertical spool pin because it unwinds more easily when upright. You'd normally use crosswound thread (right) on a horizontal spool pin, along with a spool cap to hold it in place while it unwinds.
Fancy Threads
In this case, I ended up using the stacked Madeira rayon thread on the horizontal spool pin with a spool cap. This thread was kind of slippery, and when I used it on the vertical spool pin, it ended up tangling underneath the spool and catching. Use an embroidery needle with rayon thread because it's a little bit thicker than normal sewing machine thread.
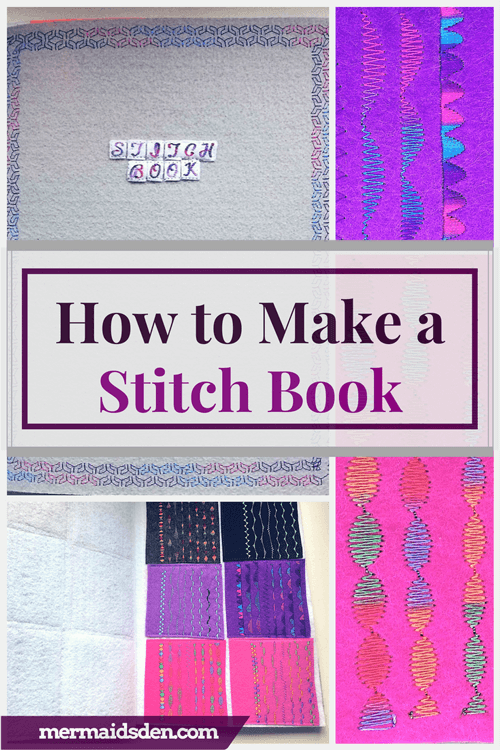
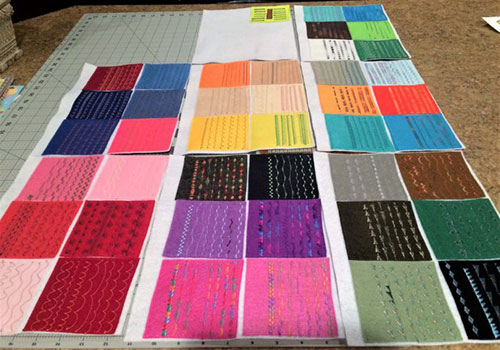
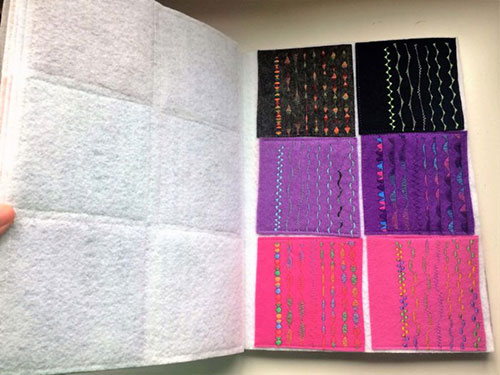
Here are a few of the samples I created. I used the precut 4x4" felt sheets listed in the materials section, but you could just cut up regular felt sheets, too. I used felt because it was heavy and stiff enough to hold all of the fancy threads and thicker stitches. On most sample sheets, I used the same stitch, but I varied the length and width. It's amazing how different a single stitch can look!
Threads used below: Sulky Metallic Thread for top left, top right, and bottom left. Gutermann Sew All for bottom right. All of the metallic threads sewed up nicely. On the bottom left sample you can see where my thread started to tangle under the spool and get caught. The black bobbin thread became pronounced on top because the top thread couldn't unspool properly. I kept these on the horizontal spool pin and used a spool cap to hold them in place, but these metallics are slippery. Keep an eye on them as you go to make sure they're not catching on anything.
Threads used below: Sulky Rayon Thread Variegated for the top left, bottom left, and bottom right. Coats & Clark Dual Duty XP variegated for top right. The Sulky rayon threads are shinier and a little thicker, but the Coats & Clark thread looked better than I was expecting. It's regular polyester thread, but on the thicker stitch settings, it filled out really well. It's a bit cheaper than the rayon threads as well.
I also tried using Sulky Holoshimmer thread, which, while very pretty, twisted horribly while feeding, so I didn't link to it above. I even tried a sewing hack that I saw online, which recommended threading metallic thread through a packing peanut to get it to feed smoothly. It did not work. I didn't have this trouble with the other Sulky Metallic Threads, though. Try the Holoshimmer at your own risk.
Making Your Stitch Sample Book
For each stitch on my sewing machine, I created a sample sheet, adjusting the length and width of the stitch. I used 4x4 felt sheets for the samples. After creating each stitch sample, I sewed them onto standard-sized felt sheets. I ended up with seven pages worth of stitches.
For the front and back cover, I used stiffer sheets of felt. I stitched a border around the edge, using one of my favorite decorative stitches, and I created a title using a monogrammer. I then used binder clips to hold it all together, while I saddle stitched down the left side, going through all layers.
Here's what it looks like when flipping through.
Using a Vintage Monogrammer for the Cover
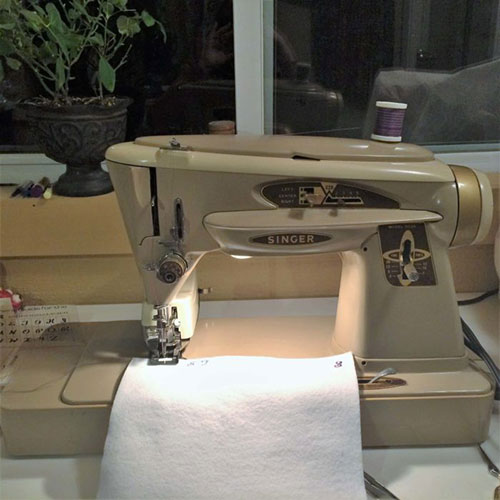
To create the title on the cover, I used a vintage Singer slant shank sewing machine, along with a monogrammer attachment that will only work on slant shank sewing machines. Most sewing machines have a low shank, and only vintage Singer sewing machines have slant shanks. I picked up my slant shank sewing machine at a thrift shop for $20, so keep an eye out if you want to try out one of these sewing machines. The needle bar is slanted forward for better visibility on these sewing machines, rather than pointing straight downward.
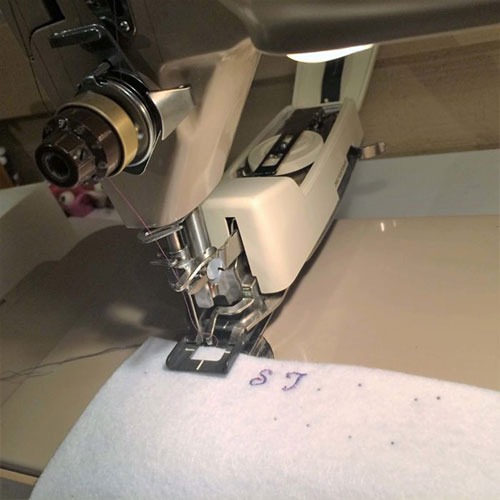
There are a lot of accessories that work on vintage sewing machines that aren't made for modern machines anymore, including this monogrammer attachment. It comes with discs for each letter, a placement guide, and a needle plate to use instead of your regular one.
Here's what it looks like once you've loaded your disc. Then you'd close the cover, and start your machine, using a zigzag stitch. The disc turns, adjusting the placement of the fabric accordingly. See a more comprehensive review and tutorial here.


