Shoe Repair and Waterproofing
Do you have a favorite pair of shoes that is falling apart? Soles coming off, water leaking through, scuffs and scratches? In this post, I’ll show you how to repair your shoes with shoe glue and also an easy way to waterproof your shoes. The shoe glue can fix soles that are coming away from the shoe, and the waterproofing shoe grease can keep your feet from getting wet. This is an easy, cost-effective way to make your shoes or boots last a little bit longer and give them new life.
Disclosure: This post contains affiliate links, which means I may receive a percentage if you make a purchase using these links. This won’t cost anything extra to you. See my privacy policy for more details.
Materials used
Assessing the Shoes
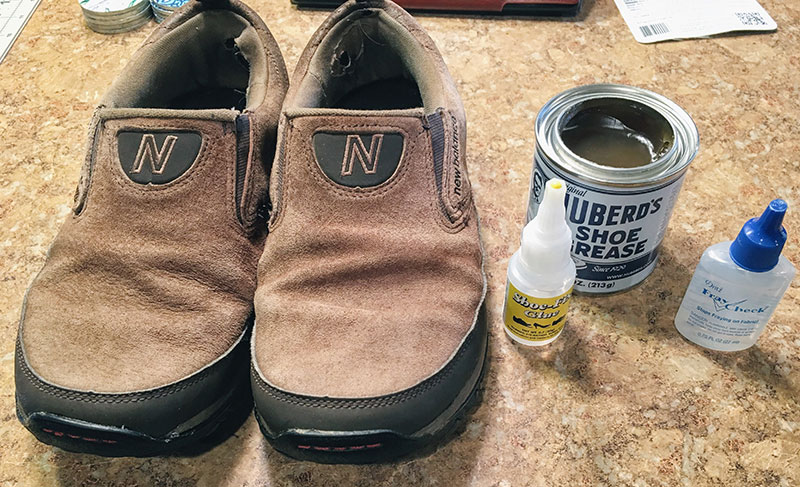
I got these shoes a few years ago, and I was starting to think I’d have to toss them and get new shoes, but I really didn’t want to because I liked them, so I decided to try to fix them up instead.
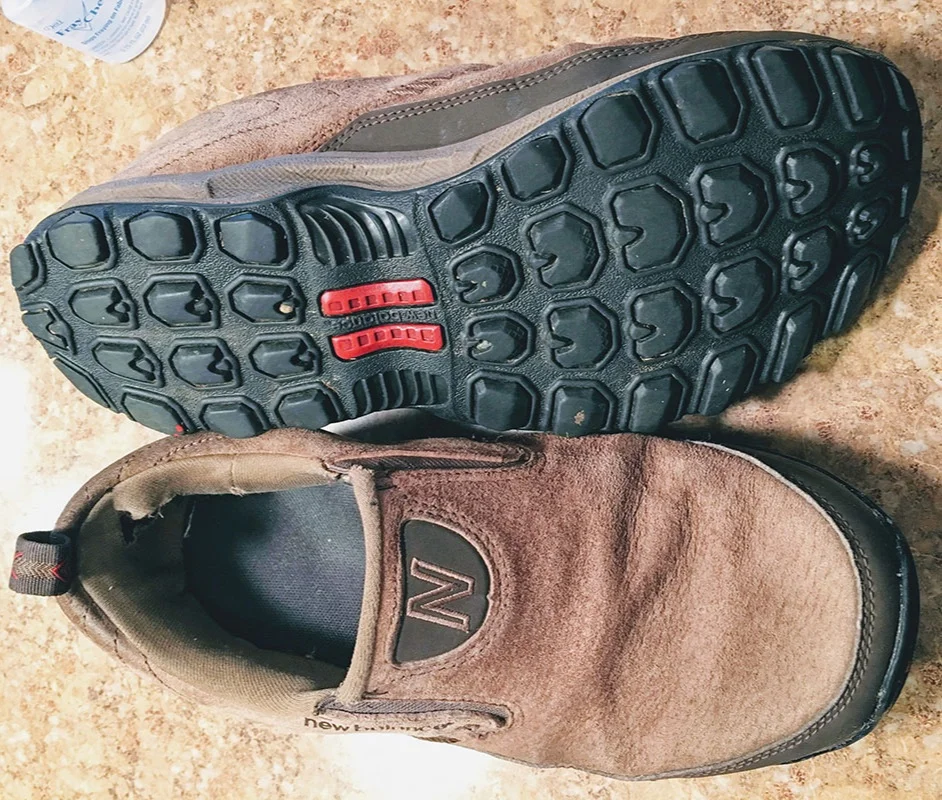
They had a few problems. The soles had started to come detached around the toes, and although they were meant to be hiking shoes, the upper part was made out of a suede material that allowed water to seep through. Even just walking through dewy grass left my feet wet, which was annoying.
Other than these problems, they were in pretty good shape. They had good treads for walking around outside and were really comfortable.
Repairing the Detached Soles
As noted, the sole around the toe was coming loose. The funny thing is that there were some stitches on the front of the sole that apparently only went through the sole itself—they were not stitches that anchored the sole to the inside of the shoe—they were just decorative! Why even bother putting on those decoy stitches?
I used Shoe-Fix Shoe Glue to reglue the soles. The instructions said to use a paper towel to wipe away any excess glue, but it dried so fast that I just ended up welding the paper towel to the nearly-dry glue. I later used some water to dissolve the paper towel remnants, but I’m warning you that it dries very quickly, so you’ll have to act fast if you want to readjust anything or clean up any spillover.
While the glue became tacky very quickly, it did take a minute or two to fully set, so I held the soles in place tightly to make sure there wouldn’t be any gaps between the shoe and the sole.While holding it in place as it dried, I also managed to get glue all over my hands, so I would recommend using gloves with this glue.
Here are the toes after being glued. You can see a little bit of paper towel residue, but other than that, they’re holding well.
I noticed a couple of spots on top of the shoes where the stitching seemed to be coming loose, so I used Fray Check to keep those threads from further unraveling.
Waterproofing Suede Shoes
My biggest complaint about these shoes right out of the box was that they did not keep my feet dry. Although there’s a rubber section around the bottom of the shoe, once the suede fabric gets wet, it wicks through to the inside almost immediately. (New Balance doesn’t sell these shoes anymore—wonder if that’s why?)
So I decided to test out Huberd's Shoe Grease to see if it would work on suede. This shoe grease is intended for leather shoes and boots, so I wasn’t completely sure if it would work on suede, or even if these shoes were actual leather or faux.
The instructions warned that the grease could make your shoes darker, so I was prepared for that. I used a rag made from an old t-shirt to apply it. This is how it looks when it’s first applied. You can see that the greased part looks much darker.
But as it dries, it lightens up a bit again. My shoes are definitely darker now but not as dark as you might have thought they would be from the initial application. The suede seemed to need a lot of shoe grease compared to the leather boots I used it on (see below). The suede fabric absorbs the grease more than regular leather.
Here’s a non-greased shoe (left) next to a shoe with one layer of grease (right), so you can see the color difference. I put two layers of grease on each one. Because suede is a little more porous than regular leather, I suspect I might have to reapply it a little more often, but it did work to waterproof my shoes. Skip down to the heading for The Finished Shoes if you want to see how it held up after six months of usage.
Waterproofing and Restoring Leather Boots
While I had the shoe grease out, I decided to see how it worked on my husband’s boots. These boots are a few years old and they’re pretty scuffed up, especially along the base of the shoe. These boots were already waterproofed, but I wanted to see what effect the grease would have on their appearance.
I was impressed at how nicely the grease restored these boots. Again, it made them a little darker in color, but it really minimized the appearance of scuffs and scrapes, making them look almost new again. I’ll probably apply it once a year or so going forward. You can see that there’s a decent amount of grease left in the can, so it should last for several years’ worth of shoe care.
The Finished Shoes
So did it make my suede shoes waterproof? The answer is: mostly. I can walk through dewy grass or be out in light rain, but if I’m walking through puddles or in heavy rain, I’ll still get a little water coming through. They’re much more waterproof than they were before, though! You can see how the water just beads up on the surface now, rather than seeping through. I’ve been wearing them for about six months since I waterproofed them, and the waterproofing and gluing has held up well.
Want More Budget-Friendly DIY Projects?
For more projects like this on my blog, check out other posts in the Everyday Mending category.
And check out my Pinterest board on Eco-Friendly Crafting:
Want to make your own shoes? Check out my Pinterest board on Sewing Shoes, Slippers, and Socks:


