How to Repair Tears in Leggings
Don't you hate when a pair of leggings gets worn out? Once the fabric starts tearing and getting little holes, it's only a matter of time before they start to become so frayed they're unwearable. In this post, I'll show you how to repair your leggings by adding a new seam with a serger or sewing machine.
Disclosure: This post contains affiliate links, which means I may receive a percentage if you make a purchase using these links. This won’t cost anything extra to you. See my privacy policy for more details.
Where Leggings Start to Tear
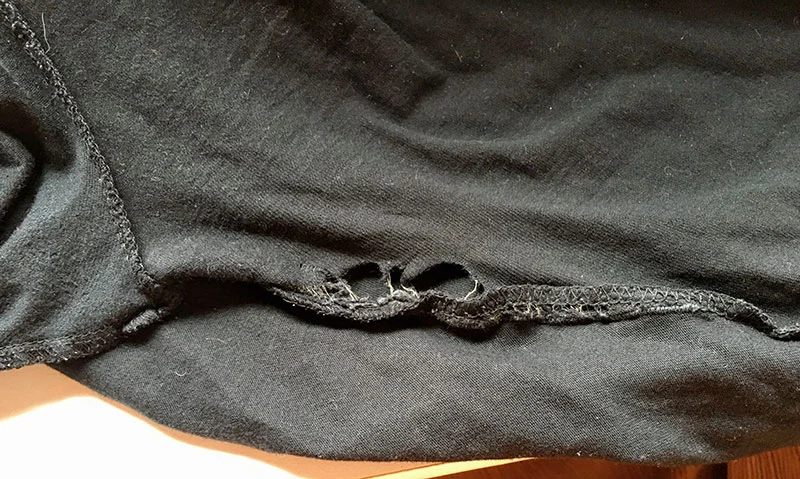
I often wear leggings instead of tights under skirts, and while I have made my own leggings, sometimes I'm lazy and I just buy them. I find that a lot of store-bought leggings are not made of the sturdiest fabric, however, and they start to wear out after awhile, especially if your thighs rub together when you walk.
I hate it when they start to run and develop holes here--the fabric feels very strange scraping against bare skin.
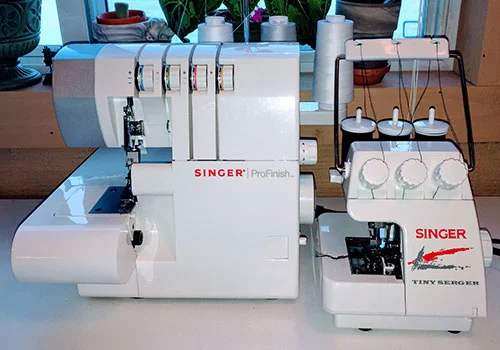
Luckily, there's a pretty easy fix for this. I usually use my serger (don't forget about the economical Tiny Serger, too!), but you can also use a sewing machine with a zigzag function. You could also apply this technique to hand sewing if you don't have a sewing machine (though see my post on how to start sewing for free, including finding a sewing machine).
Repairing Leggings with a Serger
First, turn the leggings inside out. Then, assuming the inside seam is the one that needs mending, you can just serge up from the bottom of one leg, through the crotch, and down the other leg. There should be a seam along this stretch of fabric already, so you're just going over it, removing about 1/4," and adding a brand new seam.
I'm serging up the first leg here.
I just pull the fabric straight and sew right through the crotch seam. Then sew down the other leg and past the foot hole. When you get to the area with frayed fabric, make sure you serge inward enough to reach intact fabric and cut out the worn part.
Here's what the new seam looks like:
This method assumes that your serger has a knife to cut away the fabric. If, for example, you were using the Singer Tiny Serger, you could either just go over the previous seam and squish the fabric together wherever it's started to get holes, or cut the old seam out completely and re-serge the fabric altogether.
Hiding the Serger Tails
You'll now have serger tails hanging off your leggings at each foot.
Knot the tail close to the edge of the fabric, and then thread the tail into a large eyed needle.
Sew back through the serger stitches for an inch or two.
Trim off the remaining tail. It should be nice and secure now. You can add a bit of Fray Check if you want to be really sure it stays in place.
Repairing Leggings with a Sewing Machine
Stretchy materials need to be sewn either with a serger or with a stitch that allows for a bit of give. Regular straight stitches will just pop out when the fabric stretches.
On a sewing machine, you can use a zigzag stitch or triple straight stitch to allow the fabric to move without busting through the stitches. With a zigzag stitch, I like to decrease the width a bit and shorten the length, so the stitching is more dense.
Below, I've used a triple straight stitch, and I sewed along the seam, starting about an inch before the worn area, sewing about 1/4" beyond the worn area into the body of the leggings, and then sewing back down to meet the seam again.
More Sewing and Mending
Follow out my profile on Pinterest to get more sewing tips and tutorials.
Check out this Lesson on Modern Mending, which covers different ways to repair jeans and patch pants, from All Free Sewing.


