Make This Velvet Infinity Scarf
In this post, I'll show you how to make a patchwork velvet infinity scarf. Scarves are one of my favorite things to sew because you can finish one in an evening and have it to wear the next day! This scarf pattern goes together quickly and easily, and it's super soft around your neck.
Disclosure: This post contains affiliate links, which means I may receive a percentage if you make a purchase using these links. This won’t cost anything extra to you. See my privacy policy for more details.
Materials
- Four half yards of different colors of velvet.
- Olfa rotary cutter
- Fiskars self-healing cutting mat
- Fiskars acrylic ruler
- Adhesive ruler grips
- ChomChom lint roller
- Quilt clips
Choosing Your Fabric
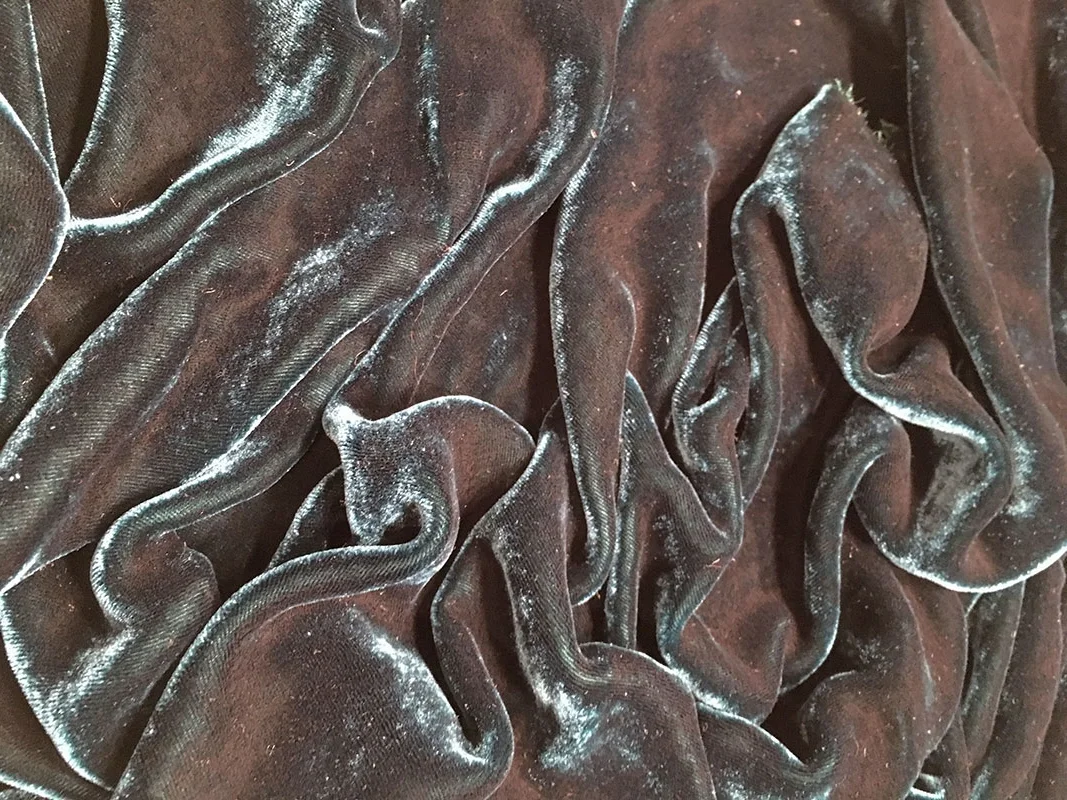
I got some incredibly soft silk velvet from a local fabric shop. I recommend trying to buy your velvet locally because I think it's important to see and feel it, and I think a lot of velvets online may be misrepresented as silk when they're really polyester or a blend. You can't really tell until you have it in hand.
Make sure the velvet has some drape to it. You don't want a fabric that is going to be too stiff. A polyester velvet might work, too--you just want to make sure it will lay right.
Pick out four complementary colors for your scarf. I got half a yard of each, which worked out well. I have enough for a few more projects, too.
Cutting Out Your Pieces
For this scarf, you'll need four pieces that are each 17" x 18."
Velvet is kind of slippery when you're cutting it. I found that it was difficult to get a perfectly straight cut, but that the Olfa rotary cutter and ruler with ruler grips worked best for cutting.
This edge looks a little wobbly, but when you straighten up the fabric, it's actually a pretty clean line.
The velvet also sheds when you cut it, so I used my Chomchom roller to get rid of the lint. It works great for dog hair, too, which my projects always end up covered in!
Putting Your Pieces Together
Decide what order you want your colors to be in, and sew together each long side of the scarf, consisting of two pieces right sides together. Sew the 18" sides together using a 1/2" seam. I used quilt clips here so I wouldn't have any pin holes in the velvet.
The person cutting my velvet gave me slightly over half a yard on some pieces, so they weren't perfectly matched up initially. Instead of cutting it down and then sewing the pieces together, I decided to sew the pieces together first and then cut it down.
Just as cutting velvet is kind of difficult, sewing it is also a little tricky. It likes to shift around and stretch a bit, so I figured that it would be better to even up the edges after sewing the seam!
To keep the edges matched up at the beginning of the seam, turn your handwheel until the needle is slightly lowered and the feed dogs have shifted forward. Then put your fabric under the presser foot and start sewing. Otherwise, the bottom layer may shift forward without the top layer, leaving them uneven right at the beginning.
From your four initial pieces, you've now got two longer pieces sewn together.
Now sew them into one long piece, right sides together, using a 1/2" seam. The bottom seam looks a bit uneven here, but that's just because it's pulling a bit off the edge of the table.
Fold your scarf in half lengthwise, right sides together, and sew up the long side with a 1/2" seam. I also serged the internal seams, just to prevent it from unraveling too much. Serging is optional.
Infinity Scarf Tutorial
Now you're ready to turn it into an infinity scarf. Here's the basic process for making an infinity scarf, which I covered in another post. This scarf has a few more pieces, but the process is essentially the same. Start at step 3 below.
Basically, once you have a long tube, you just reach through and pull the far side up to meet the near side, twist the internal layer 180 degrees, and then sew up the opening, leaving room to turn the whole thing. Then stitch up your opening using an invisible ladder stitch.
The Finished Scarf
Here's what the finished scarf looks like:
And here's how it looks doubled up:
Make More Scarves
Want even more scarf patterns? Check out my other scarf tutorials below:
And check out all of these awesome free scarf patterns at All Free Sewing!


