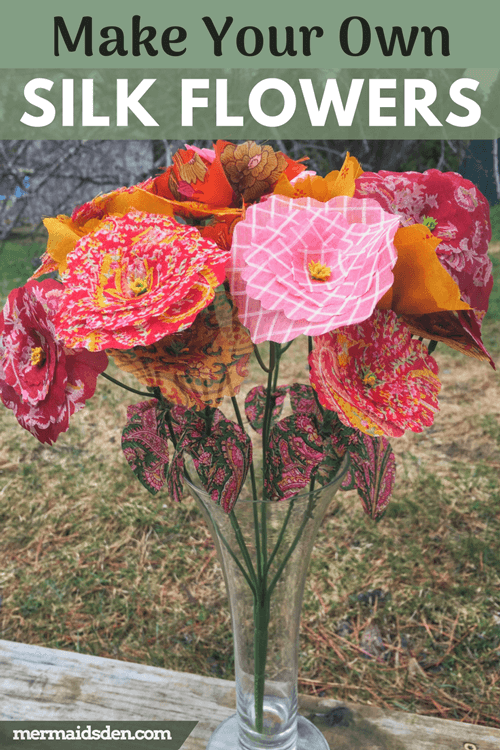
How to Make Your Own Silk Flowers
In this post, I'll show you how to easily make your own silk flowers using pretty fabric and an existing bunch of fake flowers. This is a quick, no sew project that will help you use up some fabric scraps and make a beautiful and unique centerpiece. I used a die cutter to cut out my flower pieces, but you can also use free templates online to cut out your flowers. Let's make some flowers!
Disclosure: This post contains affiliate links, which means I may receive a percentage if you make a purchase using these links. This won’t cost anything extra to you. See my privacy policy for more details.
Materials
- I used silk sari pieces from eBay seller Vintage Fabrics Galore. You could also use fabric scraps left over from other projects.
- Sizzix big shot cutting/embossing machine
- Flower die
- Leaf die
- Fake flowers
Deconstruct Your Fake Flowers
I bought a cheap bunch of fake flowers at a big box store. This is probably also an easy thrift store find.
Pull your flowers off the stem. Mine had two plastic pieces holding the fabric in place. Pull off the plastic stopper on the back--it should slide right off.
My bouquet of flowers had two different shapes: a bud like the one below and a flat flower like the one above.
Each one shapes the fabric a little differently. The bud shape pushes the fabric up and condenses it, and the yellow-centered pieces just let the fabric lie flat. Keep this in mind when choosing your fabric for each type of flower in your bouquet.
Cutting out Your Silk Flowers
Below, you can see my naked bouquet, after I stripped off all of the fake flowers and leaves. I have a couple of baskets of silk sari scraps, which I used for my flowers. I chose a red/pink/orange/yellow theme.
I've been doing a lot of projects with my Sizzix Big Shot lately--it's one of my favorite crafting tools. I die-cut my flowers with it, but if you don't have a die cutter, here's a collection of free fabric flower patterns that you can cut out by hand.
I posted this project on Hometalk as well, and user Sal3170064 suggested using the flowers that you removed as templates, which is a great idea!
After cutting out your flowers, slide your fabric layers onto the plastic center piece and put the cap on the back to hold it all together.
Here's what it looks like from the front:
And here's what it looks like from the back:
Put it back on the stem when you're done.
As noted earlier, my bouquet also had a bud shape that kind of scrunched the fabric together. I used the same flower die as above and put all four layers on this flower.
Here's how it looks from the side. You can see how the bud shape pushes the fabric upward, while the red flower stays flat. Again, I used the exact same die for both flowers.
Here's how the bouquet looks partially filled in. For the yellow flowers, I only used three layers of fabric, as all four seemed to make it too crowded. Fill in all of the empty flower pieces.
Adding the Leaves
Each branch of my bouquet had a cap at the top, which can slide off.
Once you slide the cap off, you can slide the flower stems off.
This allows you to get to the plastic pieces that should hold the leaves.
These pieces are similar to the ones that hold the flowers. My leaves didn't have holes, though, so I just kind of tucked them in around the stem and used the cap to hold the leaves together.
You can see how the leaves are just tucked in between the two pieces of plastic, but they don't seem like they'll fall out. They're in there snugly.
Slide the leaves back onto the main stem, put the flowers back on, and then put the cap back on the very top of the stem to hold everything in place. Do this for every stem.
Enjoy Your Handmade Silk Flowers!
Here are the finished flowers. Put them in a vase, and you've got a nice piece that won't need watering!
More Floral Projects and Inspiration
Check out my Felt and Fabric Flowers board on Pinterest for more projects and ideas.
Be sure to also check out these two free ebooks from All Free Sewing on How to Make Fabric Flower Accessories and how to Make Fabric Flowers for Your Home.


