Troubleshoot and Repair Bobbin Winder Problems on a Singer 15
In this post, I'll show you how to troubleshoot problems with your bobbin winder on a Singer 15. I'll go over common issues, adjustment, and repairs that you can make to get your bobbin winder working again.
Disclosure: This post contains affiliate links, which means I may receive a percentage if you make a purchase using these links. This won’t cost anything extra to you. I only link to things I like and use, and the proceeds help me to run this blog. Thank you for supporting me!
Materials used:
- Bobbin winder tire
- Class 15 bobbins (these are the best Class 15 bobbins I've found!)
Resources:
- Singer 15 Manual
- Singer 115 Manual (the 115 is not the same as the 15, but it's similar enough that the manual is helpful, and the images are much better quality than the Singer 15 manual)
Troubleshoot Bobbin Winder: The Needlebar Won't Stop Going Up and Down
To wind your bobbin, you'll want to disengage the needle bar, so your needle isn't going up and down during the bobbin winding process. It's not absolutely necessary to do this, but it saves your sewing machine a bit of wear and tear.
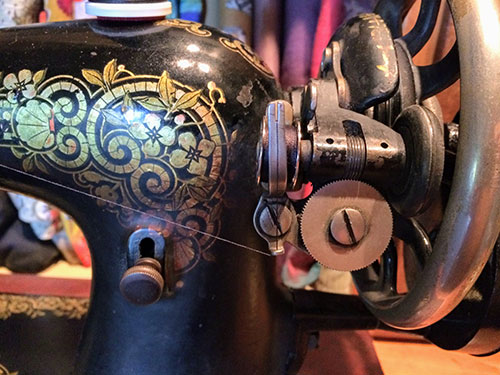
To do this, you'll hold onto the balance wheel and turn the stop motion screw (the silver knob inside the balance wheel) toward you. If this doesn't stop the needle from going up and down, see this tutorial from the Singer Featherweight Shop. This tutorial features a Featherweight, but the process and mechanics are the same for the Singer 15.
Troubleshoot Bobbin Winder: Situate the Bobbin Correctly
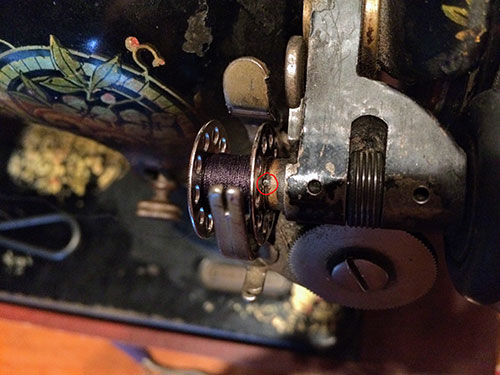
On your bobbin, there's a little slot, and on the bobbin spindle, there's a small notch. Be sure to match these up (circled in red below). This will hold the bobbin in place while the spindle spins. You can hold the bobbin tire to keep the spindle from moving while you try to align these.
Troubleshoot Bobbin Winder: Make Sure It's Threaded Correctly
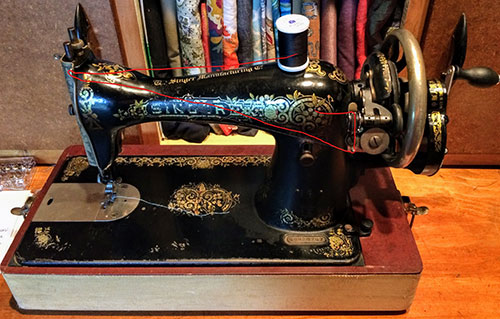
The thread goes from the spool, around a thread guide at the top of the face plate, down to a thread guide on the bottom of the bobbin winder, up through a little "fork" in front of the bobbin spindle, inside the bobbin, and then out through the left.
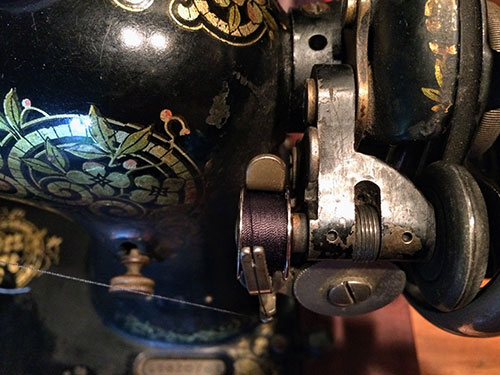
Here's a close up of the threading on the bobbin winder:
While the bobbin winder is in use, the little forked bit at the front will move back and forth to fill the bobbin.
Troubleshoot Bobbin Winder: My Spindle Won't Spin
There are a few reasons this may happen. Let's go through them one at a time.
1. Your Bobbin Winder Itself Needs to be Adjusted
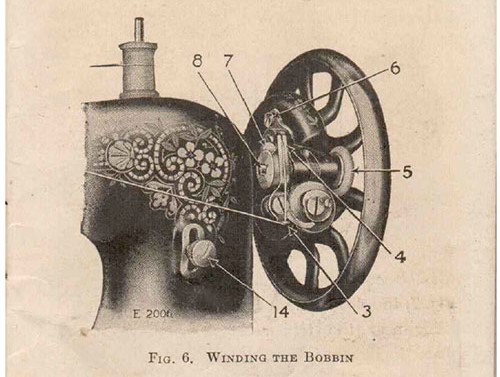
The Singer 15 Manual notes that your bobbin winder may not work if the pressure of the bobbin tire against the balance wheel is insufficient. To adjust the bobbin winder, loosen the screw shown at #6. Then lightly press the bobbin winder until the tire is in closer contact with the balance wheel. Now re-tighten the screw.
2. Your Bobbin Winder Tire Needs to Be Replaced
Over time, these rubber tires will get worn down. Check your tire for signs of wear or unevenness. If it needs to be replaced, see the bobbin tire I noted in the Materials section above.
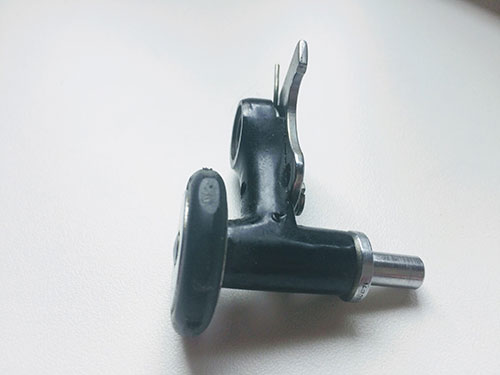
Here's a tire from a different bobbin winder that has been worn completely flat in certain places.
3. Your Bobbins Are Poor Quality
This one happened to me. I tried everything to get my bobbin winder to work before realizing that my bobbins were inconsistent in size and shape. When I placed them on the bobbin winder, the spindle couldn't spin because the bobbin kept getting caught on the bobbin latch that holds the bobbin in place. I bought them from a big box craft store, so lesson learned. Buy from a specialty shop, such as Sewing Parts Online, where I got my second round of Class 15 bobbins, which worked perfectly.
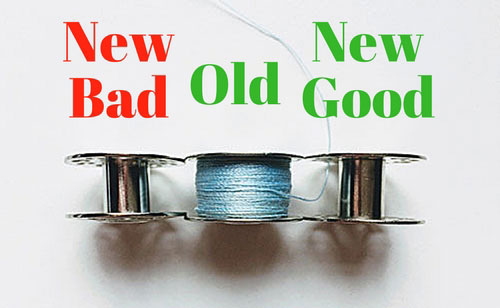
Here's a comparison of the different Class 15 bobbins I have. The one on the far left is the poor quality, new bobbin that did not work on my bobbin winder. The middle one is the original vintage bobbin that came with my sewing machine, and the one on the far right is the new, higher quality bobbin. You can see that the bad bobbin curves inward, which it shouldn't, and that caused my bobbin winder to get "stuck." The bobbin on the right is level with the edges of the old bobbin, while the bad bobbin on the left fits within the edges of the old bobbin. It's not the right size at all.
Here's a close up from the top. You can see that the bad bobbin on the far left has a shallower slot, and the hole in the middle is a little narrower. I had trouble fitting some of these on the bobbin winder at all, and not all of them would stay in place once lined up with the notch on the bobbin winder.
Troubleshoot Bobbin Winder: If All Else Fails
If none of these suggestions work, you may need to replace your bobbin winder entirely. You can find replacement bobbin winders for sale on Ebay. People who repair sewing machines often have extra parts for sale. I like buying from The Treasure Cellar as he checks over all of his parts carefully and tests them to make sure they're working correctly.
If you're really ambitious, you might take your bobbin winder apart entirely and reassemble to see if that helps. Quilter's Bug has an excellent post showing you how to do this. It's apparently quite complicated and may induce insanity.
You could also get a stand-alone bobbin winder. See my review of the Sidewinder bobbin winder.
See also my post on resources for restoring vintage sewing machines.


