DIY Stained Glass Tray from a Thrifted Picture Frame
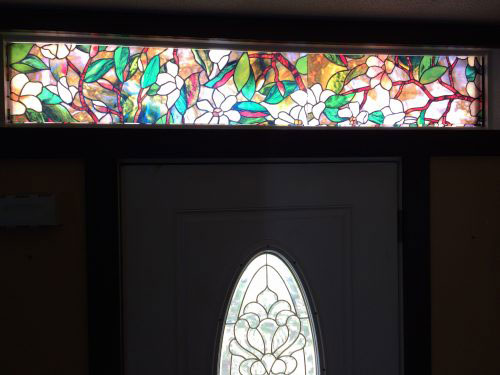
In this post, I'll show you how to make an easy stained glass tray from a thrifted picture frame. I had a bit of stained glass window film leftover from another project (see below), so I used it to create this easy DIY stained glass tray. You can use it to have matching decor when you cover a window with this pretty stained glass film!
Disclosure: This post contains affiliate links, which means I may receive a percentage if you make a purchase using these links. This won’t cost anything extra to you. I only link to things I like and use, and the proceeds help me to run this blog. Thank you for supporting me!
Materials used:
- Thrift store frame of your choice
- Artscape Magnolia Window Film 24" x 36"
- Window Film Application Tool Kit
How to Make Your DIY Stained Glass Tray
Here's the frame I found at a thrift shop. I thought it had a nice Art Nouvea-y feel to it.
First, if necessary, remove anything that prevents your tray from laying flat on its back. I removed some hardware from the back with pliers. This damaged the velvet a bit, but you're not going to see the back of the tray anyway.
Take your frame apart and trace the glass insert onto your stained glass window film. Clean the glass thoroughly. Wet the glass thoroughly with water and a small amount of dish soap or the solution from the window film application tool kit. Remove the paper backing on the film, but save it to use later. Apply the film to the glass, squeegeeing off the excess water. Let it dry completely.
I found my tray was a little dark without a backing, so I used the white paper from the back of the film to provide a little contrast. You can see below that the bottom third of the glass is more dull than the top, which has the white paper underneath it.
My frame was also kind of deep, so I added a piece of cardboard to lift up the glass, so it wasn't loose in the frame.
And here's what the finished project looked like!


