How to Reupholster an Office Chair
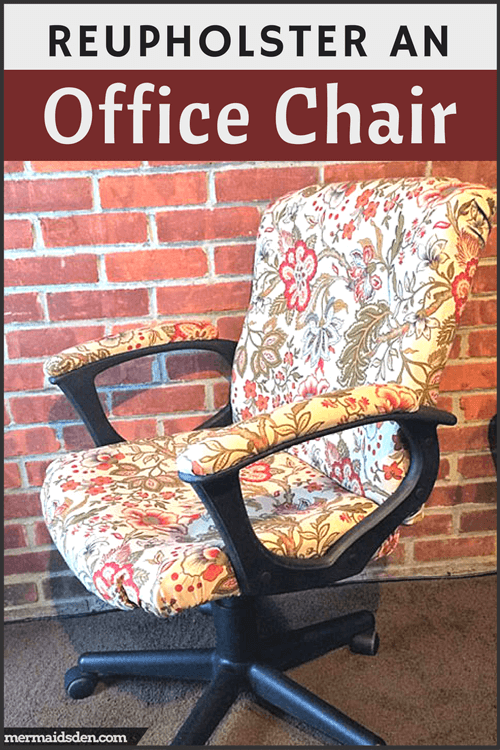
In this post, I'll show you how to reupholster an office chair with tufted cushions, so that it looks brand new. Many office chair tutorials only cover flat cushions, so this one will help you give your cushions some shape. The method I’m showing you involves a little bit of sewing, but you could skip the sewing and have the fabric slightly less fitted. I’ve added an update at the end of this post to show how the reupholstered office chair has held up over the last two years of everyday use.
Disclosure: This post contains affiliate links, which means I may receive a percentage if you make a purchase using these links. This won’t cost anything extra to you. I only link to things I like and use, and the proceeds help me to run this blog. Thank you for supporting me!
The Original Office Chair
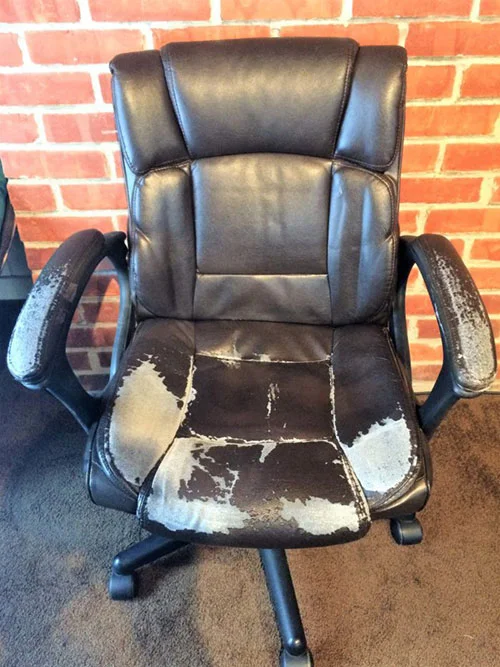
Bonded leather starts to peel over time (see my chair below), and many office chairs are covered with bonded leather. I've had this chair for about five years, so it's got plenty of life left in it, but it looks terrible!
Materials needed:
- 2 yards of home decor fabric: I bought 2 yards from Joann Fabrics and had a little left over, but this will vary based on the size of your chair.
- Stanley Heavy-Duty Staple/Brad Nail Gun with Heavy-Duty Staple & Brad Assortment, 2500-Pack
- Glass Head Multicolor Pins, 150-Pack
- Coordinating upholstery thread or regular thread
- Upholstery Needle Kit
- Upholstery Nailhead Trim, Antique Gold, 5-Yard
- Staple Lifter
How Much Does it Cost to Reupholster an Office Chair?
If you have the tools you need already, the fabric, thread, and decorative trim only cost about $25. If you need the tools, it’ll cost more, but the staple gun, pins, and upholstery needles can be used on other projects as well. The staple lifter is optional. I think it’s useful to have, but you could use pliers or an office staple remover instead.
How to Take Your Office Chair Apart
This will vary based on the type of chair you have, but for my chair, I had to take out four screws underneath to remove the wheels. I had the right size Allen wrenches because I saved them from when I first got the chair. I recommend saving all Allen wrenches from any furniture assembly project, just in case you need to take them apart in the future.
Keep your tools and screws in a small container so you don't lose them. This project took a couple of days to complete, so it's important to store these safely.
You can see the holes where the wheels attached to my seat cushion here.
And the corresponding holes in the seat cushion. My chair had helpful labels on the inside once I took it apart, so it was easy to put back together. Here you can see that the front of the cushion is labeled. The arms of my chair were also labeled. If your chair isn't labeled, take lots of pictures of before you take it apart. It's easy to forget what it looked like before you disassembled it!
For the arms, I had to remove decorative screw covers. They pop out pretty easily if you wedge your fingernail under them. There were three screws holding each arm to the seat cushions.
Underneath the arm, there were two screws holding the arm cushions on.
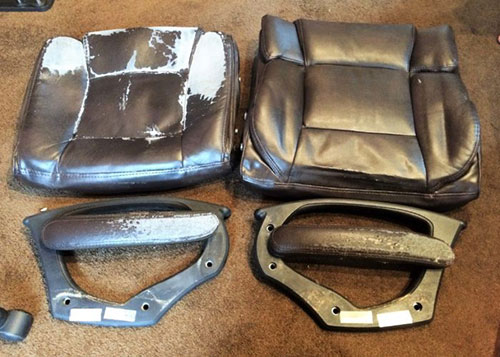
Here it is completely disassembled and ready for reupholstering.
How to Reupholster An Office Chair: Arms
For this project, I didn't bother removing the previous fabric; I just added more on top. For the arm cushions, I set the piece down on my fabric, and traced around it, adding about 1 1/2" on all sides. This doesn't have to be exact—you just need enough fabric to cover the piece. Then I pulled the fabric toward the back of the cushion. No one will see this side once it's reattached to the chair, so it doesn't have to be perfect. I used pins to hold the fabric in place before stapling, just so the fabric wouldn't slide around on me. I have a tendency to pull too much fabric around on one side, and then not have enough when I get to the other end, so adding pins helps me to space it out correctly. You don't have to put pins in it, though.
Below, you can see the top cushion is finished, and the bottom cushion is ready to be pinned and stapled. I used 1/4" staples for this entire project. They seem to be holding up well, but I probably could have used a slightly longer staple.
Here's the finished cushion reattached to the arm.
How to Reupholster An Office Chair: Seat and Back Cushions
The seat cushions were a little trickier to reupholster, since they were tufted and had some shape to them. I decided to tack the fabric down in the four areas that defined the rectangle in the middle of each cushion. If I had just pulled the fabric taut without tacking down these spots, I think the fabric would have ripped over time, since the fabric would have had to stretch each time I sat on the chair. I put the fabric over each cushion, and marked the spots I wanted to tack down with pins. I used a curved upholstery needle and matching thread to sewing through each spot.
Here you can see what the hand tacking looks like. It's not that noticeable, even up close, but it helps the fabric to drape more nicely.
And here's what it looks like with all four spots tacked down.
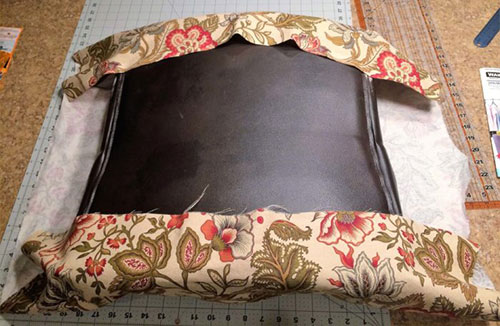
For the bottom seat cushion, I pulled the fabric to the back and pinned it in place before stapling. For the seat cushions, I traced the outline of each one roughly onto the fabric, and then I added about 5-6" around the whole thing. You need to have enough fabric to cover the sides and reach the back. It's better to cut these too big than too small--you can always trim away excess fabric after stapling.
Here's what one of the corners looked like after pinning. I tried to pleat the fabric evenly around each corner. I put my pins close to the edge of the back, so I'd have plenty of room to staple the fabric to the back of the chair, and I just left the pins in while I stapled, since I had pulled the fabric tight before pinning.
Here's how the back of this cushion looked after stapling.
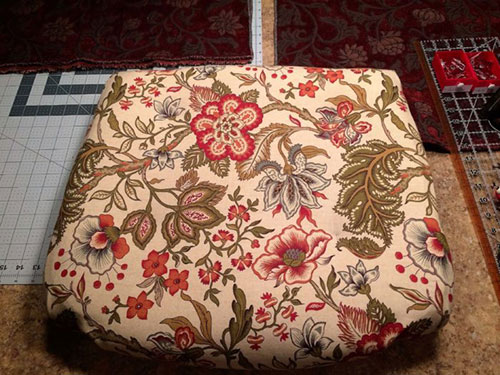
And here's how the front looked after stapling.
Each seat cushion had screw holes on the side that I had to cut out after adding the fabric. These cuts don't have to be really precise because you're going to cover them when you reattach the arms.
For the top seat cushion (or back cushion), reupholstering was a little more difficult. The back of this cushion will be visible, so you can't just add a bunch of staples and then hide them. On my chair, most of this section was padded, too, so staples would pull out easily.
I decided to carefully fold my fabric along the edge of the previous seam. The back of this cushion wasn't peeling, so I just decided to leave it as is.
I pinned my fabric in place as I went along, slightly overshooting the previous seam.
And then, using my curved upholstery needle and coordinating thread, I started to sew it in place.
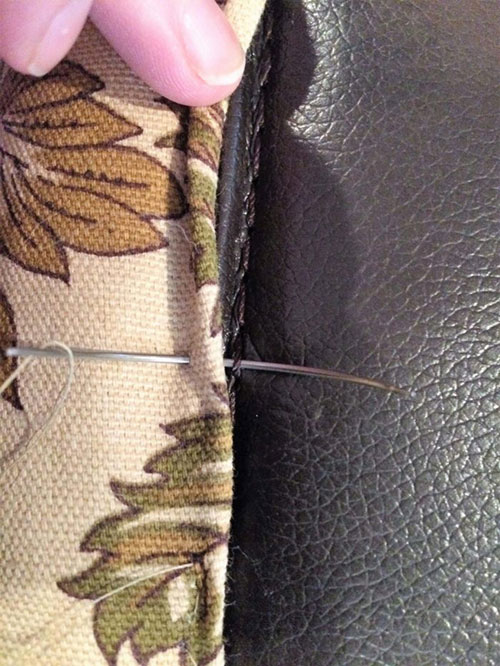
I sewed the fabric to the previous row of stitches because the layers of bonded leather are pretty thick. In the photo below, you can see how I'm sewing through the previous stitches to anchor my fabric.
Here's how it looked after being sewn in place. You could probably leave it like this if you wanted to.
Installing Decorative Nailhead Trim
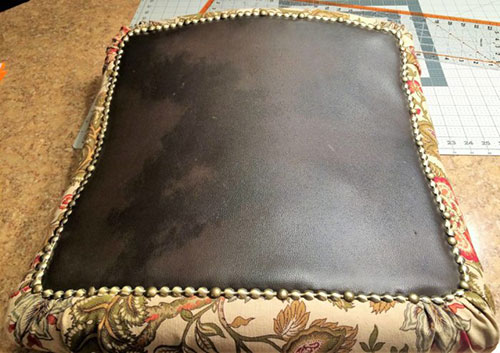
I decided to cover my stitches with some decorative nailhead trim. This particular trim comes in a five yard roll, and you add an actual nail every five spaces to anchor it. I wouldn't use it to hold your fabric in place without stapling/sewing first because I'm not sure how strongly it will hold the fabric, but it works fine in cases like this. The trim was easy to shape around the corners, too. If you wanted a no-sew option, you could staple the fabric to the back of the chair—just be sure to space the staples so that they’ll fall between every five decorative nailheads.
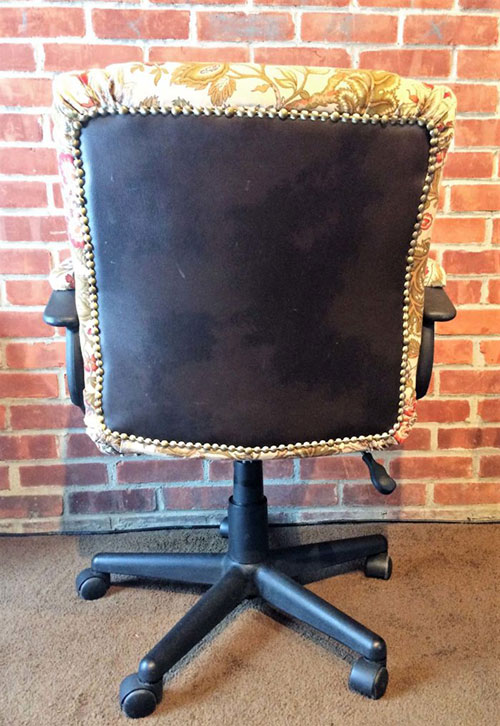
Here's what the completed back looks like. If you're really paying attention, you can see that every fifth nail is slightly different, but it's not that noticeable overall. This is a time and money saving alternative to adding decorative nails one by one.
The Fully Reupholstered Office Chair
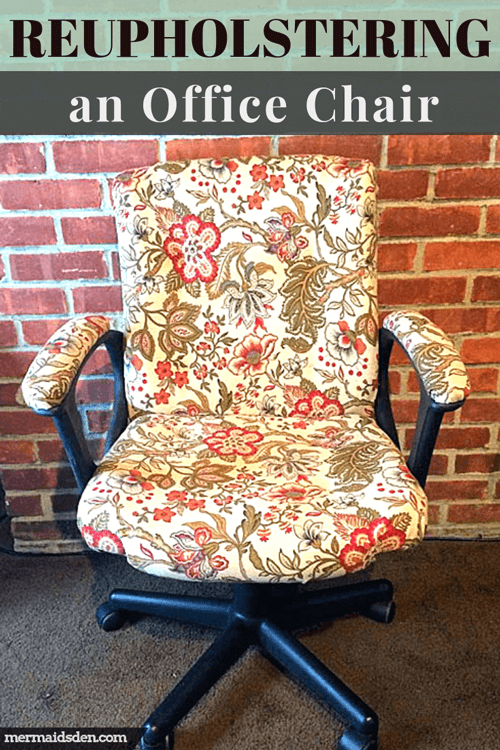
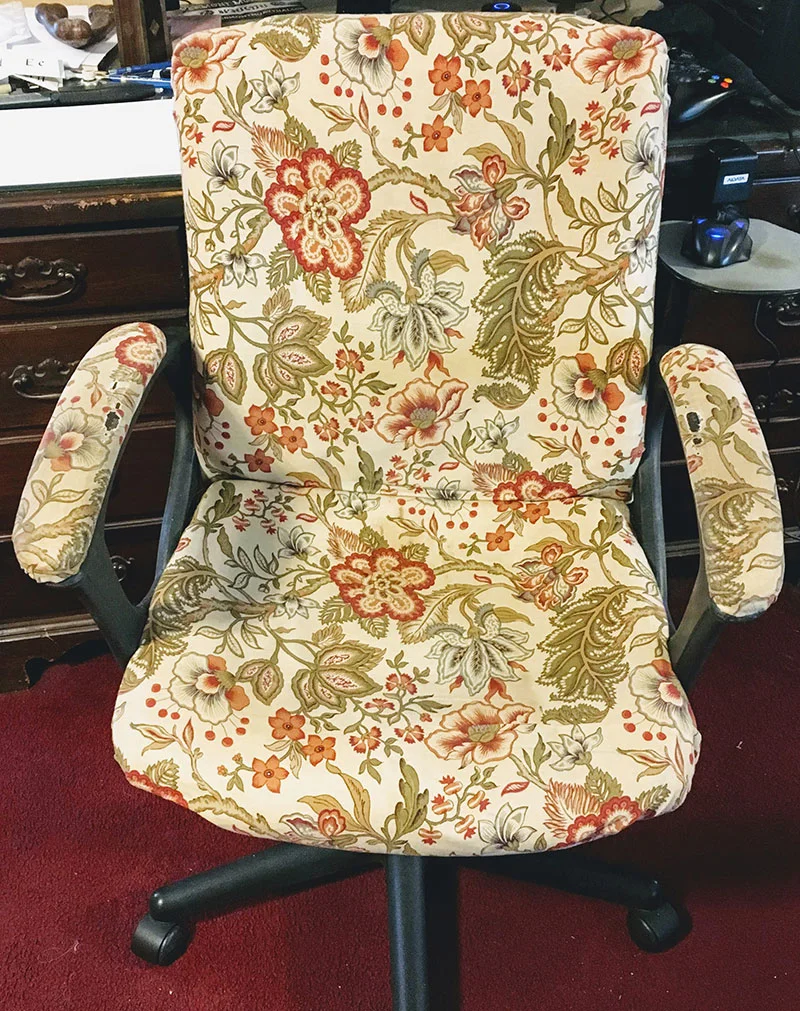
And here's what the finished chair looks like! When you put it back together, attach each arm loosely and then make sure the seat cushions are angled the way you want them. Then tighten everything up. Other than that, putting it back together was a cinch!
Update After Two Years of Use
This post has been pretty popular, so I thought I’d update it after using the chair for a couple of years. Overall, it’s held up pretty well, but the arms are showing the most wear. Luckily, that’s the easiest part to remove, and it doesn’t require taking apart the whole chair again. I just unscrewed the two bolts holding the padded arm pieces on.
I removed the previous fabric by pulling out the staples with a staple remover.
I used upholstery leather for the arms this time—it shouldn’t peel like the bonded leather that the chair started out with, and it should be more durable than the fabric. I traced around the arm to make a template, again leaving about 1 1/2” on all sides. The leather’s a little thicker than the fabric I used previously, so I had to notch the corners to reduce bulk.
I used pins to hold it all in place and make sure everything looked right. Then I stapled it all in place again.
And here’s the finished chair again! Hopefully these leather arms will hold up better than the fabric ones.


