How to Make a Stained Glass Tote Bag
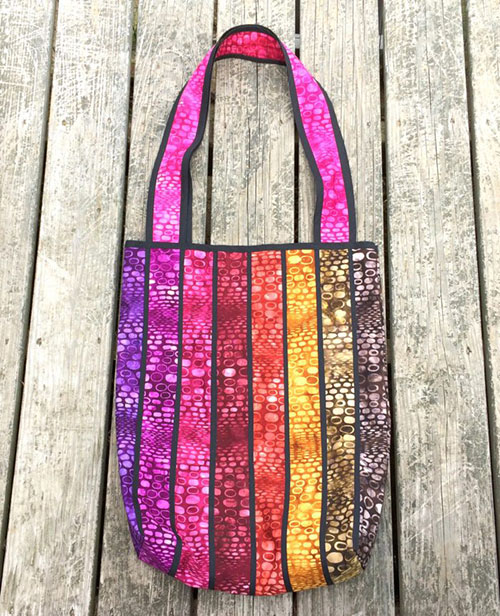
In this post, I'll show you how to make a tote bag using a jelly roll and black bias tape, which gives it a cool stained glass effect. You'll create the lining while you're sewing the outside of the bag, so it's all done at the same time. You'll use bias tape to join each section together and to line your handles. It's a very sturdy tote bag! I made it to take with me to the huge outdoor antique show in Brimfield, MA, where I found some cool vintage sewing supplies.
Disclosure: This post contains affiliate links, which means I may receive a percentage if you make a purchase using these links. This won't cost anything extra to you. I only link to things I like and use, and the proceeds help me to run this blog. Thank you for supporting me!
Materials used:
- Jelly roll of your choice. I used this one
.
- Approximately 15 yards of 1/2" double-fold black bias tape. I bought two rolls
of 10 yards each.
- You could also make your own bias tape with these bias tape maker tools
.
- You could also make your own bias tape with these bias tape maker tools
- Adjustable bias binding foot. I used the one included in this set
.
How to sew your stained glass tote bag
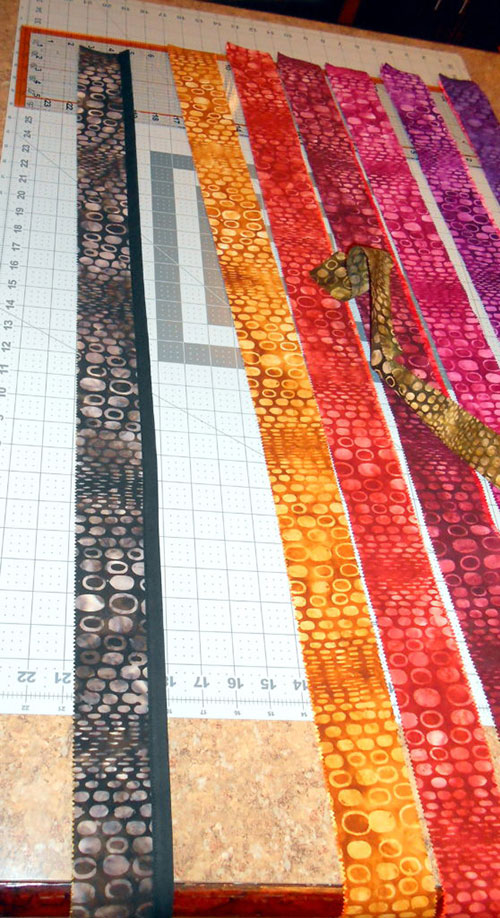
You'll use all 20 jelly roll strips, so choose 8 to be on the outside of the bag, 8 to be the lining of the bag, and four to be the straps. You'll sew the outside of the bag and lining together all at once, and the straps will consist of two strips each. I wanted to make a pretty large tote, so I didn't cut the strips down at all. They're 44" total, and you'll fold the whole piece in half to make your bag. After boxing the corners, the body of your bag will be about 20" long and about 16" wide. You can cut the straps down to a length that is comfortable for you.
For the straps and the first section of the bag, baste down one side, just to hold your strips together. You'll be adding bias tape to each of these, and you don't want the two strips sliding around while you add the bias tape binding.
Add bias tape to your first duo of jelly roll strips. The top edges of the bag will be covered in more bias tape, so don't worry about folding the tape over to hide the raw edges.
I used an adjustable bias binding foot to make this go a little faster. (Yes, the top edge of the bias tape should be in the top slot of the presser foot. It slipped out and I didn't notice until after the photo was taken.)
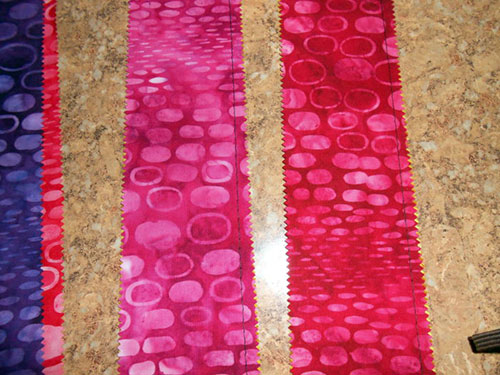
Once you've sewn the first section, sandwich it between the next two strips. Sew your sandwich together with a 1/8"-1/4" seam.
To keep all of the layers together, line up the pinked edges of the jelly roll strips with the edge of the bias tape, so you can see a small amount of black showing through. That way, you'll know you're sewing through all of the layers, and that nothing has slipped out of place.
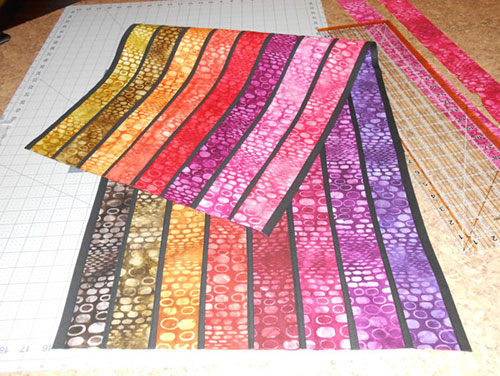
Fold out the second layer of your bag and iron it flat.
It should look like this after ironing.
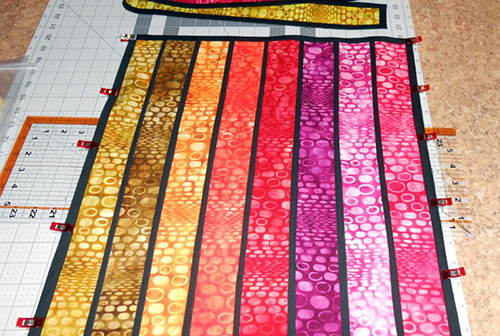
Keep adding each layer in the same way, and add bias tape to each raw edge as you go.
I added bias tape to the long sides of the bag as well.
Add bias tape to the top edges of the bag.
Turn your bag inside out, fold it in half, and sew up each side using a 1/4" seam.
Now box the corners of your bag (see So Sew Easy's awesome video on boxing corners for a more in-depth explanation of how to do this). I measured 2 1/4" from the seam in the middle of the triangle, and sewed along the outer edge of the first strip of bias tape. Do this on both sides of your bag.
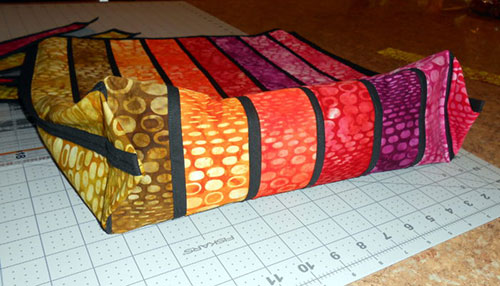
Here's what it looks like once you've boxed your corners.
Now you have these triangles sticking off the end of your bag.
I hand-sewed the points of each triangle to the bottom of the bag. If you sew them to a strip of bias tape and use black thread, the stitching is barely noticeable from the outside.
Take the four strips you're using for straps. Cut them to a comfortable length for straps. Double them up, and add bias tape to the short ends.
Now add bias tape to the long sides, so that the edges are completely encased in bias tape. You can fold over the ends of the bias tape to keep the raw edges from fraying, or you can use something like fray check to keep them from unraveling.
The body of your bag should still be inside out. Pin your straps to the inside of the bag, staggering the bias tape on the bottom of the strap and the bias tape on the top edge of the bag. You don't want to sew through too many layers at once.
Here's a close-up to show what I meant about not overlapping the bias tape on the edge of the bag and the edge of the strap.
Sew a long rectangle to hold the strap to the body of the bag. If you sew along the bias tape on the top of the bag, the stitching won't be very noticeable from the outside.
Turn your bag right side out, and you're done! Enjoy your new stained glass tote bag!


