Vintage Singer Hand Crank Pinker

In this post, I'll go over how Singer's hand crank pinking machine works and how to troubleshoot some of the most common problems with it. I love mechanical sewing attachments and accessories. I've mentioned before that I'm a sucker for vintage sewing machines with cams, which are discs that you can use to create various stitch patterns. Vintage sewing machines were able to do so many of the things that modern sewing machines can do, and it's fascinating to see how they were engineered mechanically before computers came along.
Disclosure: This post contains affiliate links, which means I may receive a percentage if you make a purchase using these links. This won’t cost anything extra to you. See my privacy policy for more details.
Background Information on Singer Pinkers
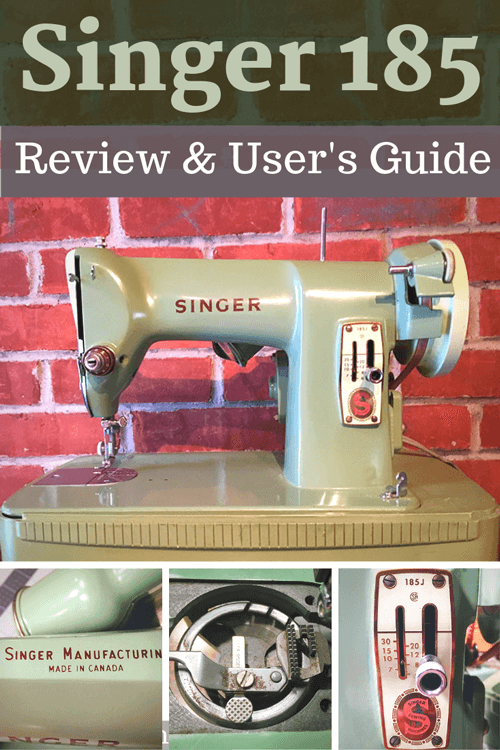
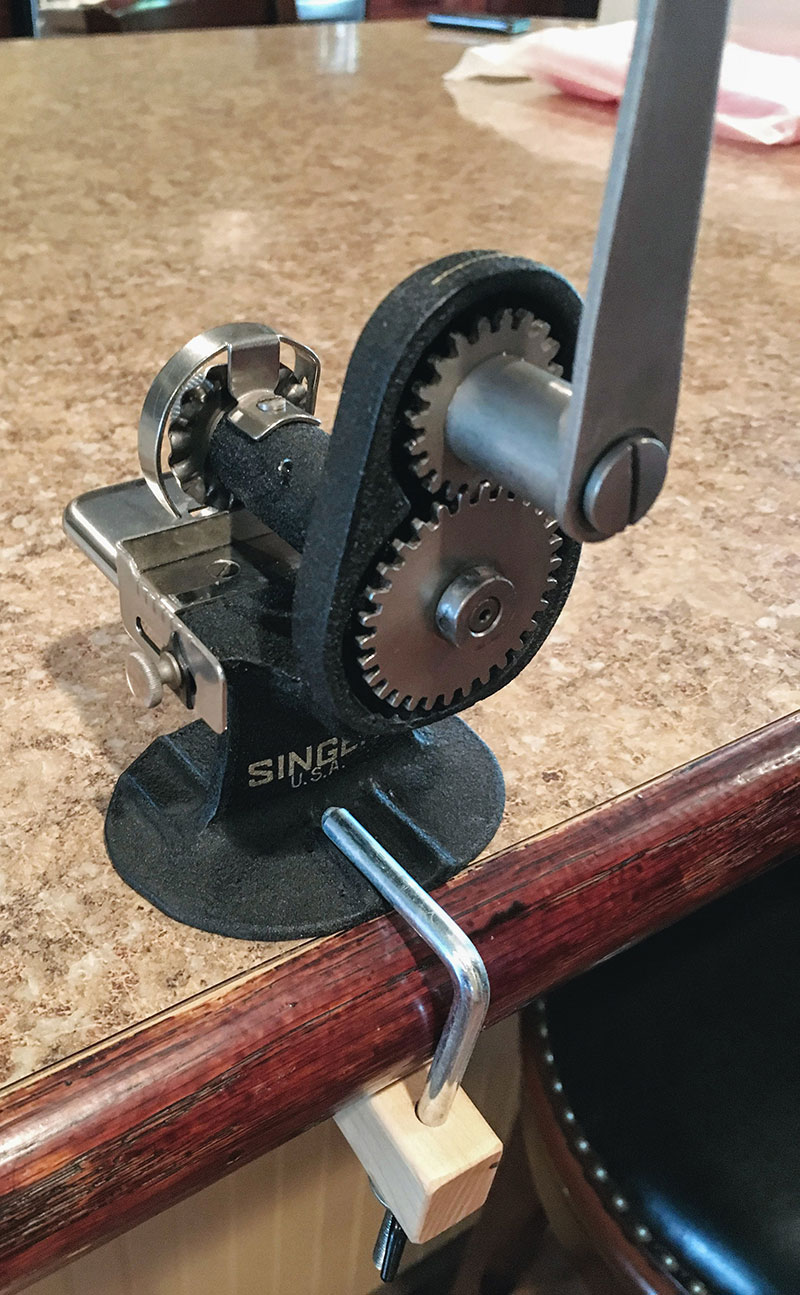
This Singer ball bearing hand operated pinker (No. 121379) was manufactured as an accessory for sewists, to help you finish your seams and fabric edges, well before sergers came onto the scene. You could have used pinking shears instead, but this hand crank pinking machine allowed you to zoom through large volumes of fabric more efficiently and with less effort.
There's not a lot of information about them online, but it sounds like they gained popularity in the 1930s and were manufactured for a few decades afterward.
This post from the Singer Featherweight Shop covers both the hand operated pinker and the sewing machine attachment pinker. They also include a handy manual for the hand crank pinker. And this video covers how both attachments work and how to troubleshoot some of the most common issues. It was really helpful to see the pinker in action and to see how all the parts on it work together before I took mine apart.
Disassembling, Cleaning, and Fixing
I found my pinker at an antique shop, and when I first picked it up, the gears weren't aligned correctly, so the blade wouldn't turn. It also took a lot of effort to turn the crank. It didn't come with instructions, box, or the clamp needed to attach it to a table.
I almost put it back, but I'd never seen one of these in the wild before and it was kind of cool. I decided to get it and fix it up. Vintage Singer items were built to last, so I figured there was a good chance it just needed a little TLC.
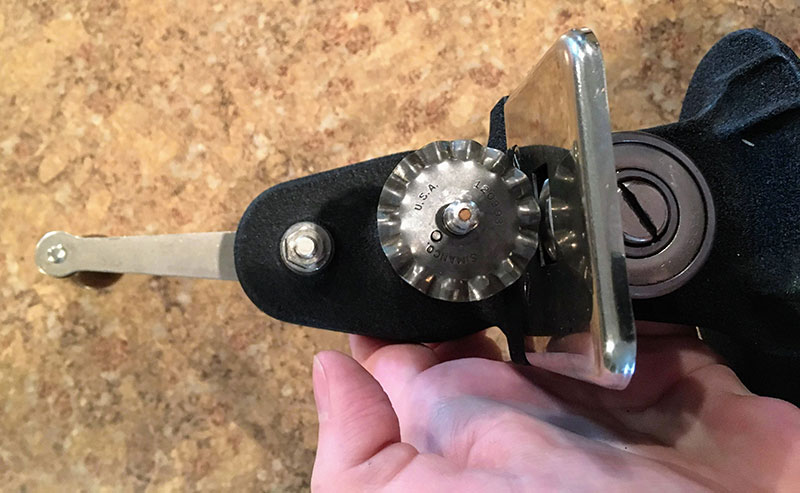
One of my first concerns was that it would probably need a new blade, but it actually turns out that the "blades" are not sharp at all and they were never meant to be. The cutting action happens because of the pressure of the "blade" against the wheel below.
However, you can get new blades if yours is missing or you want to cut different shapes. There's also a straight blade that you can use to make your pinker into a rotary cutter and a smaller "wave" blade for more delicate pinking. Again, the Singer Featherweight shop comes to the rescue with these replacement parts.
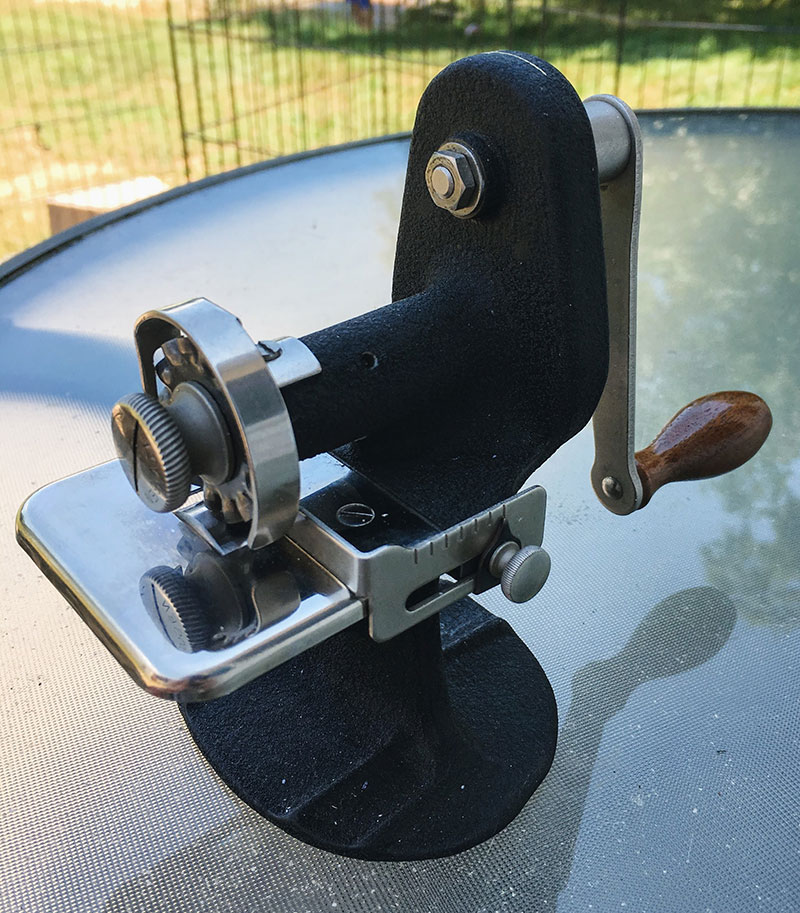
My next biggest concern was that the gears were slipping out of alignment every time I turned the crank. The lower gear seemed to shift further away from the body of the pinker with every turn, to the point where the gears were no longer even touching each other. I could slide the lower gear into place, but it just kept shifting back.
The blade was also rubbing against the blade guard on one side. The video from the Featherweight Shop said that you can re-position the sides of the blade guard with pliers, but I decided to wait until I'd taken it apart and put it back together to see if that helped.
Before removing the blade, I removed the blade guard by removing the screw holding it in place on top of the black bar. There's only one screw holding the blade guard on.
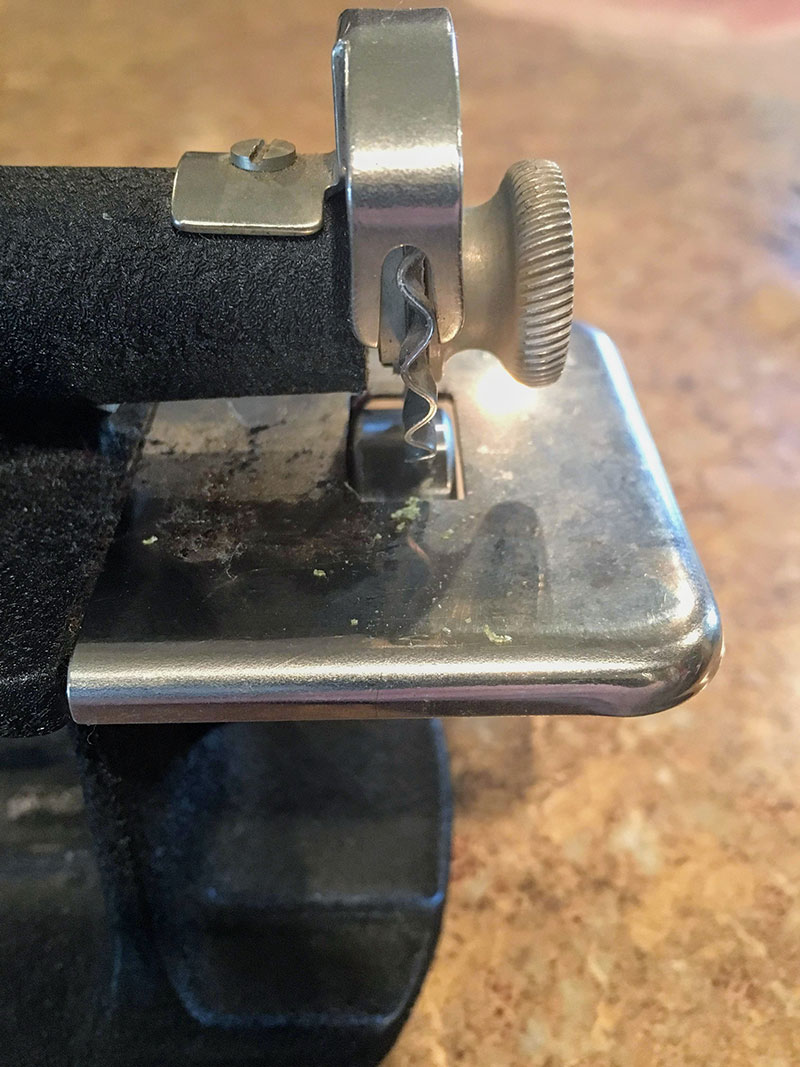
The thumbscrew holding the blade in place kept loosening every time I turned the crank, which allowed the gear on the other side of the shaft to slip out of place. The thumbscrew is reverse threaded, so it's rightly loosey, lefty tighty. There's also a handy message on the thumbscrew showing you how to turn it to loosen it. Even after tightening, it kept re-loosening itself with every turn of the hand crank.

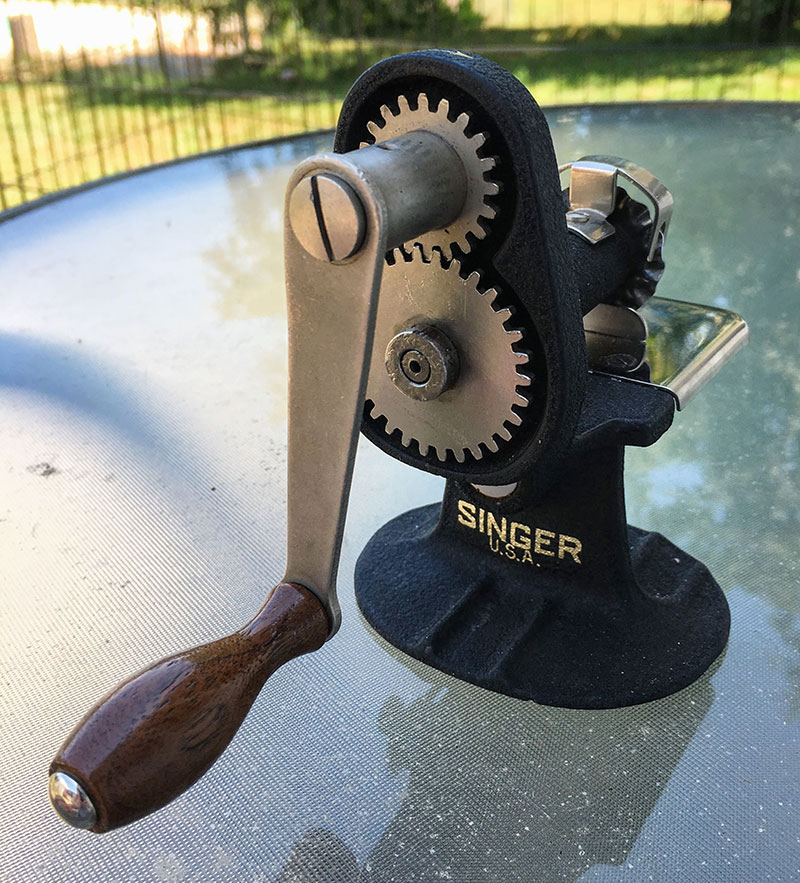
I figured I'd take it apart to see if anything inside needed cleaning or adjusting. To remove the blade, you first need to lower the wheel below the blade to make enough room. Remember, the "blade" is not sharp, and it cuts by exerting pressure against the wheel, so the wheel is pressed up close to the blade.
Loosen the screw to the side of the wheel to allow the wheel to move. Then turn the screw in the center of the wheel to the right to lower it. You'll turn it to the left to bring it back up into place later.

Now you can remove the thumbscrew and the blade. Remember that the thumbscrew turns to the left.

The shaft has a rectangular shape at its base, and there's a piece with a rectangular cutout that fits onto it. I removed everything and cleaned out some gunky oil and fuzz. I made sure to match up the cutout with the shape of the shaft.

This photo is a little fuzzy, but that piece I mentioned in the last step has a pin on the front of it. According to the Featherweight Shop, this pin can get worn off if you don't position the blade properly. I was worried that the gear slippage might have been caused by a missing pin, but it seems fine.

The blade has a hole in it that needs to line up with the pin. (See my Singer 40k in the background? I got that at the same time as this pinker!)

Before putting the thumbscrew back on, I tilted it back to hold the gear in place and to make sure the blade didn't slip off the pin. I tightened the thumbscrew as much as I could and then turned it a bit more with a screwdriver.
The gears are still not perfectly aligned, but this is as close as I could get them. And this time, turning the hand crank did not cause the gear to slip further out of place! However, the hand crank was even harder to turn now than it had been before, so I loosened the thumbscrew slightly. This made turning the crank a lot easier, and the gear still remained in place.
I'm honestly not sure what was causing it to slip. Nothing seemed out of place when I took the blade assembly apart, but maybe something was slightly off, or the accumulated oil gunk and fuzz were interfering in some way. When I put the blade guard back on, it was centered around the blade instead of resting against the blade as it had been, so something must have shifted around. Taking it apart, cleaning it, and putting it back together seems to have solved the problem.

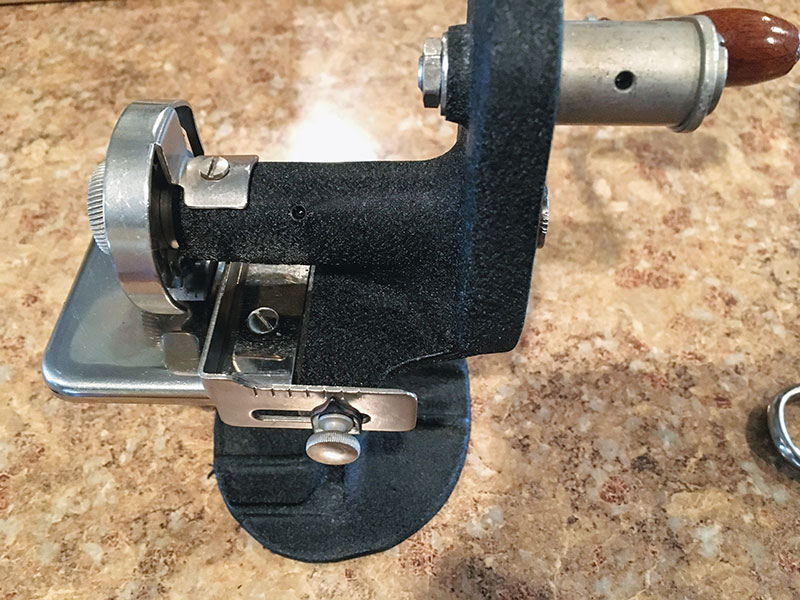
You'll also want to oil the pinker. There's an oil hole in the silver part of the hand crank, shown here, and in the body of the pinker, leading up to the blade assembly. You can see a slight reflection from this hole, where I added some oil.
Using the Singer Hand Crank Pinker
Since I didn't have the original clamp to hold it in place, I borrowed a c-clamp from my rigid heddle loom. It worked for the time being, but I then got a Tekton 3" c-clamp, which worked better because the clamp part was flat, rather than rounded.
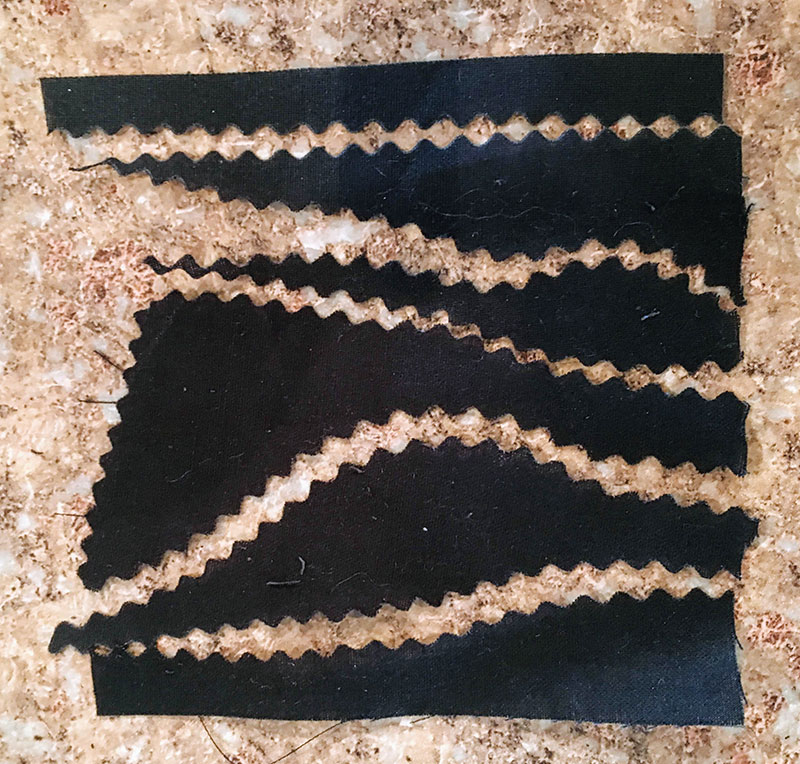
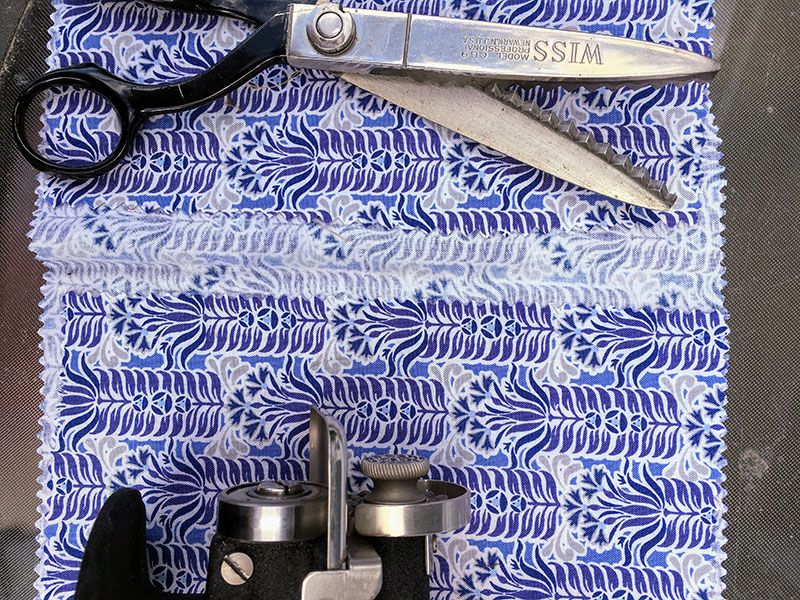
Here are some of my first test pieces. There's an adjustable fabric guide at the front of the pinker, but you can also cut along curves. It takes a bit of time and care to feed the fabric correctly for a perfectly straight line of pinking, since one of your hands has to be turning the crank, so you only have one hand with which to guide the fabric.
Initially, I found that I hadn't adjusted the wheel under the blade correctly, and the fabric had to be pulled apart after running it through the machine, which left little threads and frayed edges. I adjusted the wheel upward to create more pressure between the blade and wheel. It took a few tries, but I was able to get it so that it would cleanly cut anything I ran through it.

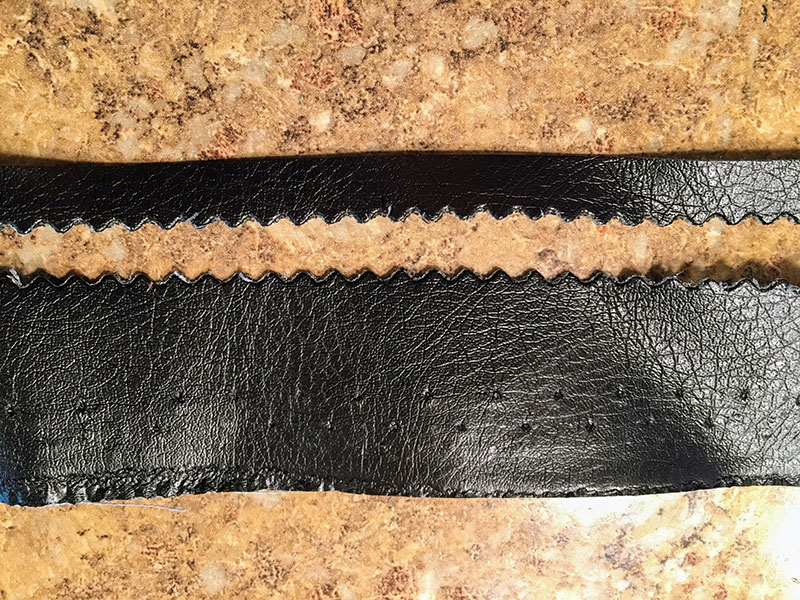
Here you can see that I cut through some faux leather, which was moderately thick.
Here it is pinking the edge of this fabric, which had frayed a bit in the wash before I had a pinker or serger.

Here's how it looks when the fabric comes out the other side of the pinker.

If you use it a lot, it does start to accumulate a bit of fuzz and dust. I'll probably need to take it apart and clean it every so often to keep everything running smoothly.

I have some pinking shears, too, so I decided to compare the hand operated pinker to the pinking shears. It's definitely harder on your hands to use the pinking shears than to use the hand crank. Pinking shears are heavy and require a squeezing motion that can tire out your hands pretty quickly. I could use the hand crank pinker all day without hurting my hand!
The top is from the pinking shears and the bottom was done by the hand crank pinker. The shears make a slightly more pointed cut, while the blade on the hand crank pinker makes a slightly wavy cut. I think either one would hold up well for edge-finishing your fabric.

Here's another shot of the slightly wavy cut from the hand crank pinking machine.

How to Get Your Own Pinker
Price and availability of these seems to vary. I've seen completed auction listings on Ebay for $30-60. In online shops with set prices, people seem to want closer to the $100-150 range. I paid $35 for mine.
The sewing machine pinker attachment seems more sought after than the hand crank pinker, but I'm quite enjoying the hand crank pinker. I feel like the sewing machine attachment might overwork your motor if you used it a lot, but I can't say that for sure, since I don't have one.
Here's a link to all of the Singer pinkers available on Ebay right now!
More Vintage Sewing and Pinking
See my Pinterest board for more Vintage Sewing Machines, Notions, and Accessories:
See this cool tutorial from All Free Sewing on how and why to pink your finished seams.