Vintage Singer 99k Sewing Machine: Converting to a Hand Crank
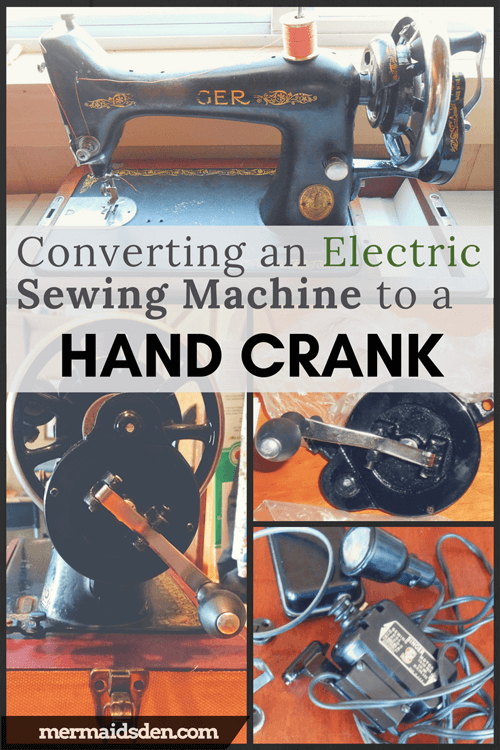
A few months ago, I found this lovely Singer 99k. This was my first vintage sewing machine project, so I'll walk you through the process of converting it to a hand crank. I wasn't sure whether the electrical components on this sewing machine were still sound, and I liked the idea of trying out a hand crank sewing machine, so I decided to convert this.
As a beginner, I knew nothing going into this, and I made lots of mistakes, so I should be able to explain this to someone else who is at the novice level, too. I'll try to explain all terms and processes thoroughly, and I'm including links to all of the resources I used along the way. See also my post on cleaning, restoring, and troubleshooting the 99k.
Disclosure: This post contains affiliate links, which means I may receive a percentage if you make a purchase using these links. I only link to things I like and use!
Resources used:
- How to convert a Singer 99 to a hand crank
- Convert Singer portable electric sewing machine to hand crank
- Taking the handwheel apart and putting it back together
Parts used:
- Reproduction hand crank
- Reproduction spoke hand wheel
- I got my hand crank and hand wheel from Seller 072845
on eBay
Hand crank conversion:
I removed all of the electrical components and the bobbin winder, replaced the handwheel, and added a hand crank. I used the two tutorials below, and I definitely recommend them. However, I'll go over some of the basics and some of the things that I messed up, which will hopefully save you some frustration.
- How to convert a Singer 99 to a hand crank
- Convert Singer portable electric sewing machine to hand crank
First, pull off the electrical bits. I took off the light, motor, belt, and all components/brackets holding these items on. This is fairly straightforward. Just unscrew anything that appears to be holding these onto the machine.

I ordered a reproduction hand crank and spoked hand wheel. These also came with screws, which I ended up not needing. These aren't the highest quality hand cranks/wheels, but they do the job. If you find an original Singer hand crank somewhere, scoop it up. It's hard to find them. But the price on the reproductions isn't bad, and I haven't had any major issues while using it.

The Singer 99k has a solid handwheel (lower right), which doesn't work with the hand crank, so first you have to replace the solid hand wheel with the spoked hand wheel (upper left). There's a small stop screw on the knob of the handwheel that you need to unscrew, and then the knob itself will unscrew.

At this point, I also removed the bobbin winder, since it won't work with the new hand wheel, which is bigger than the old one. Unscrew those two big screws next to the bobbin tire. Use another sewing machine or a stand-alone bobbin winder like the SideWinder Portable Bobbin Winder for your bobbins. See my post on how to use the Sidewinder.

Now it's ready for the new hand wheel. Put a couple of drops of oil on the shaft before putting the hand wheel on, and give it a couple of turns.

The new hand wheel should slide right on.

Now comes the tricky part. You need to put the stop motion clamp washer back on. I didn't do this correctly the first time. Notice how those two projections are facing inward? That is wrong! Don't do that. The two projections should be facing outward. See this explanation: Taking the handwheel apart and putting it back together. I had trouble getting everything to stay in place while putting this back together, so I tilted my machine forward while replacing this washer and screwing the knob back on. It's difficult to keep the washer projections lined up with those indentations on the shaft otherwise.

Almost finished! Put the set screw back in now. You might want to keep a little tray/dish on hand while you're doing this so you don't lose these parts.

Now it's completely back together.

I saved the screw that was holding the motor bracket on, and I used that to attach the hand crank assembly. The hand crank also came with a screw for this purpose, in case you don't have one.

The finger on the hand crank will fit into one of the spokes on the wheel.
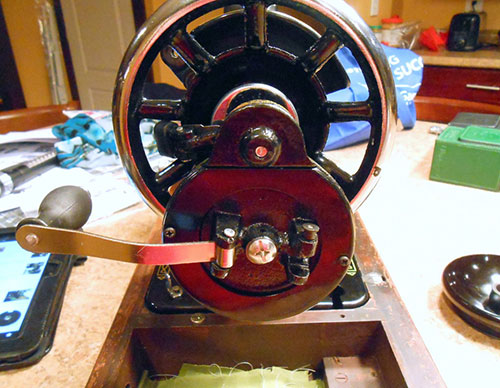
There's a little pin you can pull out on the hand crank to secure the handle. The handle is movable so that you can fit your case over it. Some cases won't fit over the machine unless you move the handle.

And now you're all set to sew!

Here's how it looks from the side:

And from the front: