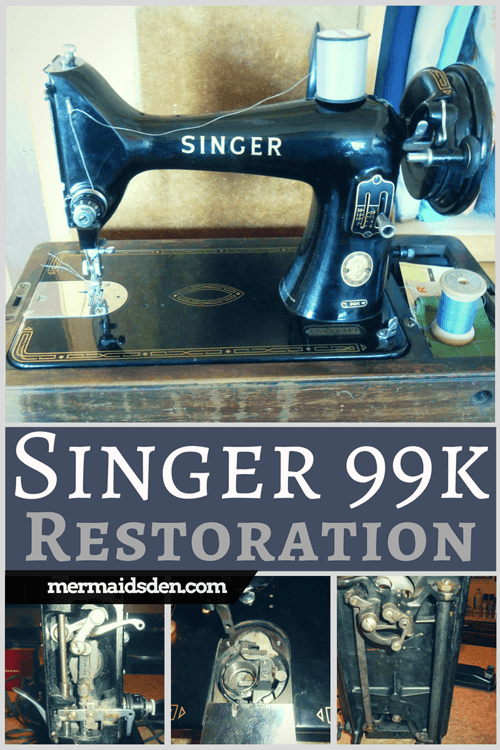
Singer 15: Restoring, Cleaning, and Using

In this post, I'll show you how to restore, clean, and use your Singer 15 sewing machine. This is one of the most iconic sewing machines Singer ever made, and there are plenty of them still out there waiting for a little TLC. I had my eye on this machine for almost a year before I bought it. Initially, it looked a bit run down, the decals weren't in great shape, and I wasn't crazy about the case.
However, now that I have it, I'm really glad I got it. I thought it was a Singer 66 at first, but it's actually a Singer 15, which I didn't have. The decorative plates on it are exquisite, it has a spoked handwheel, which makes converting it to a hand crank easy, and it has Gingerbread/Tiffany decals, which are quite lovely, though they are mostly worn off on the base of the machine.
Disclosure: This post contains affiliate links, which means I may receive a percentage if you make a purchase using these links. This won’t cost anything extra to you. I only link to things I like and use, and the proceeds help me to run this blog. Thank you for supporting me!
Materials Used:
- Bulk Schmetz needles
: these needles are really consistent in terms of quality. If your needle isn't exactly the right size and situated exactly right in the machine, you can run into problems with your vintage sewing machine.
- Class 15 bobbins: similarly, your bobbins have to be of good quality. Some bobbins vary wildly in terms of size and shape. These bobbins were all just the right size.
- Hand crank from Seller 072845
on eBay: if your motor/electrical components are at all questionable, you can convert your sewing machine into a hand-powered version.
Helpful Resources:
Singer 115 Manual (the 115 is not the same as the 15, but it’s similar enough that the manual is helpful, and the images are much better quality than the Singer 15 manual)
Three Part Series on Singer 15-30:
How to Thread Vintage Antique Singer Treadle Electric Sewing Machine Bobbin 15-30 86 87 88 89 90 91
Overview of the Singer 15
Because Singer produced the Model 15 for over 100 years, there were many variations, including treadle, hand crank, and eventually electric versions.
Mine has a spoked handwheel like the treadle models, so I believe it started out life in a treadle table and was converted to electric at some point. If it had been in an old wooden case, it might have started out life as a hand crank instead, but the case looks like it's from the 1950s-1960s, so that's probably when the conversion happened.
Since there are so many variations of the Singer 15, you may want to check out this Singer Model 15 Comparison. Mine appears to be a Singer 15-30.
To figure out what year your Singer 15 is from, check out the serial number database from the International Sewing Machine Collectors' Society. According to this, my sewing machine is from 1923.
Needles and Bobbins for the Singer 15
In terms of needles and bobbins, some vintage sewing machines take obscure parts that can make using them difficult. With the Singer 15, however, you're in luck. The Singer 15 uses a 15x1 needle (also known as the 2020 or 130/705h), which became the standard across the entire sewing machine industry.
Modern domestic sewing machines of all brands use this type of needle today, so it is easy to find. I recommend Schmetz needles because they are more consistent in terms of size and quality than other needles.
As you might guess, the Singer 15 also uses Class 15 bobbins (what a coincidence!). Class 15 bobbins are still used in many different sewing machines today, and again, it's easy to find them.
However, as I noted in a previous post, not all bobbins are created equal. I used some cheap bobbins, and they were so inconsistent in size that I thought my bobbin winder was broken. I recommend these Class 15 bobbins from Sewing Parts Online--they were nearly identical in quality to the vintage Class 15 bobbin I had.
Identifying Parts on the Singer 15
Here's a helpful image from the Singer 115 manual that explains what each part is. The Singer 115 is not exactly the same as the Singer 15, but the differences are in the bobbin area, so this image works fine for the Singer 15, too.

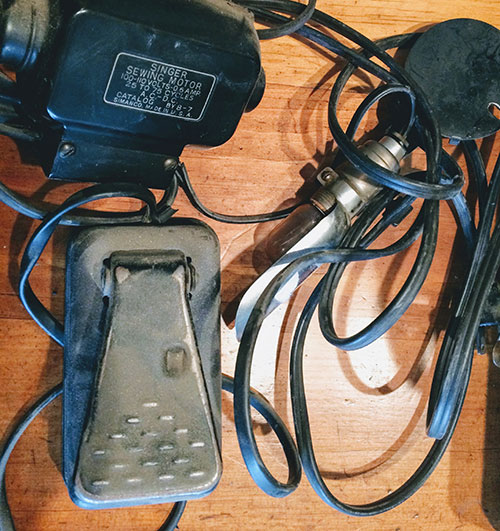
Removing Electrical Components on the Singer 15
This is what my sewing machine looked like when I first got it. It was quite dirty and dusty, not to mention the electrical cords were fraying a bit.

First, I decided to detach all of the electrical components. To start, I removed the motor. All you have to do is unscrew the one bolt holding the motor bracket underneath the handwheel.

Now you can remove the motor, and maneuver the belt off the handwheel.

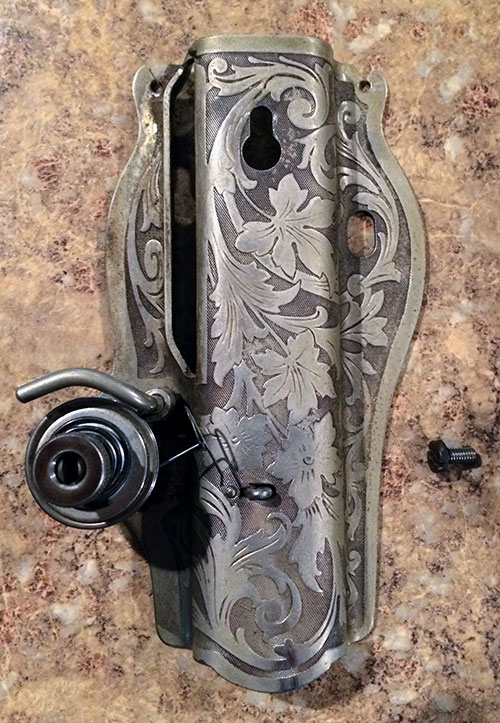
To take off the light, remove the one screw holding the floral plate and light bracket on.

Here's what it looks like once you remove it. Keep the screw and silver plate; remove the light and light bracket.
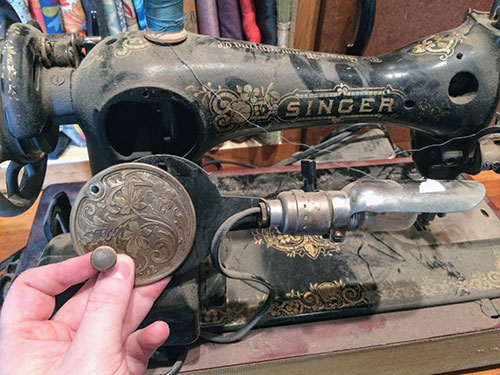
Replace the plate and screw.

Dispose of or these bits or save them for parts.
Cleaning and Oiling the Singer 15
Although this video doesn't feature a Singer 15, it's a good overview of how to clean and oil a vintage sewing machine.
You can clean the dust and grime off the body of the machine with water and rags/paper towels.
I like to start by taking off the slide plate and needle plate. There's often a bunch of lint and dust down here. It's pretty satisfying to clean out. You can use a little brush or mini vacuum attachments.

Be sure to tilt the machine back to clean out the bobbin area and get under the feed dogs.

Clean out the bottom of the case as well. You'll almost always find a few stray pins or needles down here, so be careful.

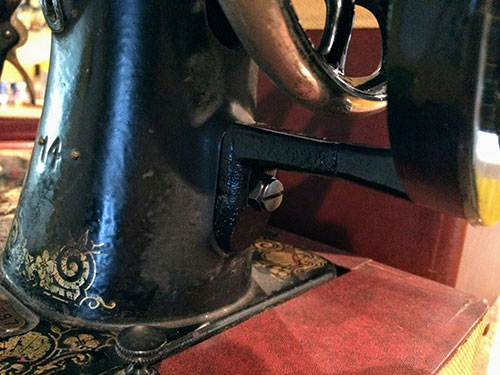
One interesting thing about the Singer 15 is that the tension mechanism is part of face plate. You can remove the entire thing from the front of the sewing machine by removing the screw at the top of the face plate. On most sewing machines, the tension mechanism is attached securely to the machine and is not easily removable.
There's almost always some fuzz and dust around this area, especially around the needle bar.

This is from the Singer 115 manual again. It shows where to oil the machine and the images are a bit clearer than in the Singer 15 manual.


Converting to a Hand Crank
For a more detailed account, see my other post on converting a Singer 99k to a hand crank. I got my hand crank on ebay from Seller 072845. Remember the screw that held the motor bracket in place? You're going to use that screw to hold your hand crank in place.
This is what the hand crank looks like once it's mounted.

The little rubber finger folds into one of the spaces in the spoked handwheel. If your sewing machine doesn't have a spoked handwheel, you can buy one to replace your solid handwheel.

Sewing with the Singer 15
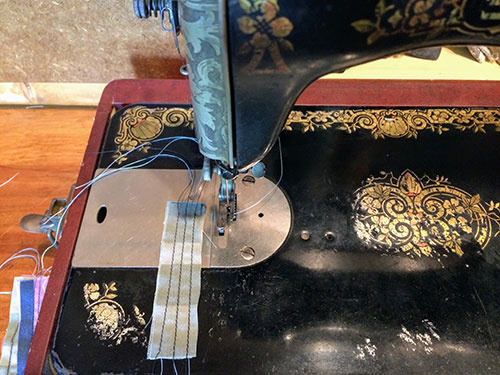
With most of the other Singer sewing machines I have, you pull the bobbin thread up through the slide plate. Sometimes the slide plate even has a little notch for the bobbin thread to emerge through. With the Singer 15, let bobbin thread hang down under the slide plate, and then turn the hand wheel to bring it up. It will get jammed if you try to bring it up above the slide plate.
On this particular Singer 15, the stitch length regulator doesn't have any numbers. You just turn the thumb screw left to loosen it, and then move it up for a shorter stitch or down for a longer stitch. Then tighten it by turning it right to set the length.

Troubleshooting the Singer 15
I thought the timing on my sewing machine was off because the needle wasn't catching the bobbin thread, but it turned out that the needle was not situated correctly. These machines are a little finicky, so be sure to get your needle up as far as you can before turning the needle clamp thumb screw to hold the needle in place.
I initially had a tension issue due to crooked regulating thumb nut on tension mechanism. If this happens to you, just screw the thumb nut off, re-situate it so that it's even, and screw it back on. The regulating thumb nut can come completely off, but be careful that the spring behind it doesn't fall off while you're doing this.
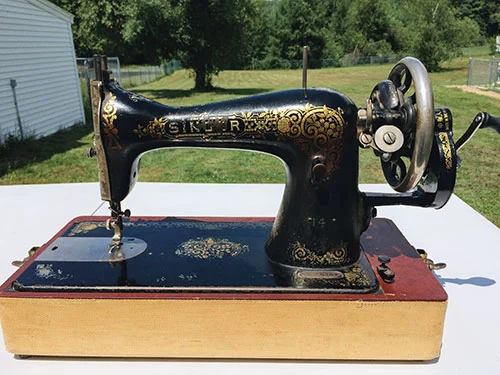
The Final Product
This is what the Singer 15 looks like all cleaned up and with its new hand crank!

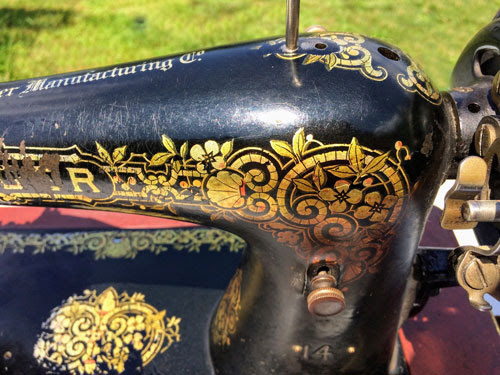
I love the ornate face plate on this sewing machine!

And the decals are beautiful!
More on Vintage Sewing Machines
See all of my posts on vintage sewing machines, including buying a vintage sewing machine and resources for restoring vintage sewing machines.