Sew This Easy Pillow Sham
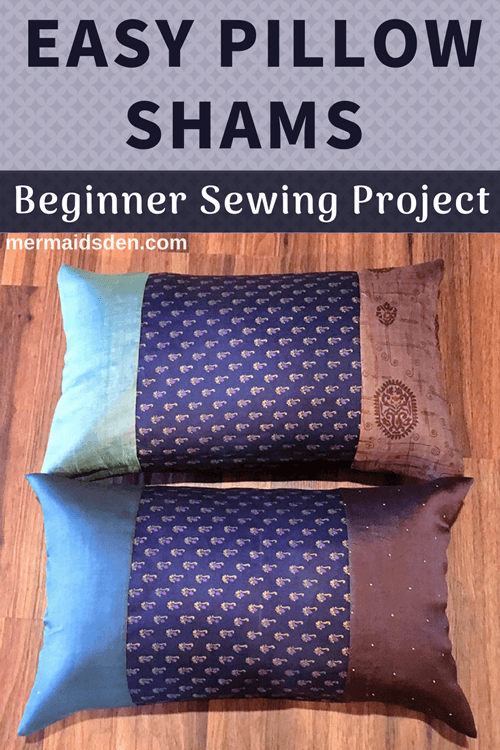
In this post, I'll show you how to make an easy envelope pillow sham out of silk sari pieces (or scarves). I post projects on Hometalk, and they have weekly challenges and trendy topics for bloggers. This week, the topic is West Elm knock-offs. I was scrolling through Pinterest to find ideas, and I came across some stunning silk sari pillows that inspired this project. This post contains an easy beginner sewing pattern and tutorial for these pillow cases.
Disclosure: This post contains affiliate links, which means I may receive a percentage if you make a purchase using these links. This won’t cost anything extra to you. See my privacy policy for more details.
Materials
- Silk sari pieces from eBay seller Vintage Fabrics Galore. You could also use thrifted silk scarves.
- 1 yard of lining fabric
- Pillow inserts
- Hem gauge
- Cutting mat
The Inspiration
These are the pillows I used as my inspiration. They're made from silk sari pieces. These are two-toned, but I decided to make mine three-toned, due to the size of the pieces I had.
Choosing the Fabric
Awhile ago, I bought a bunch of silk sari scraps on ebay, and I've been slowly using them up. Each piece was about the size of a scarf, and I received quite a variety of colors and patterns.

I've made several other projects using silk sari fabric. Click on the images below to check out my other silk sari projects:

Make This Silk Infinity Scarf

Quick and Easy Silk Headband

Make Your Own Silk Flowers
I used three pieces of silk for each pillow sham. Two pieces alone weren't quite big enough, but three were a little too big. We'll cut these down later. You could also find silk scarves at a thrift store to use for these pillow cases.

Cutting Your Fabric
The pillow inserts I used were 10" x 20," so adjust the sizing below if your pillow inserts are larger or smaller.
Cut the following pieces:
Lining fabric: 22" x 27"
Pillow sham fabric: 22 1/2" x 29"
Use 5/8" seams everywhere unless noted otherwise.
Sewing the Lining for the Pillow Sham
I ended up making a lining for each pillow because my pillow sham fabric was slightly sheer. Below, the pillow in the back has a lining, and it looks nice and vibrant. The pillow in the front doesn't, and it looks washed out.

As noted above, cut a piece 22" x 27." Along the 22" ends, fold up your fabric to form a 5/8" hem. Fold it under twice if you're using the raw edge of the fabric. Since this will be on the inside of the pillowcase, I serged my edge and then sewed the hem. (See my posts on the Singer Profinish Serger and the Singer Tiny Serger--a good budget option!)

Here are the two hemmed edges along the 22" sides of the fabric.

Now you want to fold one edge up. I did this on my cutting mat. I folded up the bottom edge to the 6" mark.

And I folded down the top edge enough to make sure the entire lining was 12" tall. The hemmed edges overlapped by about 2" here. Sew a 5/8" hem along the sides of your pillow sham to finish it. I also serged the inside edges to keep them from unraveling. Use whatever seam finishing method you prefer.

Here's the finished lining on the pillow insert.

And here's what the back of it looks like with the envelope opening.

Sewing the Pillow Sham
I started by sewing three pieces together for each pillow sham.

This ended up being too wide, so once I was done, I centered the middle piece on my cutting mat, and I cut enough off from each side so that the whole piece was 22 1/2" wide and 29" tall.

Here's how it looked once it was trimmed down to the right size.

For this one, I decided to use my coverstitch machine to hem the edges. Again, this isn't necessary--you can fold the hem under twice to hide the raw edges. If you want to try coverstitching, see my posts on how to use a coverstitch machine and how to use a hem guide attachment.

Once the ends were hemmed, I followed the same process for making the lining. I folded the bottom edge up 6" and folded the top edge down to make the whole piece about 12 1/4." I used a 5/8" hem along the edges to seal everything up.

Here's the inside view of the finished pillow sham:

The Finished Pillows
Here's the finished blue pillow from the tutorial:

Here's what the pillow looks like from the back:
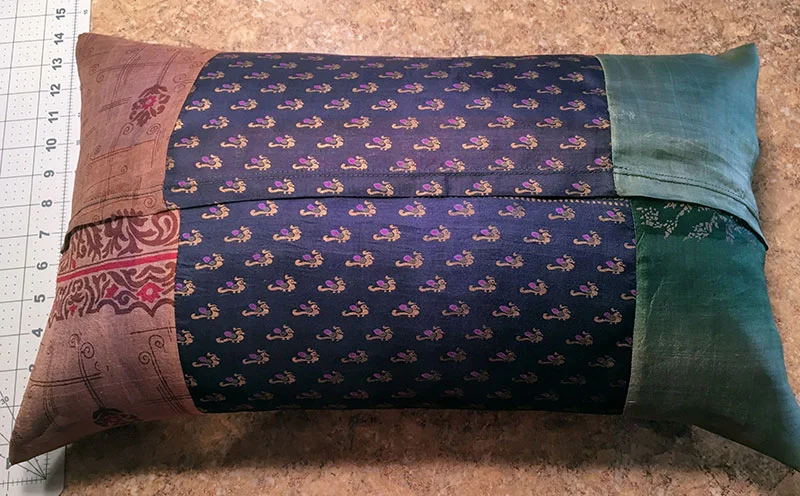
And here are two "matching" pillow shams that I made with similarly hued fabrics:

Want More Projects?
Check out my Sewing for the Home board on Pinterest for more home decor sewing projects.
And check out all of these free pillow projects on All Free Sewing!