


Quilt as You Go Rainbow Throw

In this post, I'll show you how to make a beautiful rainbow throw with the quilt-as-you-go method. This method helps you to sew all of the layers of your quilt at the same time, which means it comes together pretty quickly! Then we'll add a cozy fleece border around the edge to round it all out. This project is a slightly more complex version of the quilt as you go lap blanket I made.
Disclosure: This post contains affiliate links, which means I may receive a percentage if you make a purchase using these links. This won’t cost anything extra to you. I only link to things I like and use, and the proceeds help me to run this blog. Thank you for supporting me!
Materials used:
- Woven Stripes fat quarter bundle by Kaffe Fassett
- Or other fat quarter fabric bundles from Kaffe Fassett on Etsy. I particularly like these Spiral Shells. I may have to make another quilt with them!
- 2 yards of fleece for backing
- 2 yards of fleece for border
- Quilt binding
- Olfa 28mm Rotary Cutter
- Fiskars Self Healing Rotary Cutting Mat 36" x 24"
- Fiskars Easy-To-Read Ruler 24.5" x 6.5"
- Quilt clips
- Graph paper journal

How to Quilt as You Go
I used this tutorial from the Missouri Star Quilt Company to learn about the quilt as you go method. Instead of using batting and a backing fabric, I just used fleece for the backing, which means there are fewer layers of fabric to work with. I got the idea from this blog post on Craftsy. You could also use fusible batting to help keep your batting and backing together while you sew the top layer onto it.
Planning Your Quilt
For this quilt, I planned my layout in a graph paper journal. Each square equals 2" in this pattern. See also my previous post on using Adobe Illustrator to plan out your quilts .
The woven stripes fat quarter bundle came with seventeen fabrics, but I decided to go with a layout that would use sixteen of them. There was a light orange that I wasn't too fond of, and sixteen colors fit perfectly with what I wanted to do.

I decided to cut each piece 9 x 4". This lets you cut out ten pieces from each fat quarter. A fat quarter is 18 x 22", so you'll be left with a little bit of extra fabric on each one (see below). The quilt pattern requires five pieces of each color, so you can make two quilts with your fat quarter bundle.

After evening out the edges on each piece, it was sometimes difficult to get the full 9" in length needed. In the future, I might go with 8 or 8 1/2", just to be on the safe side. I wish all fat quarters were cut to exactly 18 x 22", rather than slightly more/less.

Once you've cut up all of your fat quarters, you'll sew them together into the sixteen long strips you'll use to quilt-as-you-go. Use the pattern noted in the graph paper to slowly shift your colors across the entire quilt. Lay out your pieces to make sure everything looks right before you start sewing. Use a 1/4" seam to sew your pieces together.

Quilt as You Go
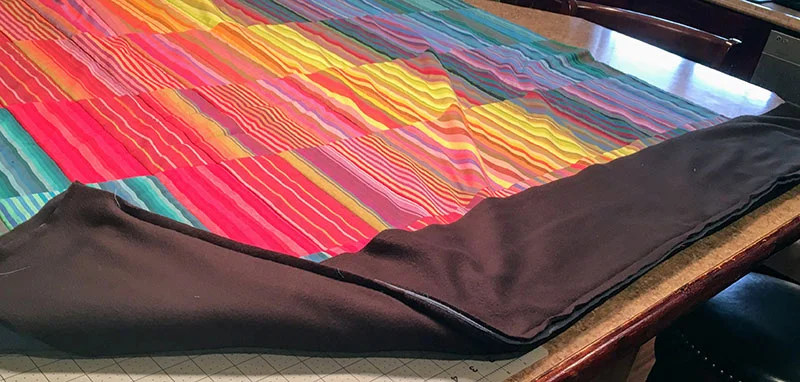
Once you have your sixteen strips of rainbow fabric, you need your fleece. I bought two yards of fleece. It was 59" wide and 72" long, which is more than you really need, but I like to have some extra fabric. The full quilt becomes a little bulky to work with as you go along, and fleece is a bit stretchy, so it's good to leave a little extra room, especially on the sides of the quilt. It's difficult to see here, but the extra fleece is hanging over the edge of the table. I trimmed it down a little on the sides, but not much.
For the first strip, just sew it to the end of your fleece. This row of stitching will get covered by your binding later on.

The next strip should be added, right sides together, on top of the previous strip so that the raw edges are matched up. After sewing them together with a 1/4" seam, you'll fold this second strip down.


Keep adding new fabric strips in the same way. Roll the end of your quilt so that it will fit under your sewing machine. I'm using an industrial sewing machine, but this can be done on a regular domestic sewing machine as well.

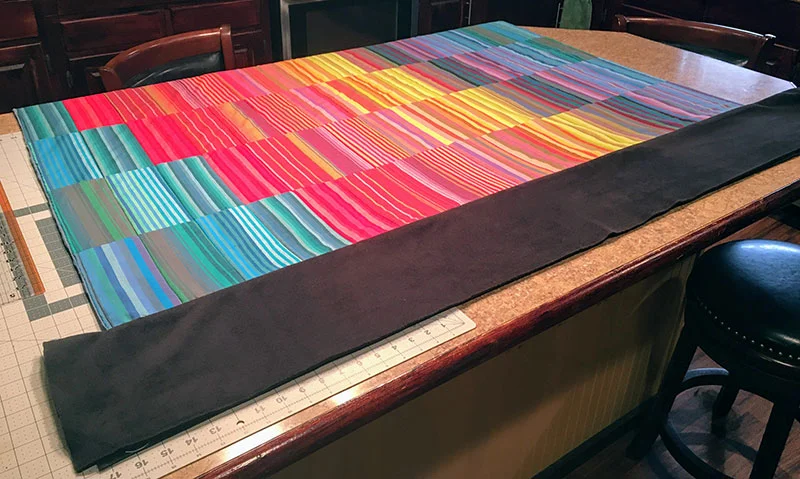
Keep adding strips until you've added the sixteenth row, and then sew the bottom edge of the sixteenth row in the same way you sewed along the top edge of the first strip. Now you can trim off your excess fleece.

Adding the Border
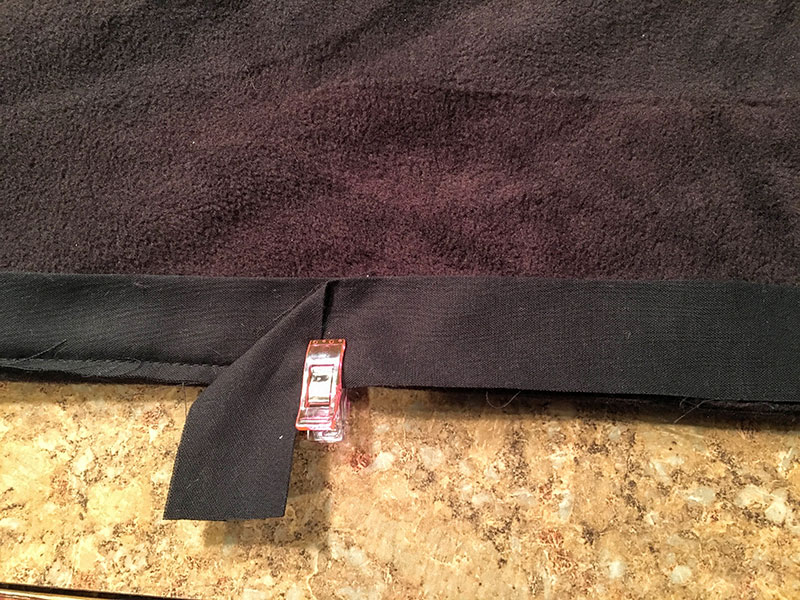
I wanted my quilt to be a little bit bigger than the rainbow section, so I decided to add a border. I bought another two yards of fleece and cut eight 8 x 72" strips down the length of it. These strips will be longer than you need. I just trimmed them down after sewing them on.
You want to create a sandwich with your fleece strips butted up against the edge of your quilt. The right sides of the fleece should face inward. Then sew down the edge, encasing the edge of the rainbow quilt between the two fleece strips. I used a 1/2" seam here, just to make sure my needle caught all of the layers. I started with the long sides of the quilt.
Now fold down the border so that the stitching is hidden. Add your border strips to the other long side of the quilt
Trim down the fleece so it is flush with the top and bottom edges of the quilt. Now add your border layer along the top and bottom of the quilt.
This is where I started to run into a little trouble with the layers of fleece. At the thickest point, there were seven layers of fleece. If I were doing this again, I'd probably use cotton for the border or cotton on the top and fleece on the back. I made it through the thick layers, but it wasn't easy.

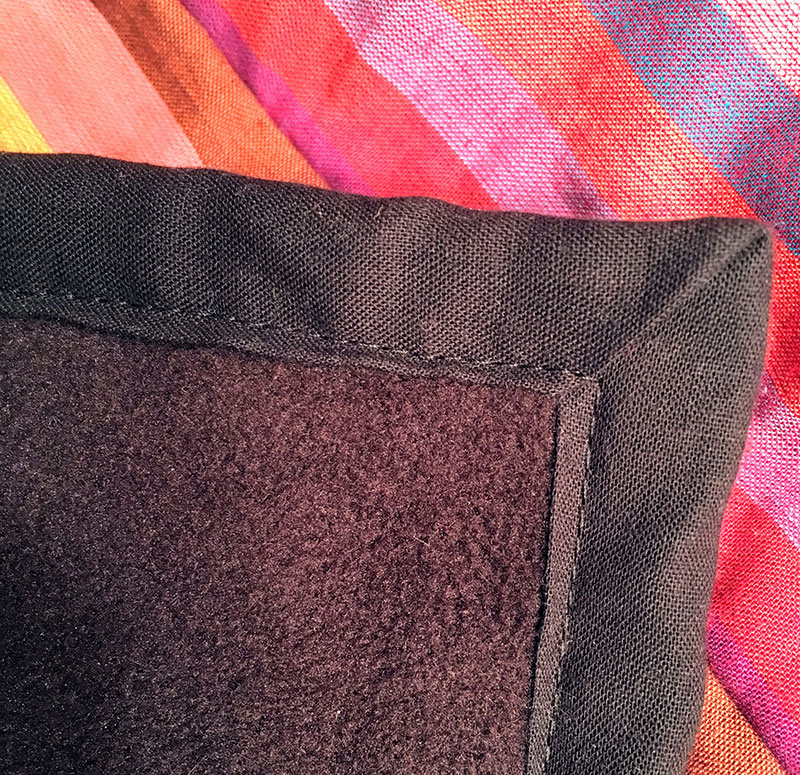
I think the border adds a nice touch.

Binding
I used this binding video tutorial, also from Missouri Star Quilt Company. They mention using a binding tool, which I don't have, but here's another video from them on how to use the binding tool. It looks like a useful tool, and if I find myself making more quilts, I'll probably get one.
Sew your binding onto the back of the quilt, matching up the raw edges of the binding with the raw edge of the quilt. As noted earlier, I don't have the binding tool, so I just folded over my binding strip at the beginning and overlapped it with the other end by about a quarter of an inch. I left a little extra binding, just in case, and trimmed it off after sewing all of the binding down.
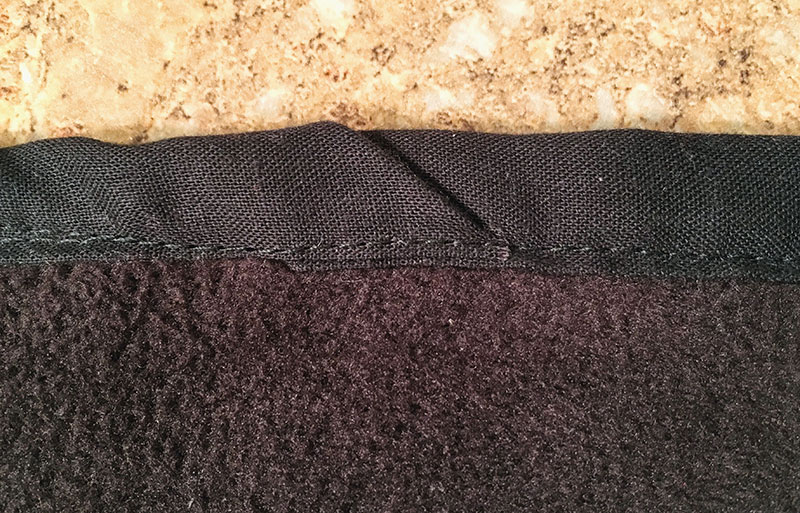
For corners, fold your binding like this. Be sure that the raw edge of the binding is still lined up with the raw edge of the quilt after folding the binding to go around the corner. See the binding video tutorial for a good description of how to go around corners.

Fold your binding toward the front of the quilt. I used quilt clips to hold it in place while I sewed around the edges.

Fold in the corners to get a nice mitered look.
Here's what the overlap looks like on the front. It's not perfect, but it's not that noticeable unless you're looking closely.
The Finished Quilt
The finished quilt is 55 x 69".


