Everyday Mending: Sew Up a Rip in a Blouse

In this post, I'll show you how to fix a tear in the fabric of a blouse that is not along a seam line. You can do this either by hand or with a sewing machine to help extend the life of your clothing. It only takes a few minutes to do!
Why Mending?
I'm starting a series of posts on everyday mending. It's not the most glamorous kind of sewing, but it's a useful skill to cultivate. Sometimes I feel a little embarrassed when wearing mended clothes, but I realized that's silly. It's part of our throwaway culture to treat clothes as disposable, like you can just get rid of them as soon as they're not shiny and new anymore.
This piece on fast fashion from the BBC notes that people wear their clothes less often and discard them more quickly, while clothing production has doubled over the past fifteen years. Not only that, but the environmental impact of fast fashion is such that, after the oil industry, the fashion industry causes the most pollution. As noted by EcoWatch, it can "take more than 5,000 gallons of water to manufacture just a T-shirt and a pair of jeans," not to mention the pesticides used in growing the fibers and the chemicals used in dying them.
So lets find a way to make our existing clothes last longer. It's relatively easy to mend rips that occur on or near a seam line (see my post on mending leggings), but what about rips that occur in the middle of the fabric in a fairly visible spot?
Fixing a Rip
I love how light and flowy this blouse is, but because the fabric is so lightweight, it tears easily. I managed to rip it in two places in the middle of the shirt, and I put off fixing it for awhile because I was afraid I'd mess it up. But you know what? It already has holes in it; I can't make it too much worse.
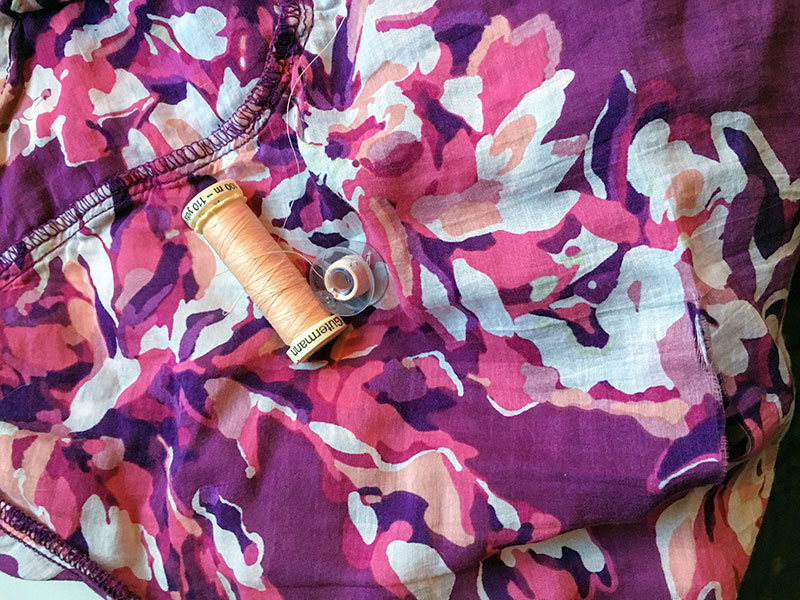
This is what I started with. This is the larger tear. You can see that the fabric has started to unravel around the rip and there are some frayed edges. I thought about using an iron-on patch or fusible interfacing on the inside of the blouse, but the frayed edges wouldn't have looked right.

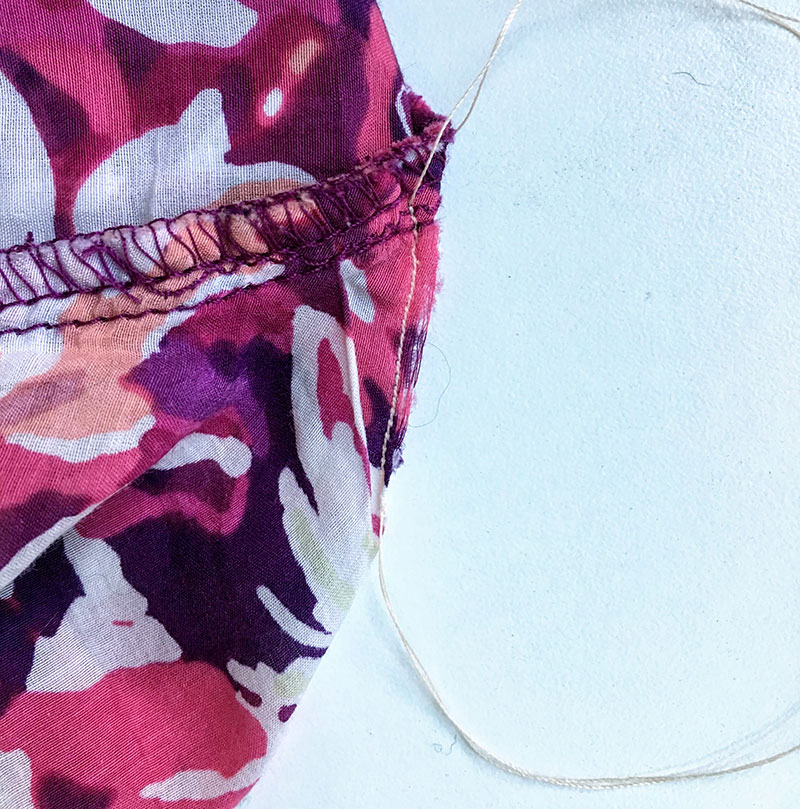
Here's the second tear. It's not quite as large as the other one, but it's starting to unravel as well.

Even though the blouse used purple thread along the seams, I decided to use a light pink for mending. The rips were in lighter-colored sections of the blouse. Ideally, the stitching wouldn't show through, but since the fabric is pretty lightweight, I was worried that darker stitches might show.
Machine Sewing
First, I moved my needle over to the right as far as it would go and I decreased my stitch length. Then I turned the shirt inside out, and carefully folded the fabric at the tear so that I could sew it closed.

For the smaller rip, I sewed about 1/4" from the edge of the tear. You don't want to sew too close to the frayed fabric because it will just keep unraveling and your new stitches will come out.
I started at the nearest seamline above the tear, sewed the rip shut, and angled off after the torn fabric, into the non-ripped part of the blouse.
For the larger rip, I sewed a little further in, since it was more frayed. This was maybe 3/8" from the edge. It wasn't near a seam, so I angled in and out after the tear. I sewed into non-ripped fabric for about 1/2" before and after the tear.

I didn't iron it after I was done because I wanted the fabric to relax around the stitches. There's no easy way to sew this up without leaving a bit of a pucker where it was fixed, and I thought that ironing it would make it more obvious by creating a sharp line there.
Hand Sewing
Basically, you'd just follow the same process that I outlined above, but with a regular needle and thread. Be sure to hold your fabric taught so that it doesn't pucker while you're sewing up the rip. You could even put it in an embroidery hoop to hold it tight.
The Mended Blouse
From the front, it's not very noticeable at all.

Here's a close up of the smaller tear. The pattern doesn't fully match anymore, but there's no easy way to avoid that when mending.

And here's the larger rip. One of the ends is slightly more puckered than the other. Maybe I should have adjusted the angle of my sewing a bit.
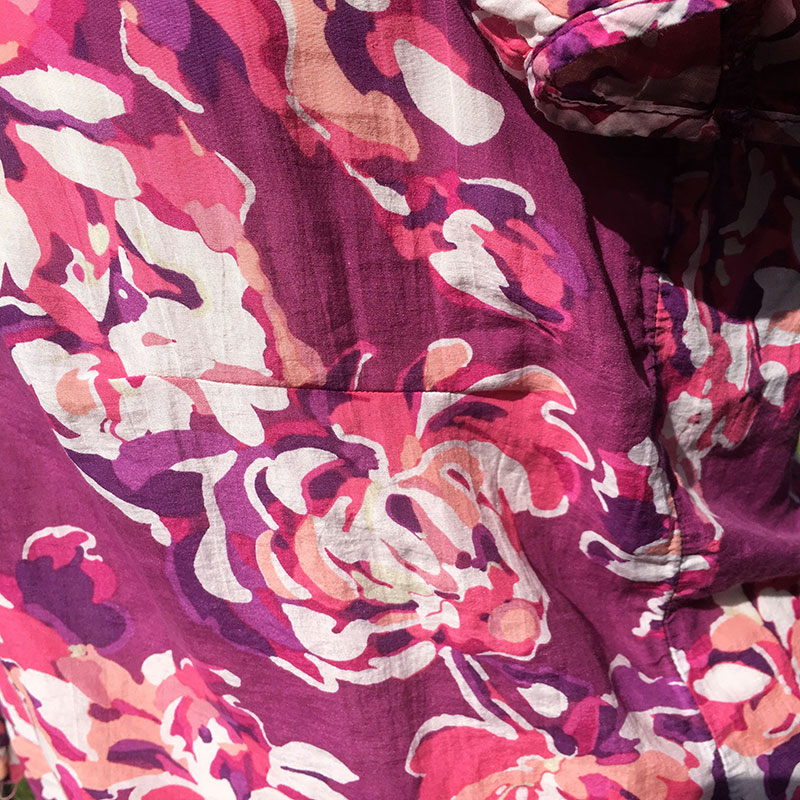
Here's a shot of it from the side, a little further back. I don't think the mended spots are that noticeable at all.

Want More Projects?
See my Eco-Friendly Crafting board on Pinterest:
See also this book review for Mend and Make Fabulous on All Free Sewing.