Singer Featherweight Sewing Machines: a New Owner's Guide
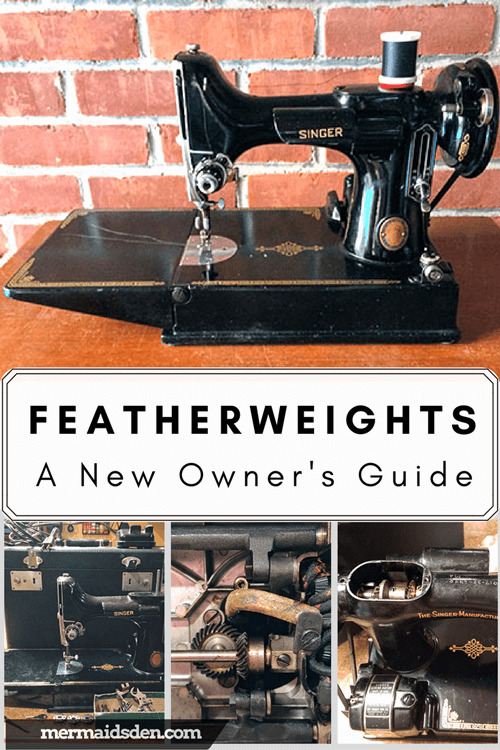
In this post, I'll show you how to check over your new Singer Featherweight sewing machine to ensure that everything is in good working order. You can easily do most of the maintenance and cleaning yourself, as well as troubleshooting simple problems. Singer Featherweights are incredibly popular, due to their small, light frame and stitch quality, so there's a ton of information out there on these wonderful little sewing machines!
Disclosure: This post contains affiliate links, which means I may receive a percentage if you make a purchase using these links. This won’t cost anything extra to you. I only link to things I like and use, and the proceeds help me to run this blog. Thank you for supporting me!
Materials Used:
- Tune-up Kit: this kit is from the Singer Featherweight Shop, and it has pretty much everything you need for basic maintenance and repair. I ended up using almost all of the parts included in this kit, and it's cheaper to buy them all together than separately. The kit includes new rubber feet for the bed of your sewing machine, rubber feet for your foot pedal, a new felt oil pad, printed manual, new belt, light bulb, oil, motor lube, bobbin tension meter, lint brush, and bed bumper for the face plate to keep the fold-up part of the bed from getting scratched.
- Zoom spout sewing machine oil: while the above-mentioned kit also has oil, I like this sewing machine oil the best. The flexible spout makes it easy to get the oil into any hard-to-reach spots.
- Triflow grease: while you can use the motor lubricant in the tune-up kit, I prefer to save the specialized motor lube for the motor, rather than using it on the gears, too. Triflow is a great lubricant for the gears of your sewing machine.
- Zymol Cleaner Wax: for polishing the outside of your sewing machine.
- Bobbins: good quality bobbins are essential, and I've always had good luck with bobbins from Sewing Parts Online
- Parts compatible with Featherweights: Sewing Parts Online has a great feature where you can search for all of the parts compatible with a certain type of sewing machine. These are all of the parts compatible with Featherweights.
- Featherweight compatible attachments: you can find extra presser feet, buttonholers, and other attachments to go with your Featherweight on eBay or by chance in antique/thrift shops.
- Featherweight 221 - The Perfect Portable book: this book covers the history of the Featherweight as well as helpful information on using and maintaining your Featherweight.
Resources:
The Singer Featherweight Shop: this website has useful parts/kits for Featherweights as well as a wealth of information on maintaining, cleaning, and troubleshooting. Their video tutorials and Schoolhouse section are particularly useful.
Singer Featherweight FAQ: also from the Featherweight Shop. Lots of important information for new Featherweight owners.
What to Look for When Buying a Featherweight Sewing Machine
There are lots of Featherweights for sale on eBay and elsewhere online, but I think it's best to see the machine in person if you can. I bought mine from a local shop where I was able to examine it closely and test it out. I also saw a lot of Featherweights when I went to Brimfield, a giant antique/flea market in Massachusetts.
I've seen lots of Featherweights for sale, but I wanted to get one that was in relatively good condition, with its case and accessories. You can buy replica cases and find the original accessories if you keep an eye out, though, so don't be discouraged if you find a machine without its case/accessories. See the Featherweight Shop for a list of accessories that go with the Featherweight.

Dating Your Featherweight Sewing Machine:
Featherweight sewing machines were produced from 1933 to 1968, and approximately 3-3.5 million were produced (see here for more information), so there are a lot of Featherweights still out there.
The best way to date your Featherweight is to check the serial number on the bottom of the machine. The Featherweight Shop has a great resource page on serial numbers. The serial number will look like this:

The serial number on mine dates it to 1951. Mine happens to be one of the centennial models commemorating one hundred years of Singer sewing machines, so the badge on the front machine also tells you the date.

Featherweight Sewing Machine Maintenance
There's a lot of information on maintaining and troubleshooting Singer Featherweights, so you shouldn't feel like you have to take it to a professional for a cleaning/tune-up. You can do this yourself! Here are some of the most common issues and how to address them.
General Maintenance
Here's a list of all of the posts related to Featherweight maintenance from the Singer Featherweight Shop. It's helpful to go through all of them, even if you're not currently having the problem described.
Cleaning and Oiling
For help with this, take a look at the Singer Featherweight Manual. The Featherweight Shop has some great tutorials on how to clean and lubricate your gears, the importance of choosing the right motor lubricant, and how to oil your Featherweight.
I like to start by cleaning the feed dog area. To do this, remove your needle, presser foot, and needle plate. Use a lint brush or mini vacuum attachments to clean out this area.

Much better!

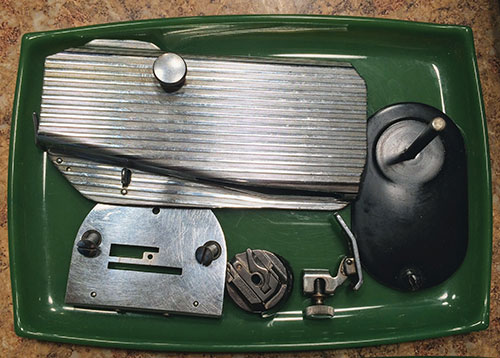
I recommend keeping all of your parts in a tray or dish, so you don't lose any of the smaller pieces. Once you've cleaned out the feed dog area, move on to the area behind the face plate. As you can see below,there's only one screw holding the face plate on. Sometimes there's fuzz built up around the needle bar here. Use the manual to find the right spots to oil behind the face plate as well.
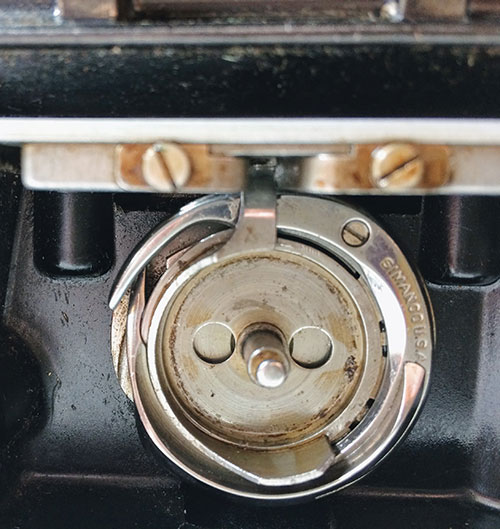
You should also take out the bobbin and bobbin case to check for fuzz/thread in the bobbin area.
There's only one screw holding the thread spool on at the top, so you can open this up as well to clean and lubricate the gears.

Underneath the machine, there's one twist-off screw holding that black plate on.

One you remove it, you can clean this area, oil it, and lubricate the gears.

I replaced the felt drip pad on the bottom of the machine with the new one from the Tune-up Kit.

I also added the little rubber bumper to the faceplate to prevent the fold-up bed from getting scratched.

Polishing the Machine
You can use Zymol Cleaner Wax to polish the outside of your machine, as described here.
Replacing the Rubber Feet on the Bed of the Machine
The rubber feet on the bottom of my Featherweight were basically crumbly paste, so I replaced them with new feet from the Tune-up Kit. See this tutorial for information on how to remove your old feet and add the new ones.

Troubleshooting the Tension Mechanism
My Featherweight's tension was a little off, so I took apart the tension mechanism. There's a good tutorial on how to dissemble and reassemble the tension unit here. Many Singer sewing machines have similar tension mechanisms, so this knowledge will translate to a bunch of different machines, too.

Originally, this spring was not positioned correctly on my Featherweight. As noted in the tutorial I linked to above, this spring should be positioned so that the first spiral is circling downward, rather than upward. The picture below shows the correct position.

These sewing machines have been around for decades and are pretty easy to take apart, so it's entirely possible that your sewing machine has been maintained by someone who didn't know what they were doing.
Adjusting the Handwheel so that the Needlebar is Disengaged When Winding a Bobbin
Similarly, someone had taken apart the handwheel and put it back together incorrectly. If you go to wind a bobbin and your needle bar keeps moving up and down, rather than disengaging, your handwheel needs adjustment.
It's likely that your handwheel washer needs to be flipped around. It's not easy to tell which way the washer should go without testing it out, but if your is the wrong way around, you'll know because your needle will continue to go up and down when you wind a bobbin. See this handy tutorial on adjusting the handwheel.

Fixing a Loose Spool Pin
If your spool pin is loose or wobbly, you want to fix it so that it stays in place. A wobbly spool pin won't let your thread unwind smoothly, which can cause problems with your thread tension. See this tutorial for help fixing your spool pin. I used a small anvil and jeweler's hammer to flare out the metal on the bottom of my spool pin, which now keeps it from moving.
Edit: A thoughtful reader reached out to mention that if you flare out the bottom of the spool pin too much, you will not be able to remove it. Some people like to remove the spool pin when traveling or packing the machine up for transport.

Putting Away Your Featherweight
One helpful tip I came across noted that electrical terminal on the side of your Featherweight is bakelite, so you want to be careful not to clonk it against the case when you're putting it away, as bakelite may crack. Old bakelite bracelets and jewelry should be treated with care because they can get brittle, so treat the bakelite socket on your machine carefully, too.
Replacing the Light Bulb
I haven't had to replace the bulb on my Featherweight yet, but apparently it takes a little finesse, so be careful to follow these instructions.
Replacing the Belt
I haven't had to do this yet, but here's a great tutorial on how to remove an old belt and install a new belt on your Featherweight.
Using Your Featherweight Sewing Machine
Thread Tension
Featherweights are fairly straightforward to sew on, but there are a few things to keep in mind. Here's a great tutorial on adjusting your thread tension for both the top thread and bobbin thread.
It can help to use a bobbin tension meter, such as the one in the Tune-up Kit, in order to adjust your bobbin tension to the ideal setting. Once you get your bobbin tension set, you can simply adjust the tension on the top thread to get a perfect stitch. The bobbin tension won't need to be adjusted very often if you get it right.

Choosing the Right Bobbins
You also want to be careful to use good quality bobbins. Because Featherweights are so popular, many craft stores sell Featherweight bobbins. However, the quality of these varies widely, and if your bobbins are not good quality, they can cause problems with your machine. I've had good luck with bobbins from Sewing Parts Online.
Choosing the Right Thread
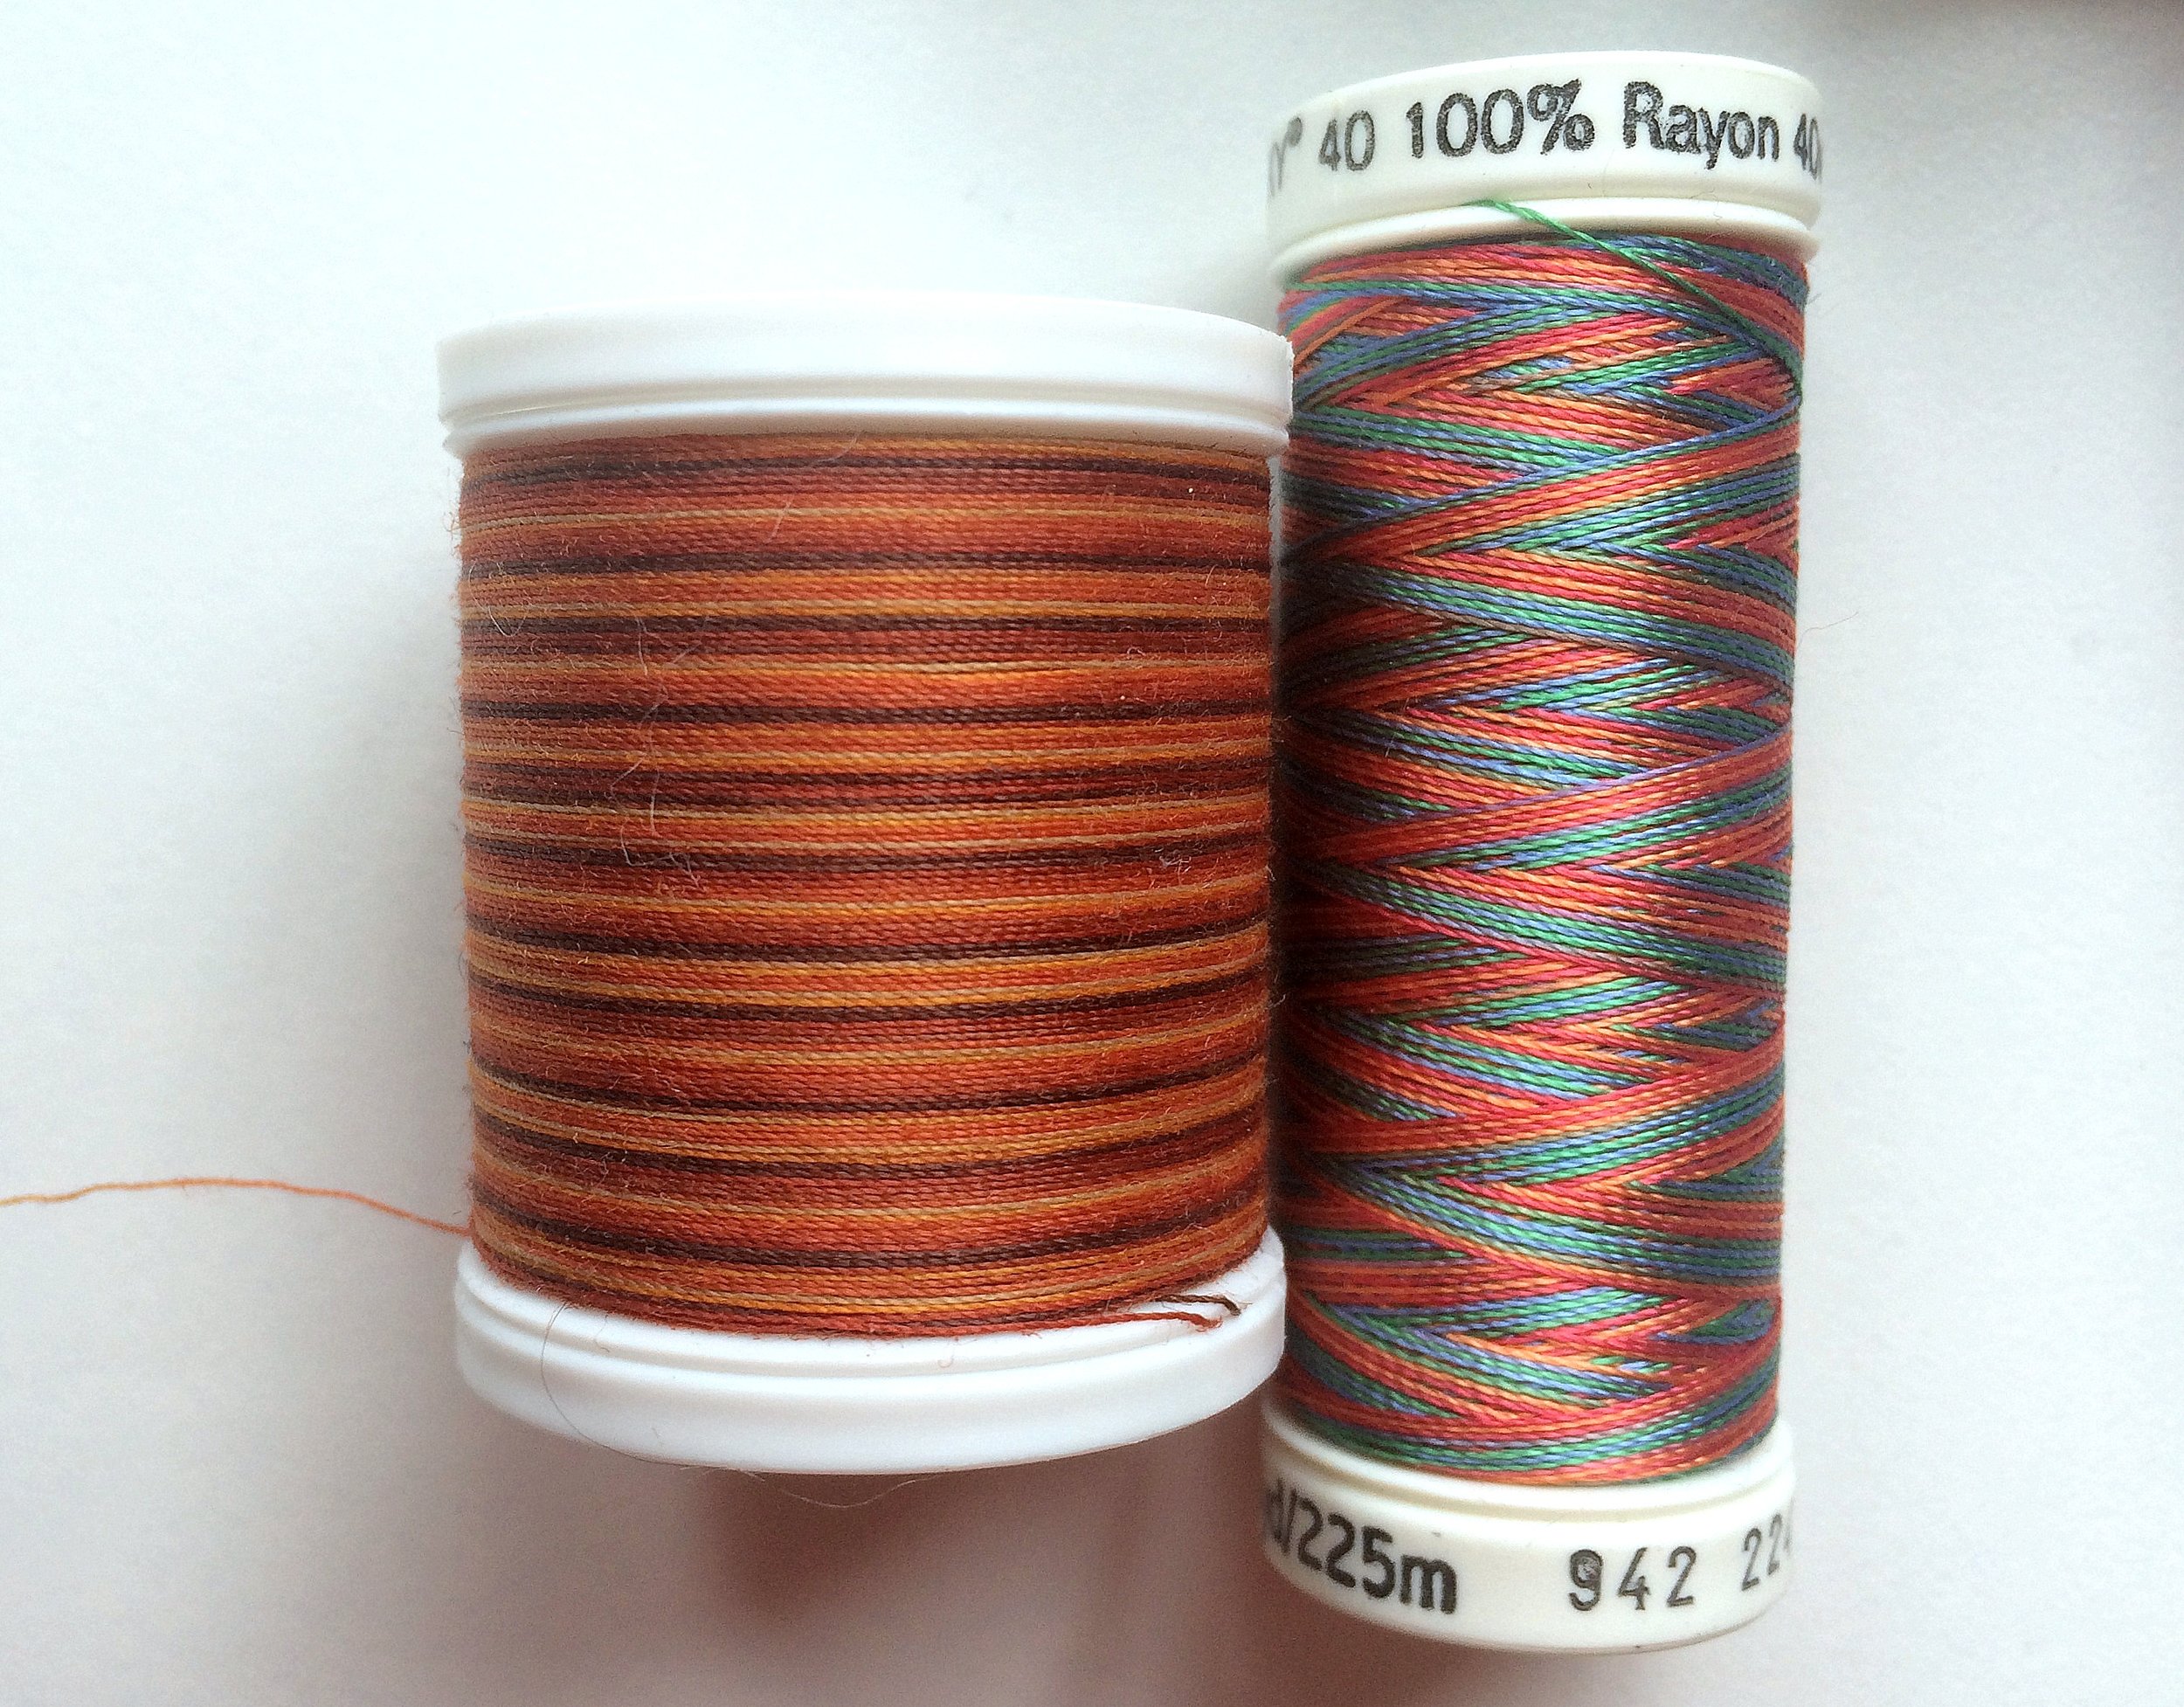
In a previous post, I went over what kind of thread you should use with vintage sewing machines. Basically, most vintage sewing machines only have a vertical spool pin, as opposed to the horizontal spool pins that most modern machines have.
Stacked thread (left) works best with the vertical spool pins on vintage sewing machines because it winds off the spool directly while the spool itself turns.
Crosswound thread (right) works best with the horizontal spool pins found on modern sewing machines because it comes off the spool without making the spool turn. This only works when it's on a horizontal spool pin, though, so if you put crosswound thread on a vertical spool pin, it may tangle or catch underneath the spool. You can buy a thread stand to adapt your Featherweight for crosswound thread, or you can just use stacked thread, such as Coats & Clark Dual Duty.
Threading Your Machine
The manual shows how to thread your sewing machine, but I found this video tutorial from the Featherweight Shop helpful as well.
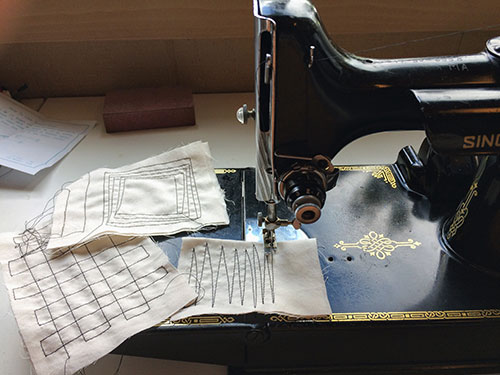
Then try sewing some test pieces to get used to your new Featherweight!
Is there anything else you think new owners should know about Featherweights? Leave me a note in the comments!