How to Fix a Floppy Sewing Machine Cover
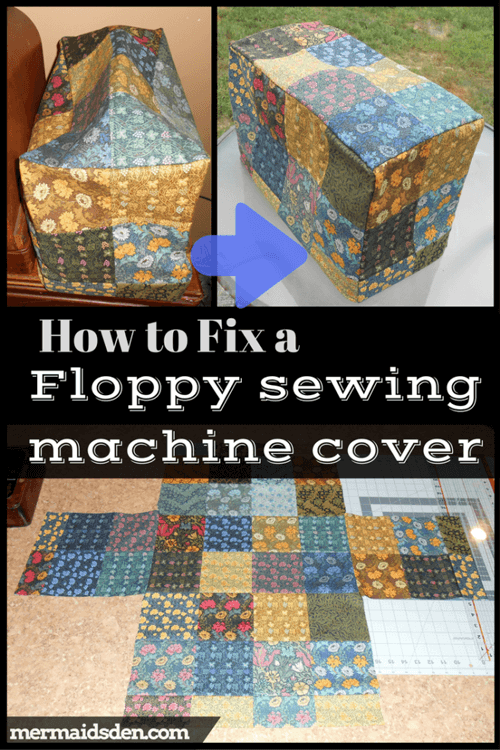
While I was in the process of restoring my Singer 99k and adding a hand crank, I made a pretty cover for it as well. However, after sitting around for awhile, the cover started to sag and become floppy. Here's a solution to fix a sewing machine cover so that it keeps its shape, and also a free pattern for a sewing machine cover for a Singer 99k.
Disclosure: This post contains affiliate links, which means I may receive a percentage if you make a purchase using these links. I only link to things I like and use!
Materials used:
- William Morris Earthly Paradise Charm Pack
(2 packs)
- Medium weight fusible interfacing
- 2 1/2 yards of boning
- bias tape
I really love this William Morris charm pack--I used the same fabric in my thread catcher pattern. Making a sewing machine cover is just a slightly more complicated version of the thread catcher.
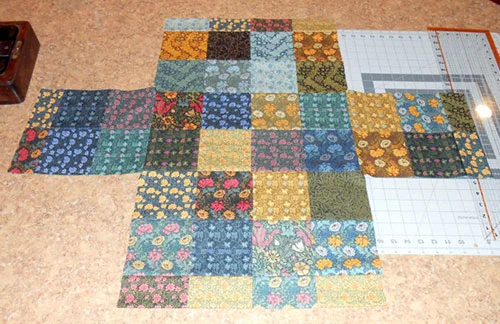
Sew your charm squares together in this pattern if you have a 99k. If you have a different sewing machine, measure the sides and top of your machine to see how many squares you need. Around the bottom, I folded my squares in half before sewing them to the rest of the piece, so the edge would already be finished.
I was able to use my 99k to sew the cover.
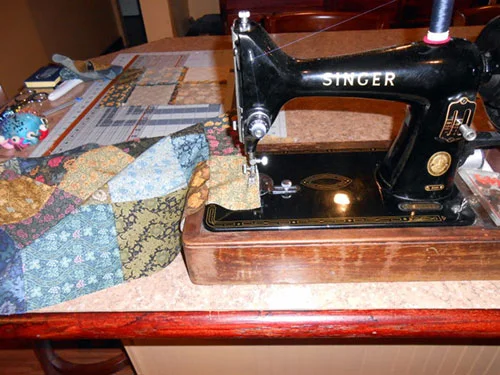
I added medium weight interfacing to the inside (heavy weight might have been better to avoid the sagging in the first place!), and I sewed bias tape to each of the edges of the cover to give it a little more shape.

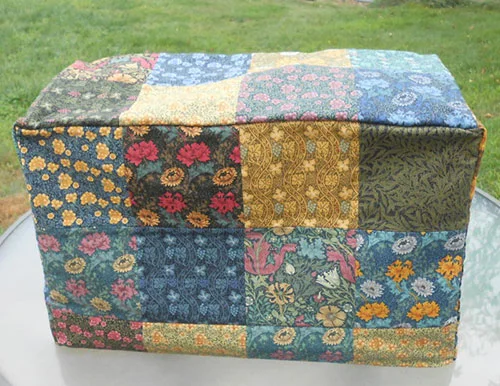
At first, it seemed to hold up nicely.
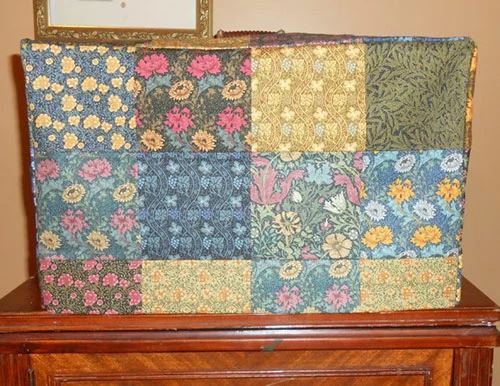
But then it began to sag like this.

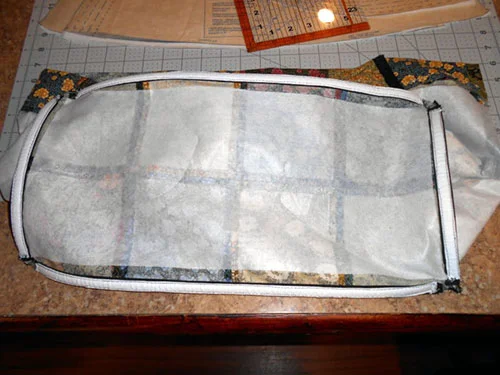
I decided to sew some boning to each of the edges where I had previously added bias tape. I simply sewed the boning right to the bias tape, and none of the stitching showed on the outside. I got the kind of boning with a fabric casing. I sewed down the edge of each piece of the casing, zigzagged across one end to enclose it, put the boning in, and zigzagged across the other opening. Cut your boning about 1" shorter than the casing, so you'll have room to sew up the ends of the casing.

Here's what it looked like after sewing. The boning was a little curved, so I ironed it. Be very careful to use a low setting, only go over it a couple of times, and then use your hands to mold it while it's pliable. You don't want to melt the plastic. This worked pretty well to make it straighter.
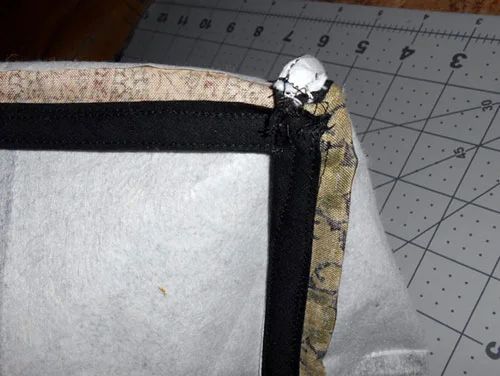
Lastly, I hand sewed each of the three bias tape/boning strips together at each corner. This is a little tricky, and it doesn't look very nice, but no one will see it when you turn it inside out.
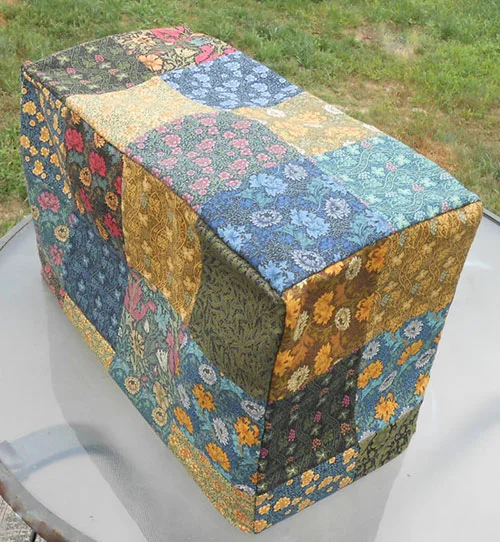
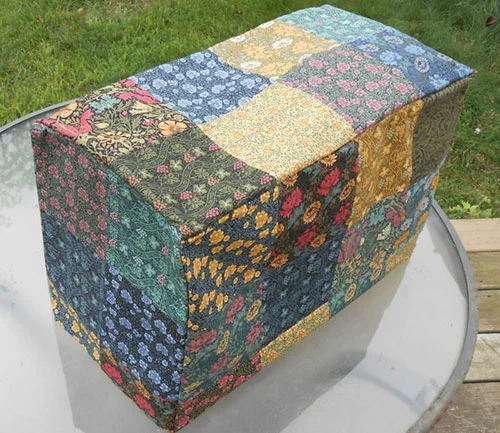
And now it holds its shape!