Restoring a Vintage Singer 99k
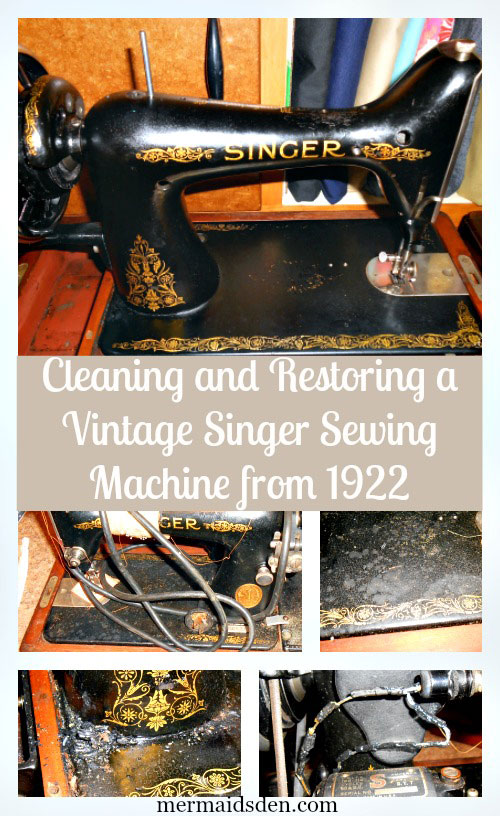
I bought this 99k Singer sewing machine for $20 as a parts machine. Initially, I planned to use the case for my other Singer 99k (see my post on restoring that one), but when I got it home, I noticed the hand wheel turned smoothly, the needle went up and down, and everything besides the electrical components seemed to be in good working order. Suddenly I didn't feel right about cannibalizing this machine. Since I was already familiar with this model, it cleaned up quickly and was back in action in no time. I'll go through the process of cleaning, restoring, and converting it to a hand crank, noting some of the new issues that I encountered with this older model 99k from 1922.
Disclosure: This post contains affiliate links, which means I may receive a percentage if you make a purchase using these links. I only link to things I like and use!
Materials used:
- Reproduction hand crank
- Reproduction spoke hand wheel
- I got my hand crank and hand wheel from Seller 072845
on eBay
This machine ended up being worth more than just the case.

Removing the Light and Motor from a Singer 99k Sewing Machine
This is what it looked like before and during the cleanup process.

The electrical components were falling apart and partially melted onto the base of the sewing machine.

I used wire cutters to cut through the cords for the light, so I could remove everything. I pulled off the light and the bracket holding the light on.


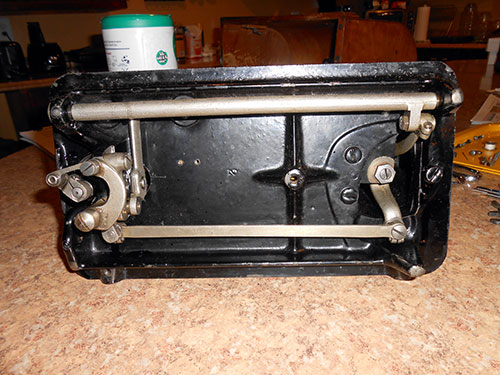
Next, I detached the motor.

Loosen the screw circled in red to remove the bracket holding the motor on.

The bobbin tire was rotted, so I removed it, knowing that the bobbin winder wouldn't be functional with the hand crank I planned to add. To remove the bobbin winder, remove the two screws circled in red. The sewing machine belt can also come off here.

Cleaning up a Singer 99k Sewing Machine
After this, I gave the machine a good scrub down with water and paper towels, and used toothpicks to scrape away the gunk left by some of the melted electrical wires. Next, I opened up the bobbin area to clean out the accumulated fuzz.

Don't remove this bit of red felt, though. It's there on purpose to hold a little reserve of oil to keep this area well lubricated.

Make sure you check the underside for lint as well, and be sure to oil it according to the manual.
Since the motor and wiring weren't sound, I added a hand crank. This is my second 99k hand crank conversion, and I have more detailed instructions here. This is what it looked like once I'd added the hand crank.

Comparing 99k Sewing Machines
Here is a side-by-side comparison with my other 99k. The one on the left is from 1922, while the one on the right is from 1958. Some of the decals have worn off of the older Singer, and its finish is more worn, but overall, both of them sew very well. The "k" in the 99k just denotes that it was made in Scotland, and otherwise it's the same as other Singer 99s, which were made from 1911 to the 1960s.

And the opposite side of the 1922 Singer is much more ornate!

From the top, you can see that the 1922 Singer has floral decals, while the one from 1958 has a more geometric pattern.

The overall shape of the machine is the same, though.

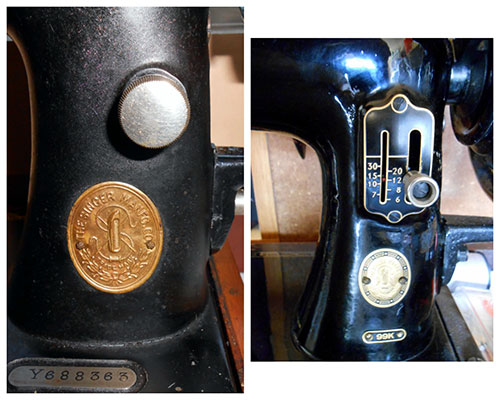
One big difference is in the tension mechanism. The 1922 model doesn't have any numbers or a cover for the dial, while the 1958 model has both a cover and a numbered dial. However, I didn't have much trouble adjusting the needle thread tension on the 1922 99k. You just have to experiment a little.

If you need to adjust the bobbin tension, turn the screw noted by the arrow. Right to increase, left to decrease.

The stitch regulator is similar: no numbers, unlike the 1958 model. However, I found that the 1922 99k was set to a good stitch length already, so I just left it as is. Again, I think with a little experimentation, it will work fine.